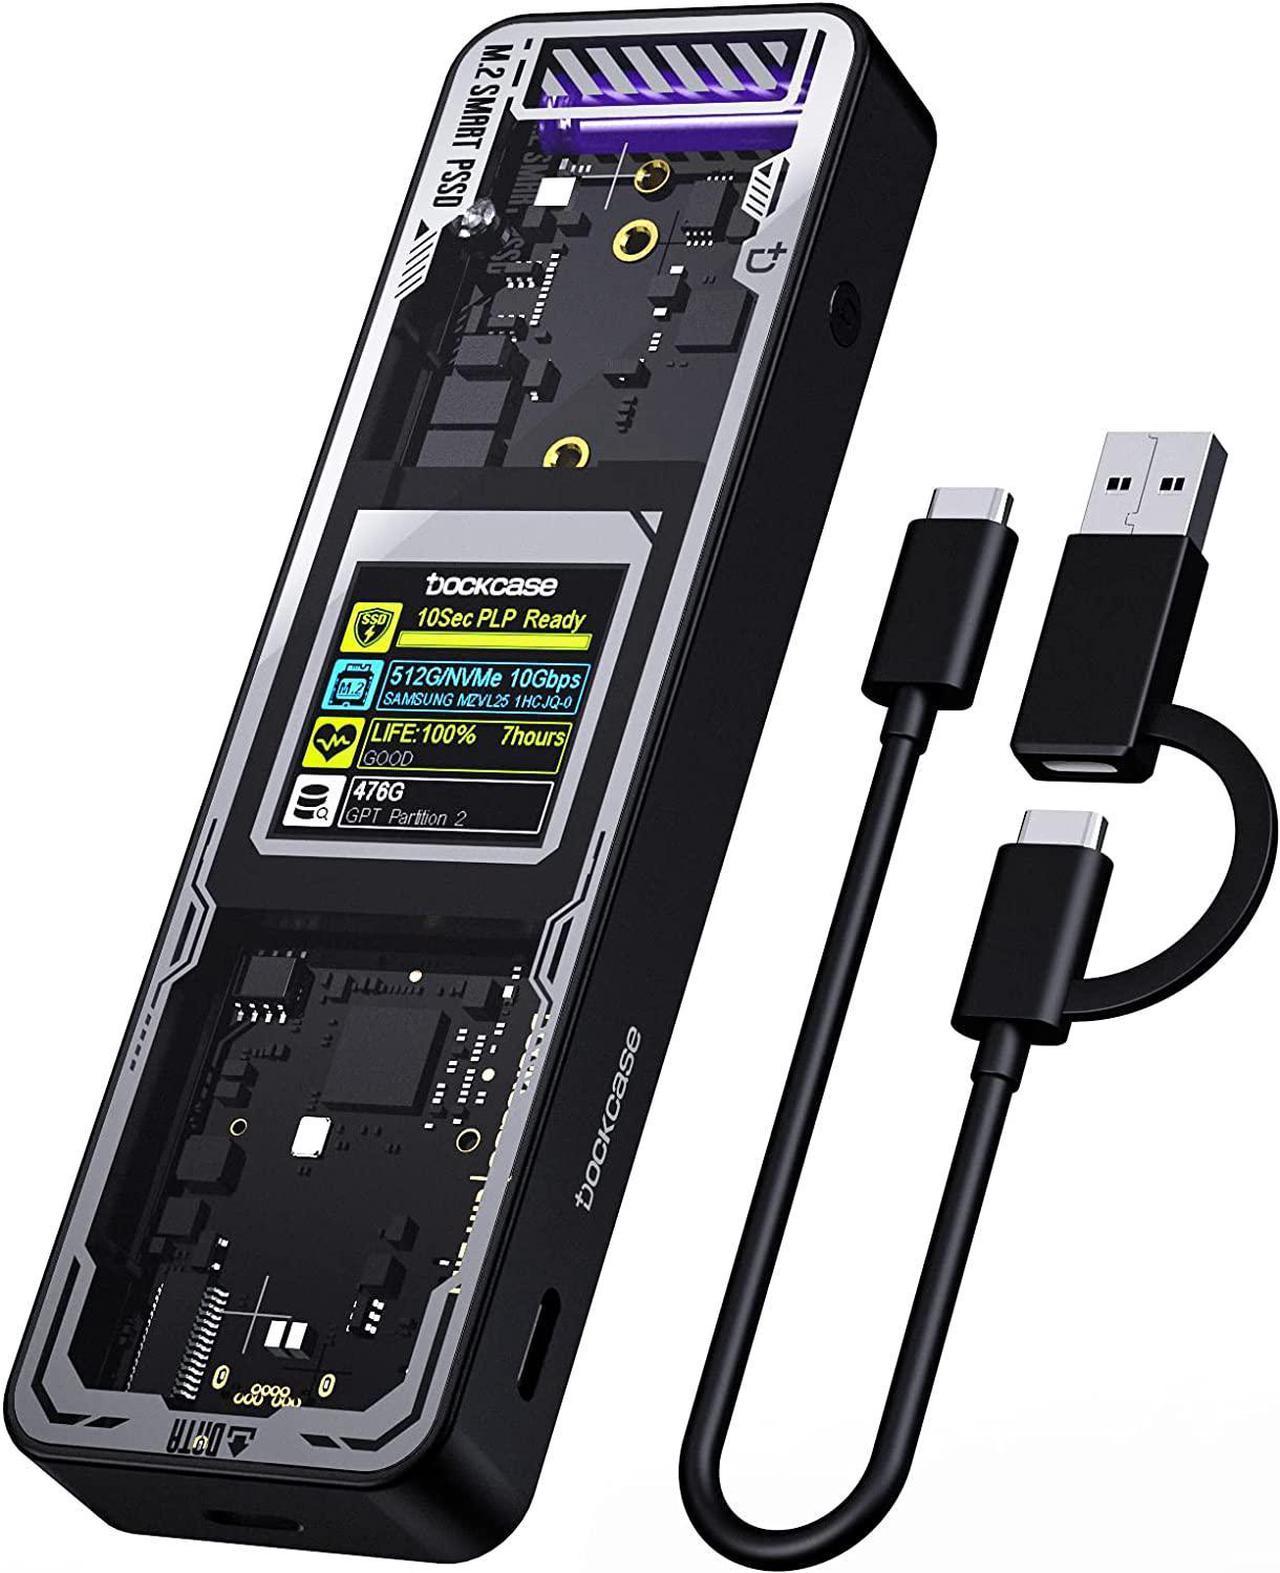
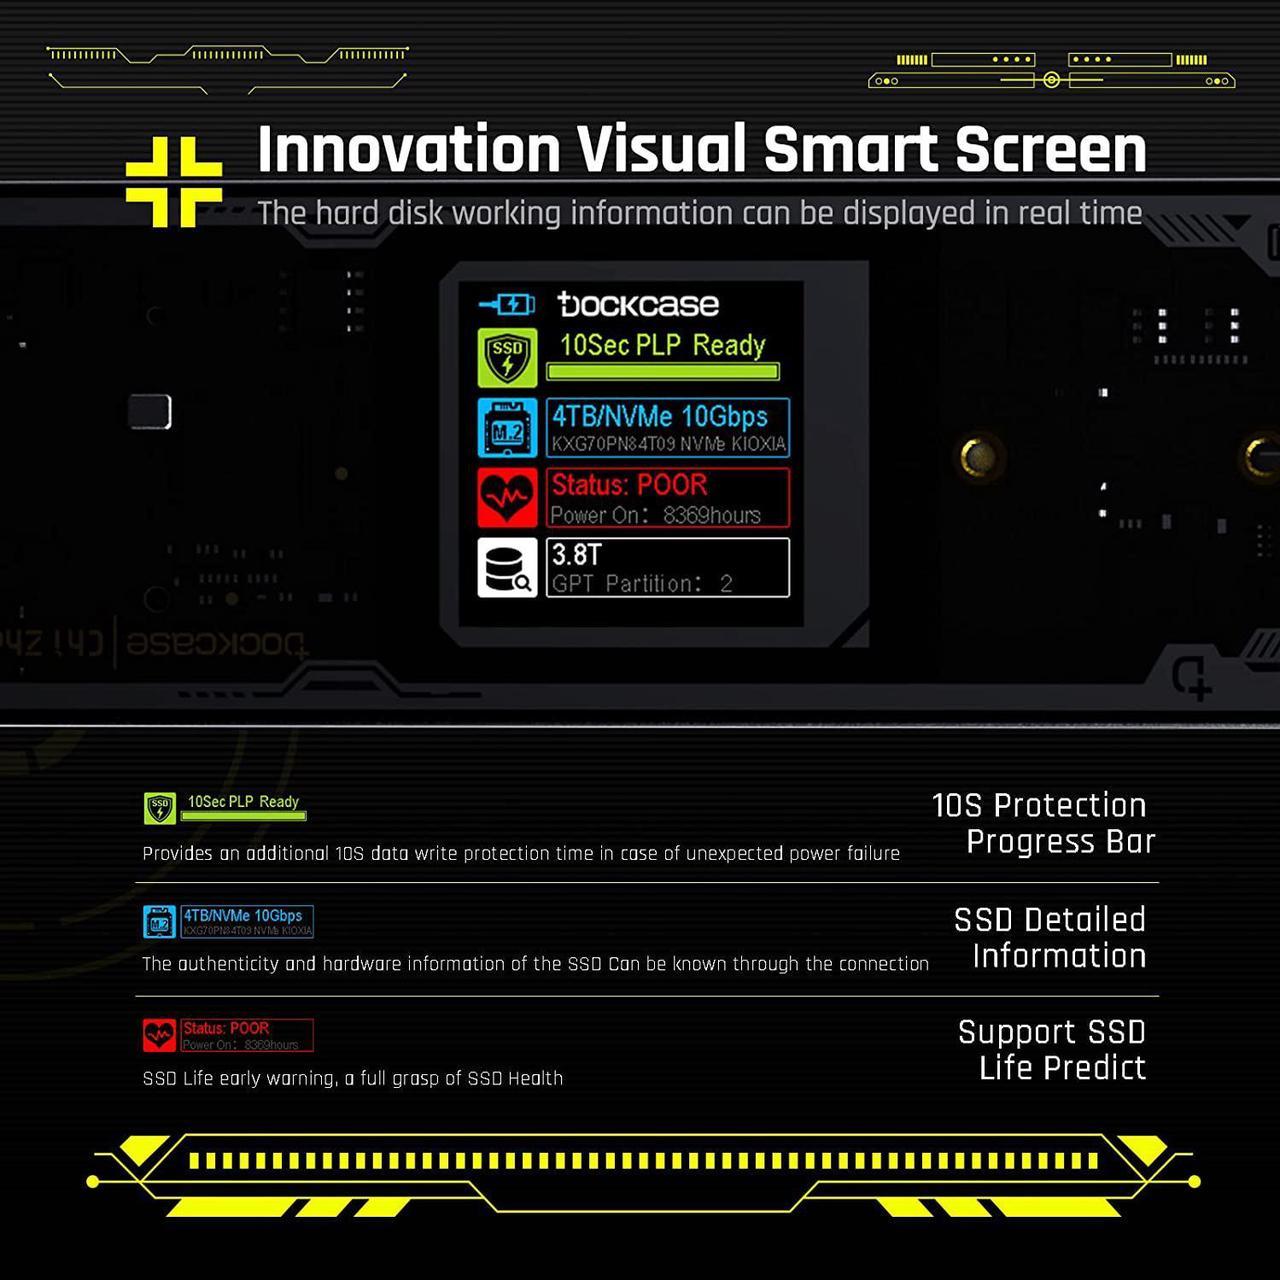
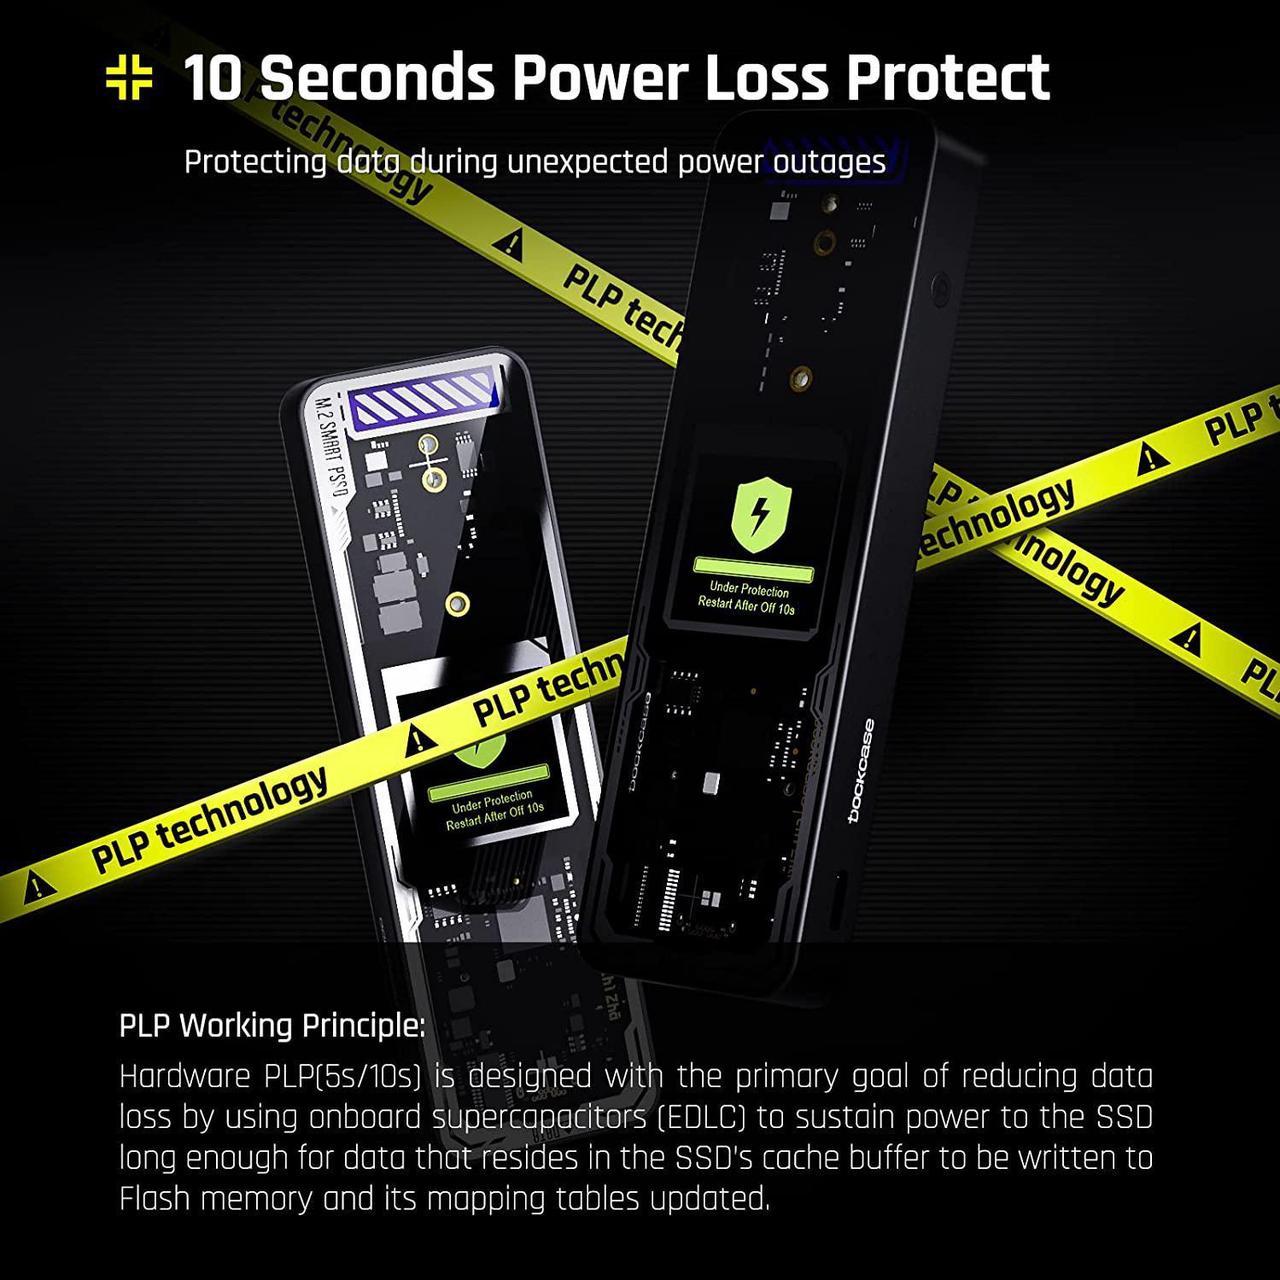
DOCKCASE - The first smart SSD enclosure with an HD display screen, can complete the intelligent detection of SSD when the Smart SSD Enclosure is powered on. DOCKCASE can timely detect and display the SSD health status after power-on, disk life, disk power-on times, and remaining capacity at a glance. Safer data, more assured work.
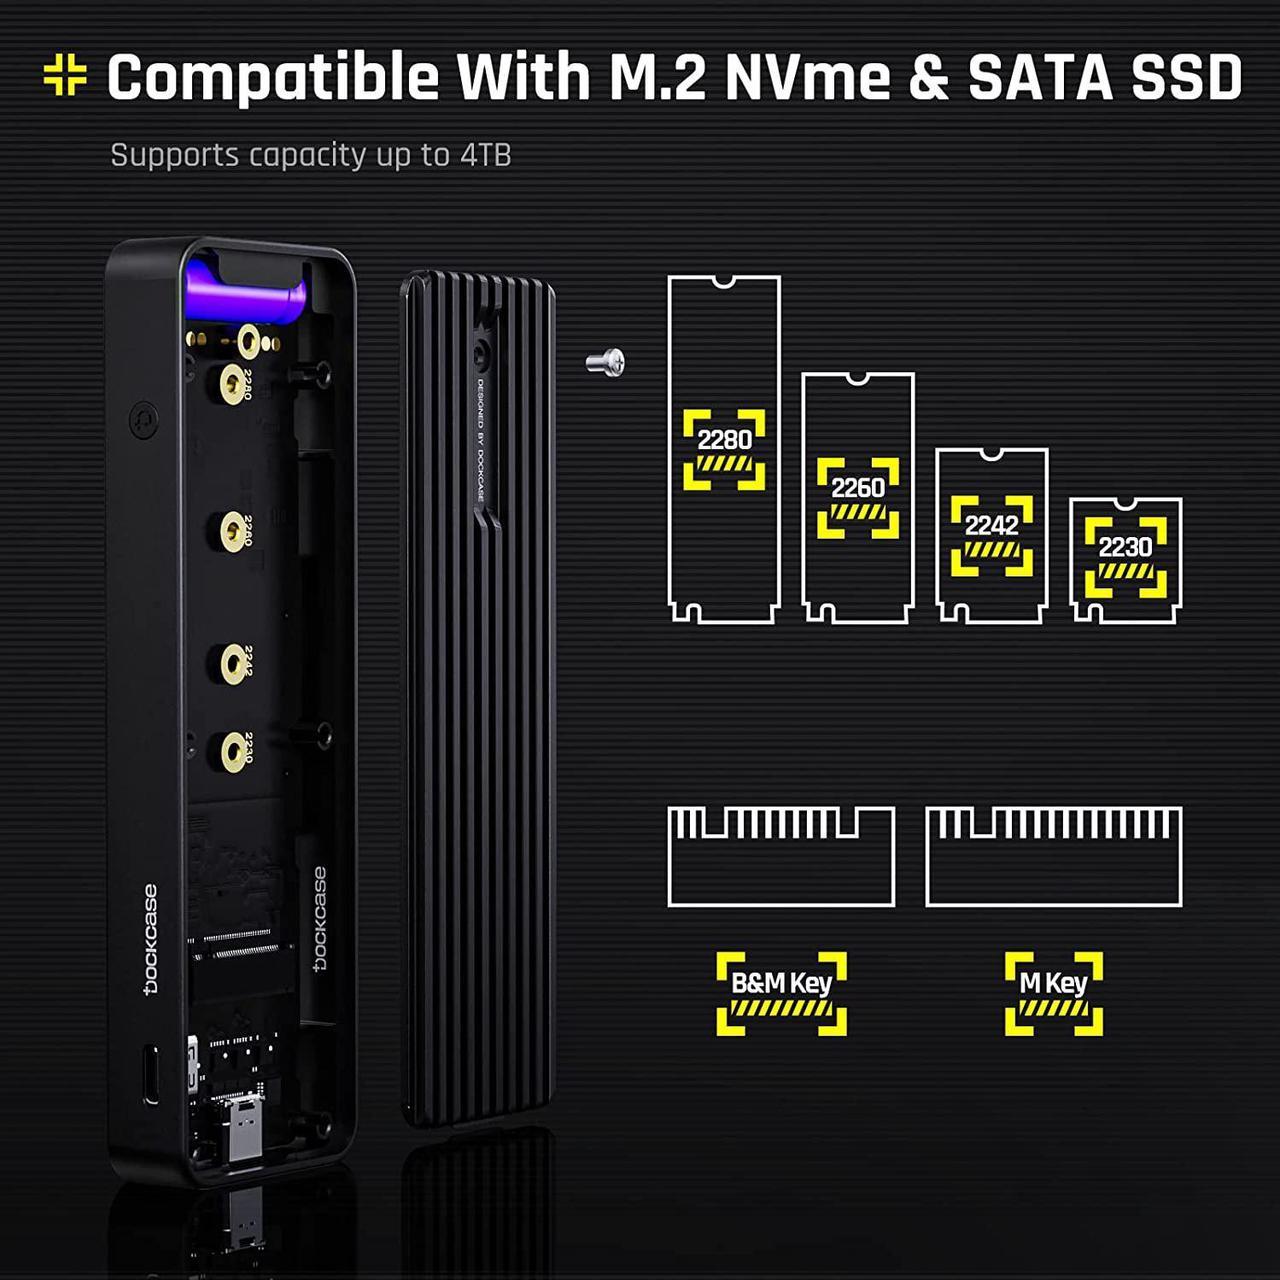
DOCKCASE M. 2 to USB enclosure fits NVMe PCIe/SATA AHCI NGFF size 2230/2242/2260/2280, support M-Key and B&M Key UASP (up to 4TB
SSD) Support Dual Heat Dissipation: In addition to supporting NVME and SATA, DOCKCASE RTL 9210B
DOCKCASE SSD enclosure control panel operation instructions
After our DOCKCASE Smart SSD Enclosure is powered on, you can operate the firmware of the SSD case with the D-Key button.
The specific operation is as follows,
1.
Homepage switching:
You can rotate the screen direction of the Enclosure by double-clicking the D-Key.
Press and hold the D-Key to display About Me on the display of this product and move to the interface.
2. Switching the
About Me interface:
Short press the D-Key to switch control options.
Press D-Key for 3 seconds to apply/change the options on the right side of the cursor.
Note: If you do not operate within 10 seconds, you will automatically return to the homepage. The revised data will take effect after reconnecting.
Up to 4TB capacity
USB 3.2 Gen 2 satisfies your need for speed with accelerated transmission protocols-UASP and TRIM, enabling you to take full advantage of SSD without missing a beat.
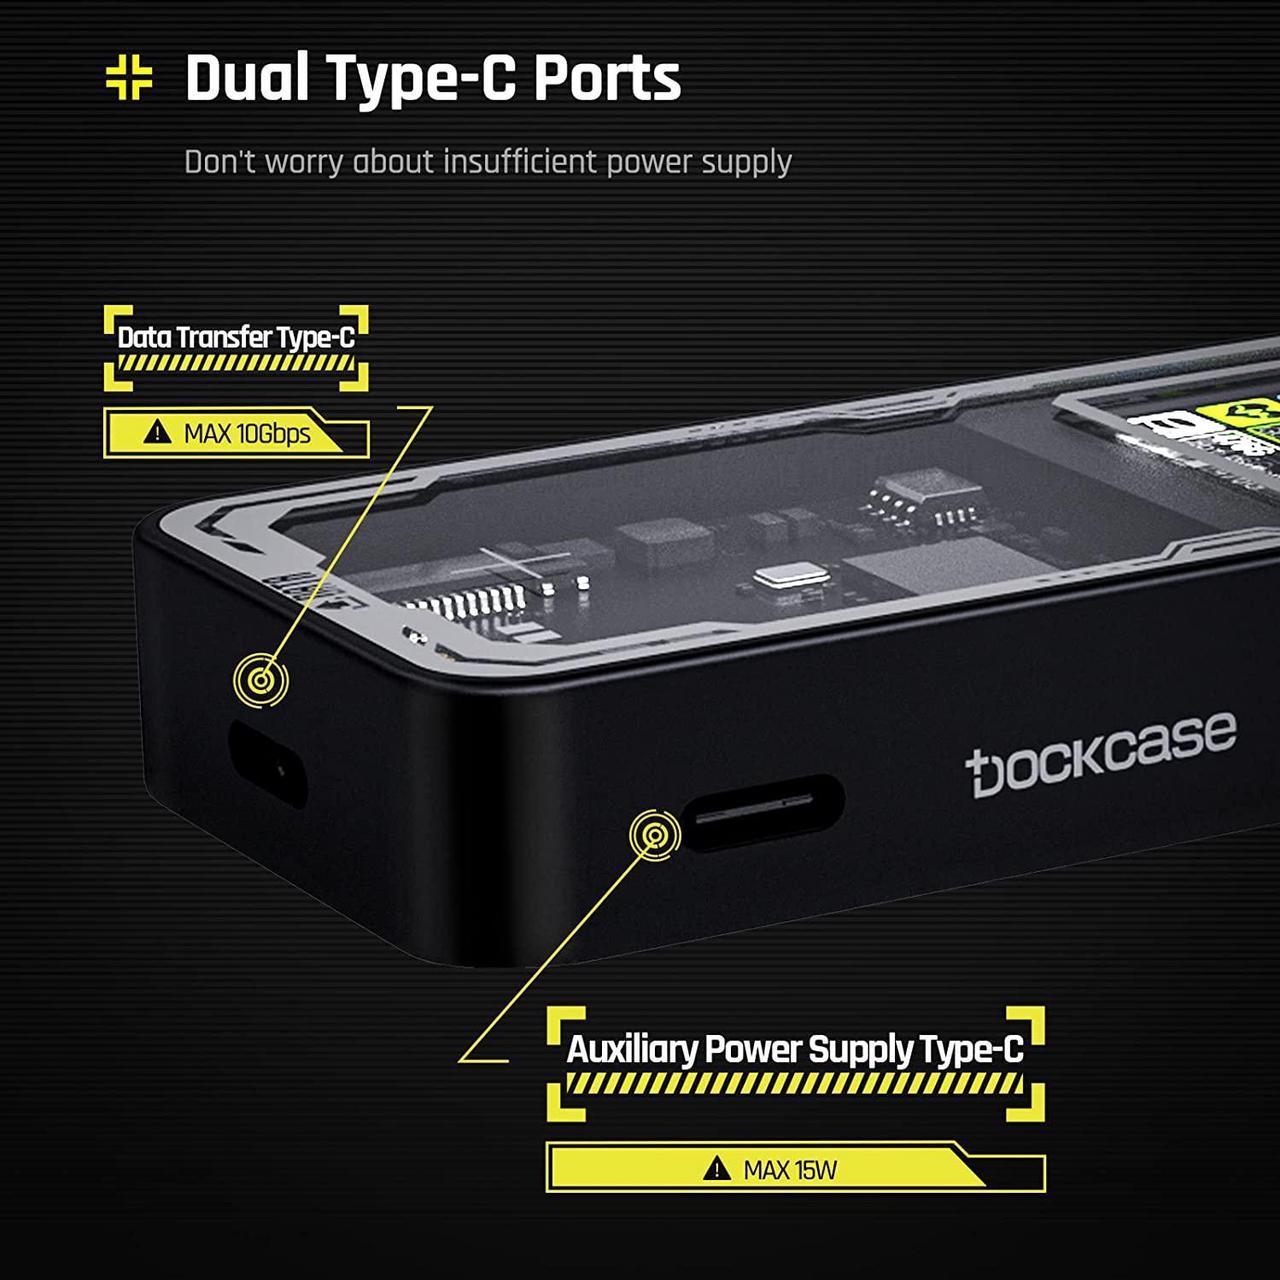
15W Auxiliary Power Supply
When connecting SSD high-power devices, it may not be recognized due to insufficient power supply during file transfer. With the 15W auxiliary power supply Type-C, you can transfer, collaborate and share seamlessly.
Dual Heat Dissipation
DOCKCASE RTL 9210B control chip is equipped with temperature control with can be up to 10 degrees lower than other chips, reducing heat generation from the source. The first cover with the graphite thermal pad increased the heat dissipation area and blow away the heat timely enabling your SSD to maintain high transfer speeds and extend its longevity.
SSD Installation Instructions and
Details
Dresentation
Step 1: Loosen the screw on the back cover.
Step 2: Insert the SSD into the PCB board at a 30-degree angle.
Step 3: Tighten the SSD using screws.
Step 4: Tighten the screw on the back cover.
