
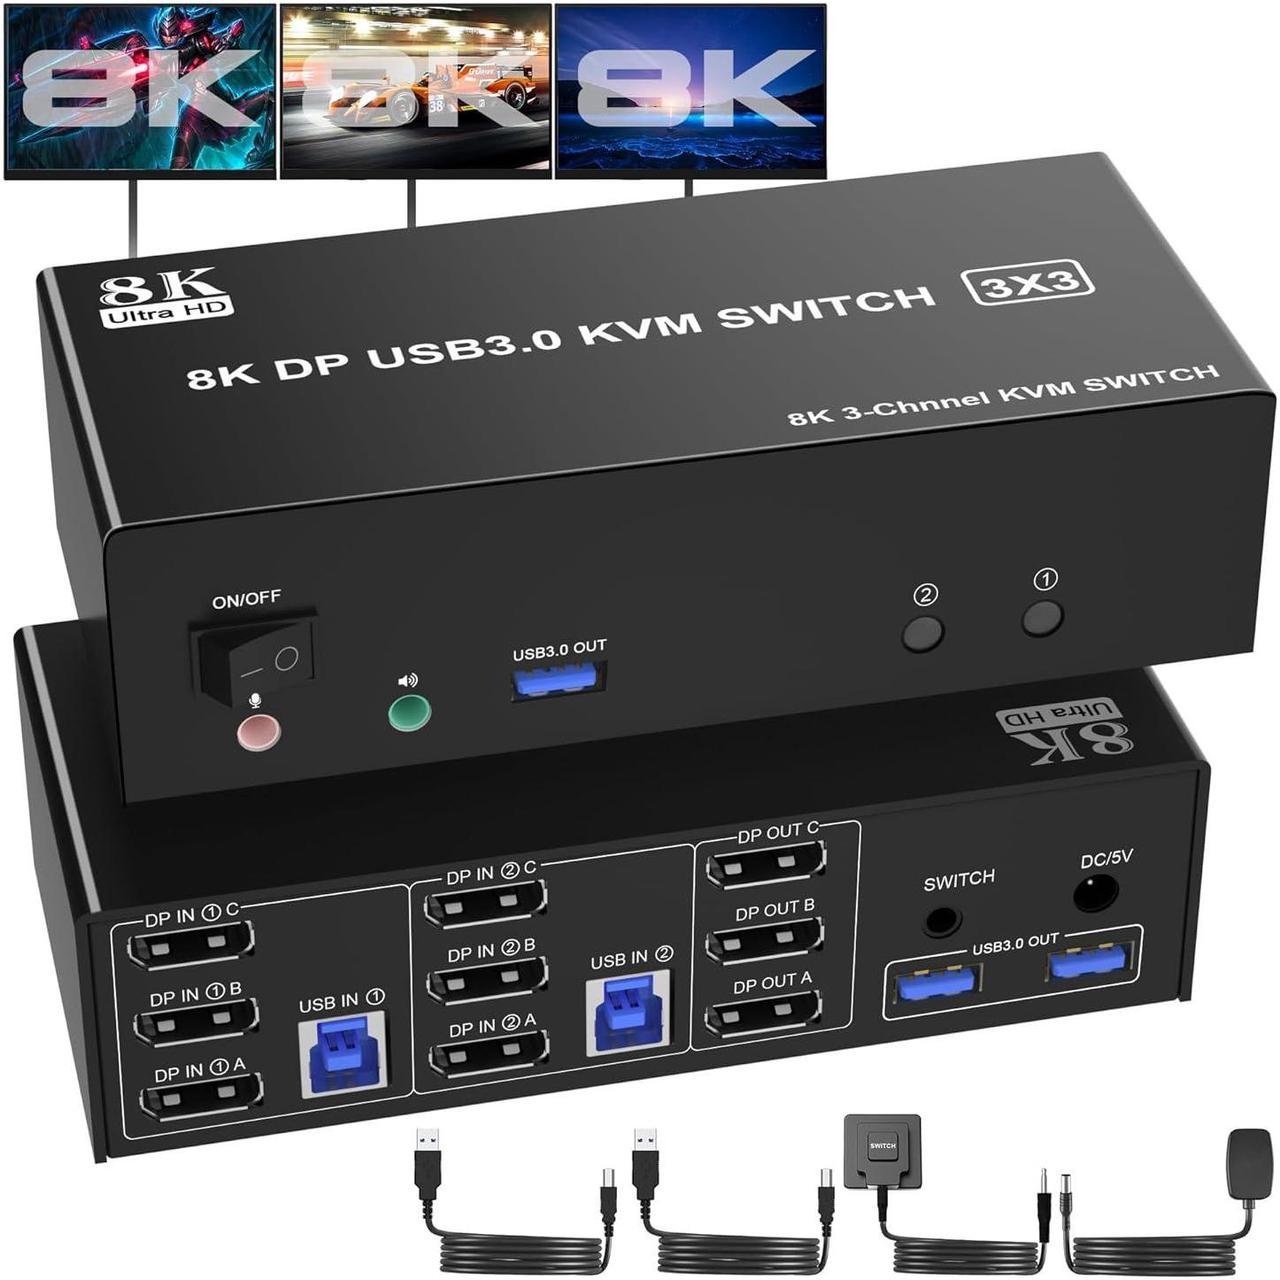


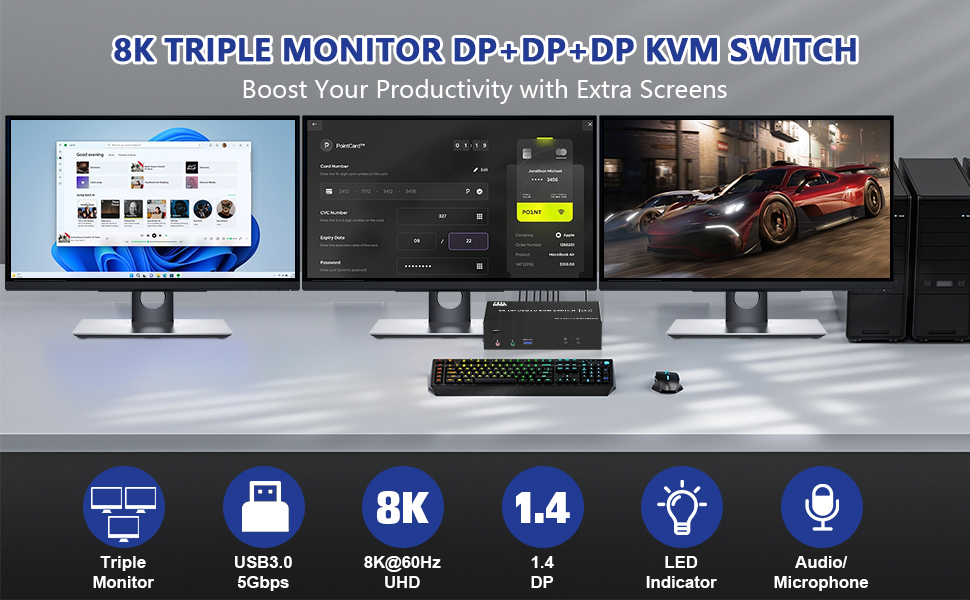
8K@60HZ DisplayPort USB 3.0 Triple Monitor KVM Switch for 2 Computer Sharing 3 Monitor and 3 USB 3.0 Ports, Audio & Microphone
Advantages:
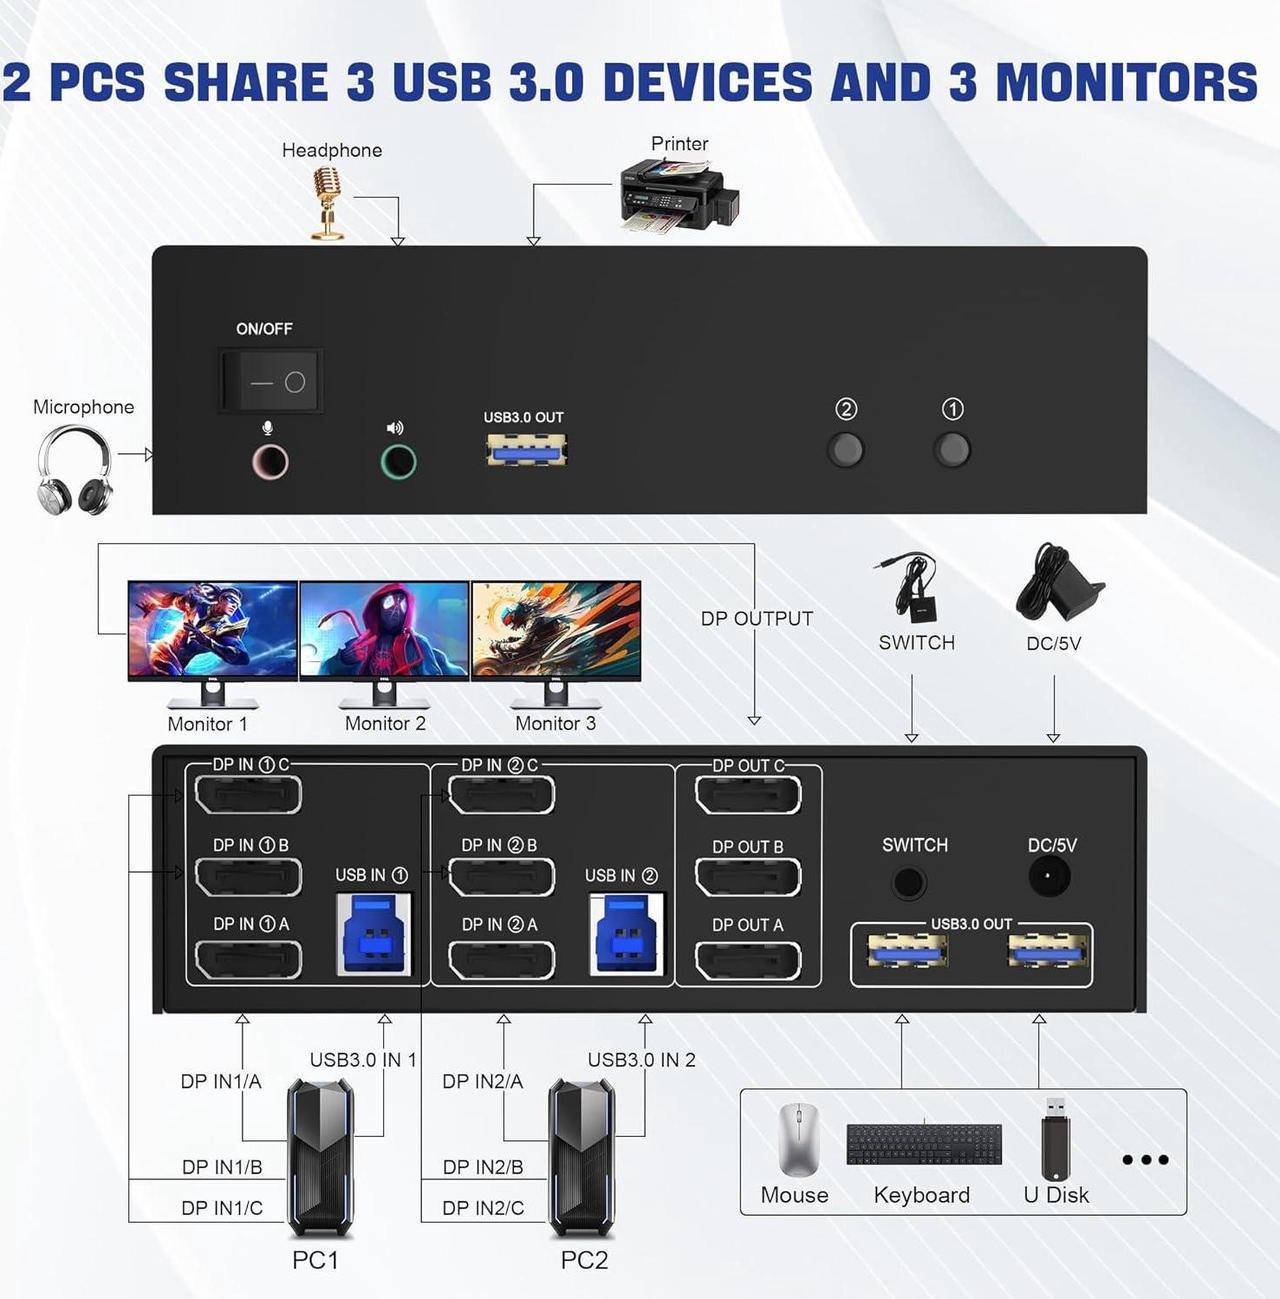
- 1, Share one set of keyboard, mouse and 3 monitors (3 DisplayPort) between 2 computers or laptops;
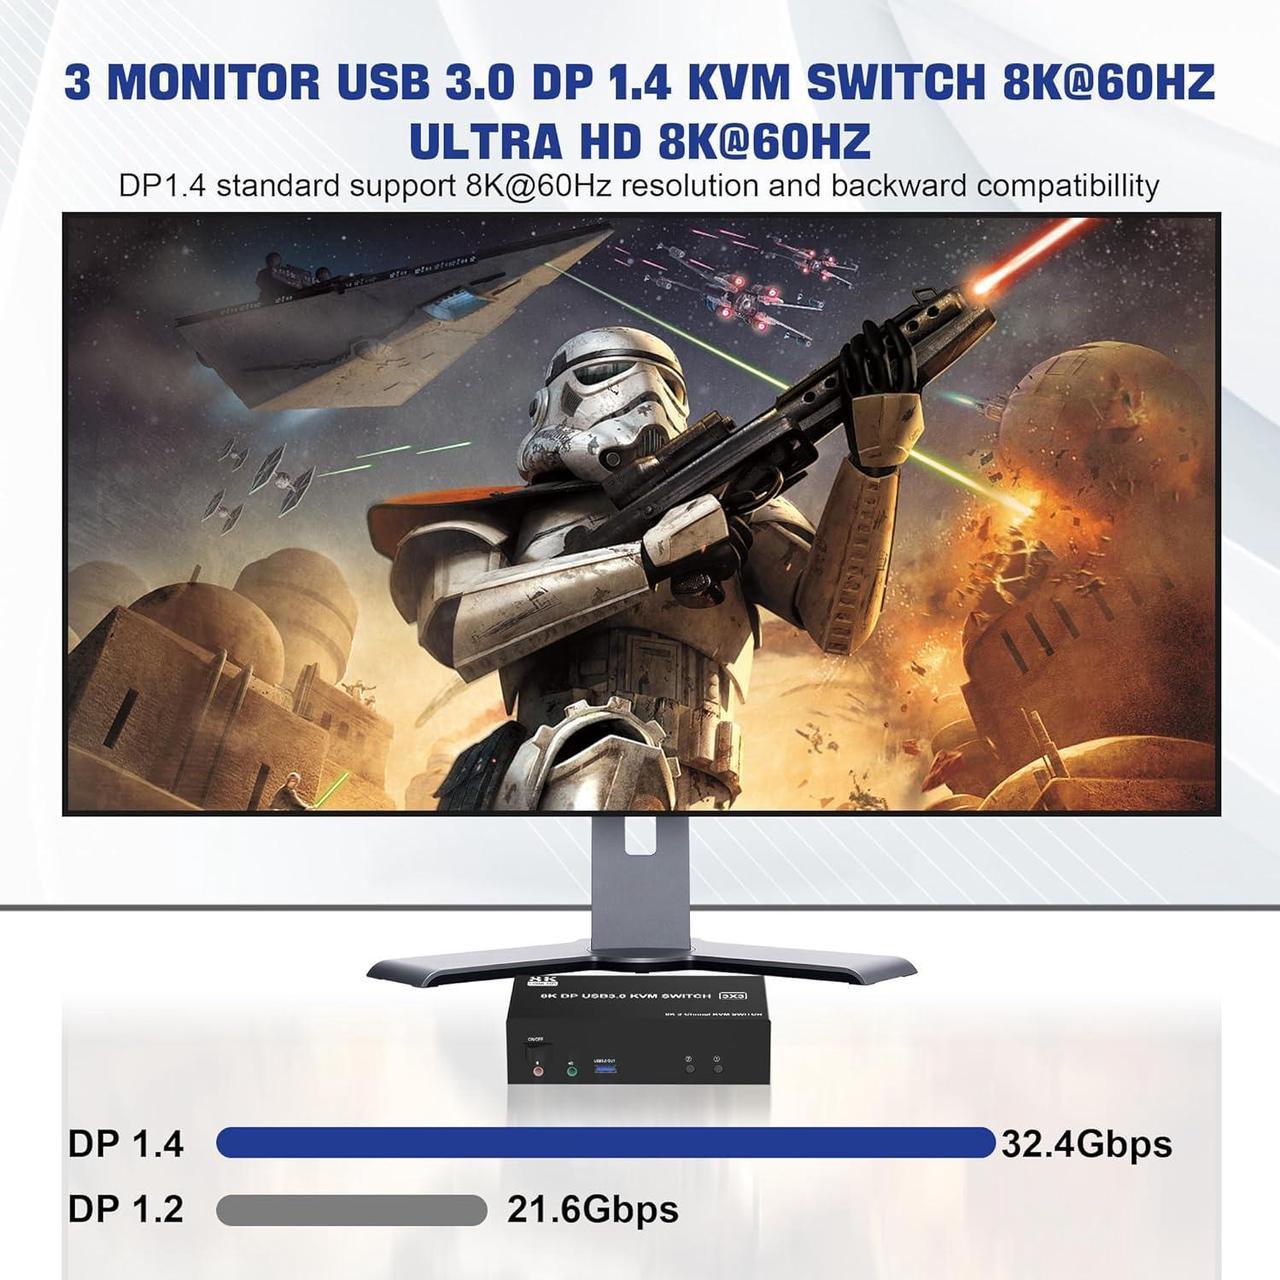
- 2, Supoort DP 1.4 and downward compatible.3 monitors output support up to 8K@60Hz for extended,mirrored or spliced display (Depends on your computer's graphics card.);
- 3, No complicated installation is required, and non-professionals can easily operate it, Ideal for multi-tasking professionals and gamers who need to access multiple devices quickly and efficiently;
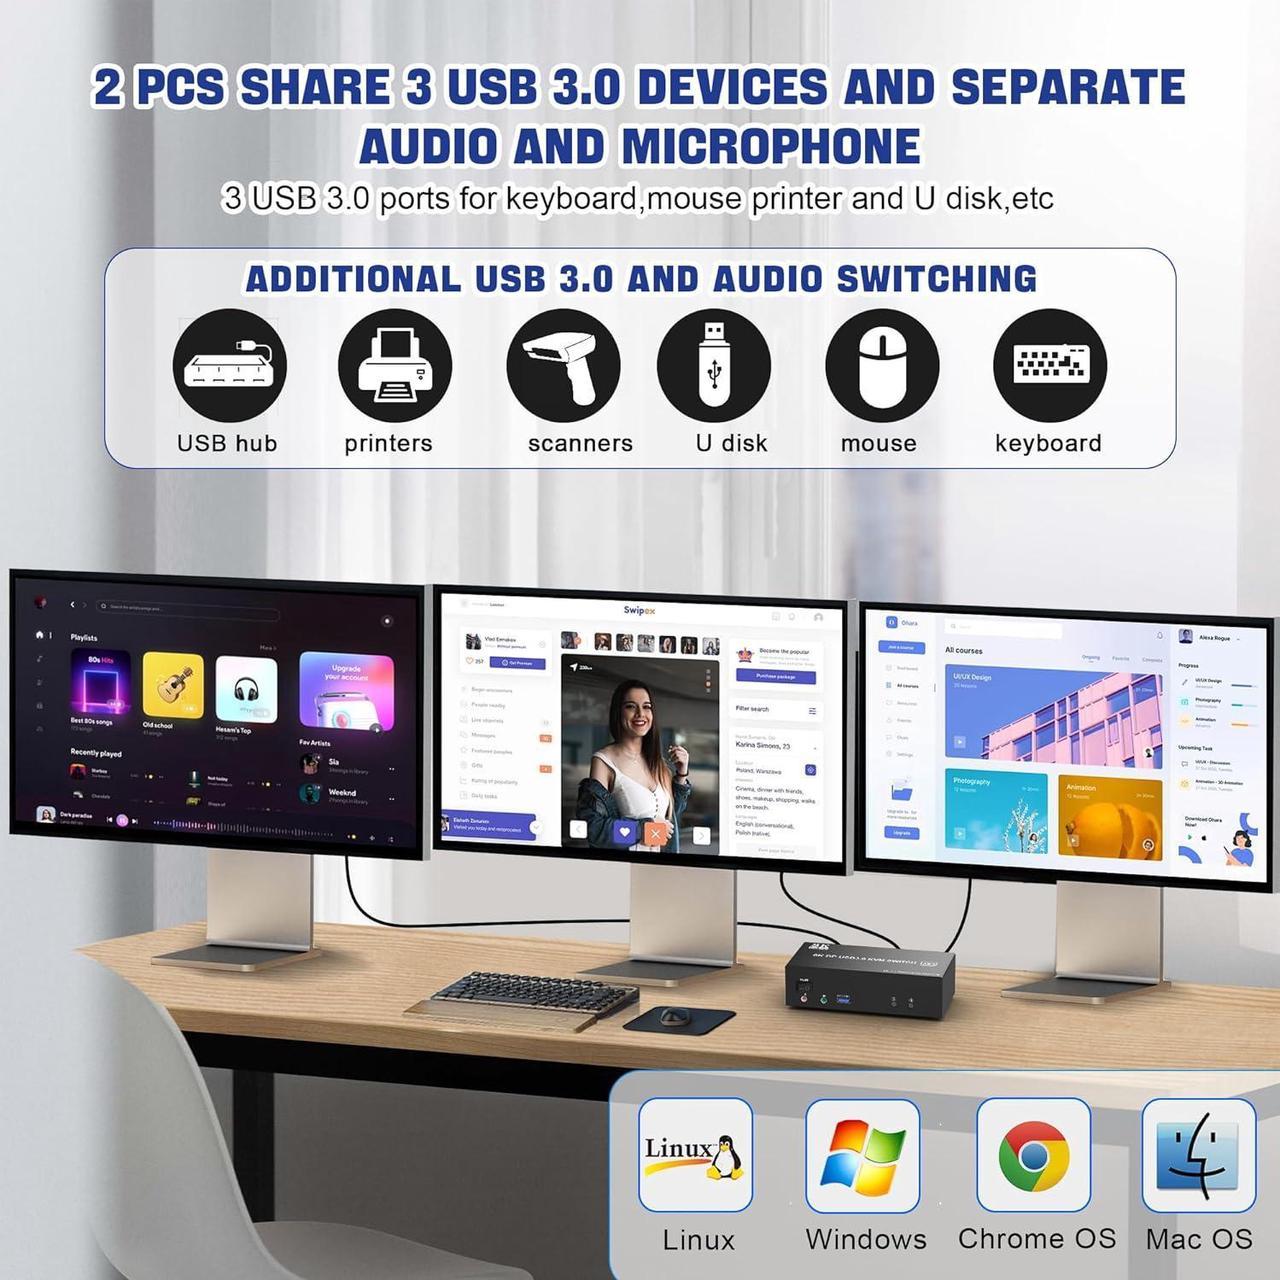
- 4, Cross support major operation systems including Windows, Linux, Mac and more;
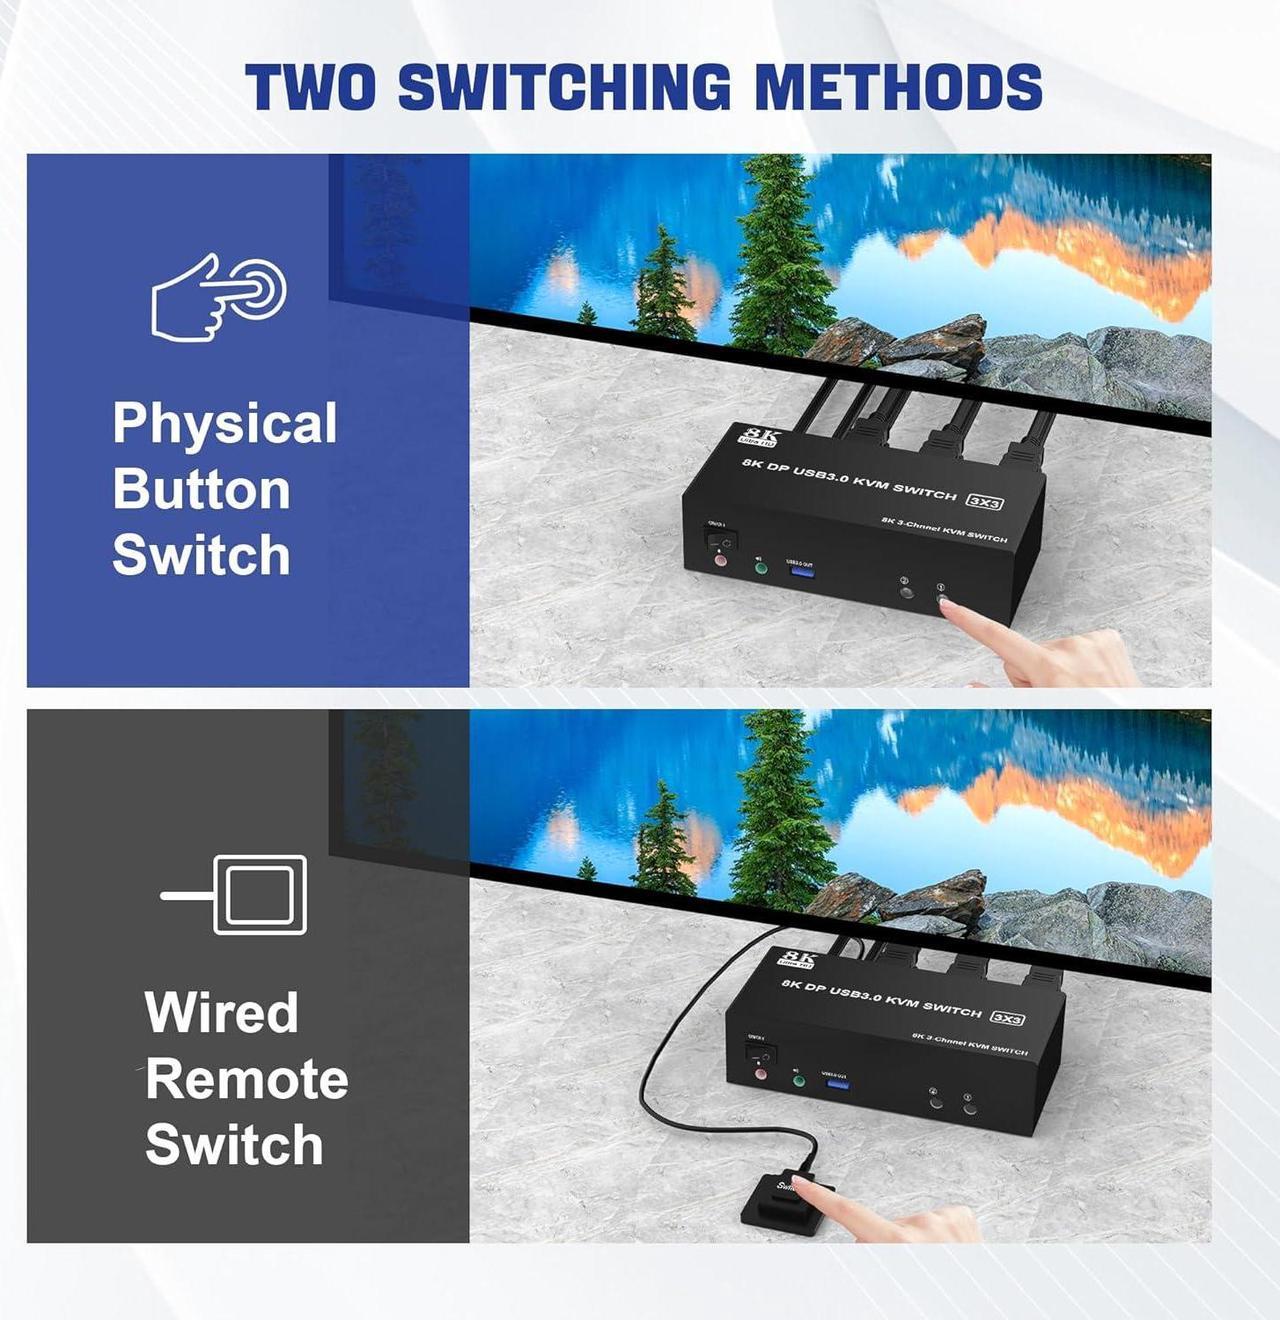
- 5, Switching modes: Buttons on the front panel and wired remote;
- 6, The ports that need to plug in DP/USB cables are all hidden behind the KVM, so the desktop doesn't get cluttered;
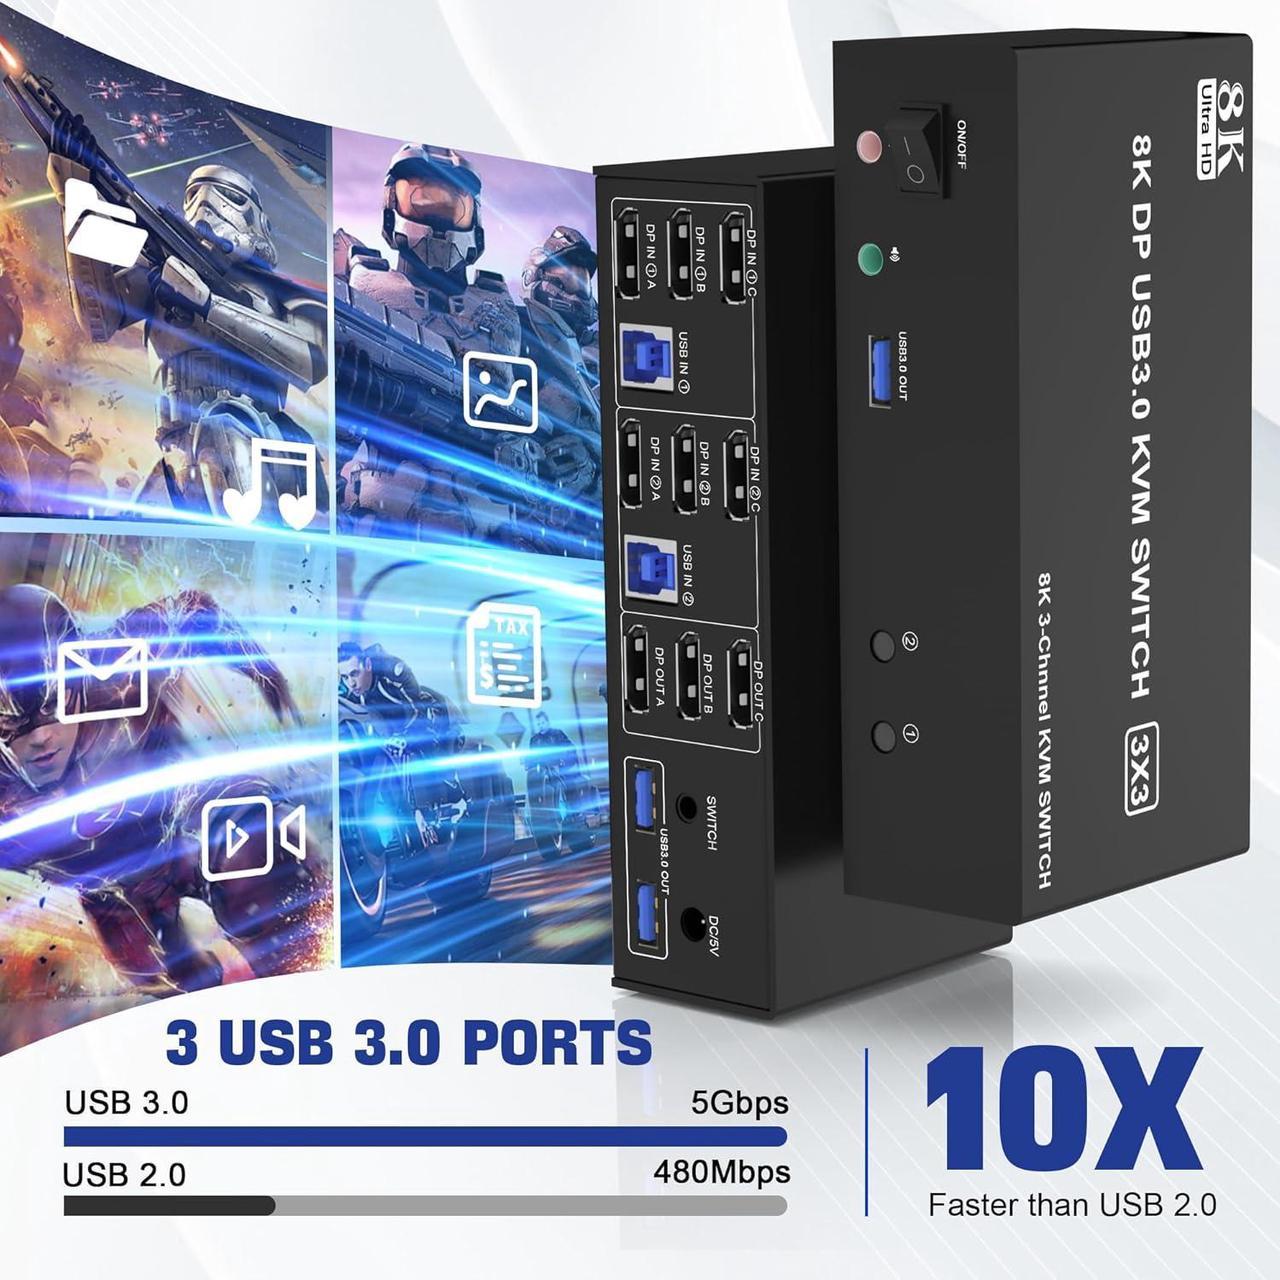
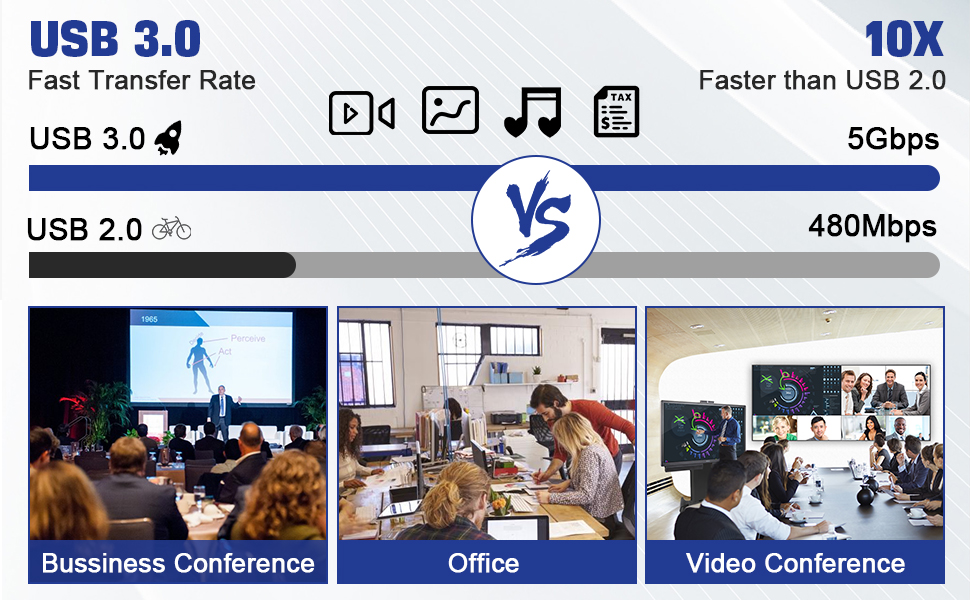
- 7, A USB hub can expand the USB 3.0 ports if multiple connections are required, also an audio microphone output.
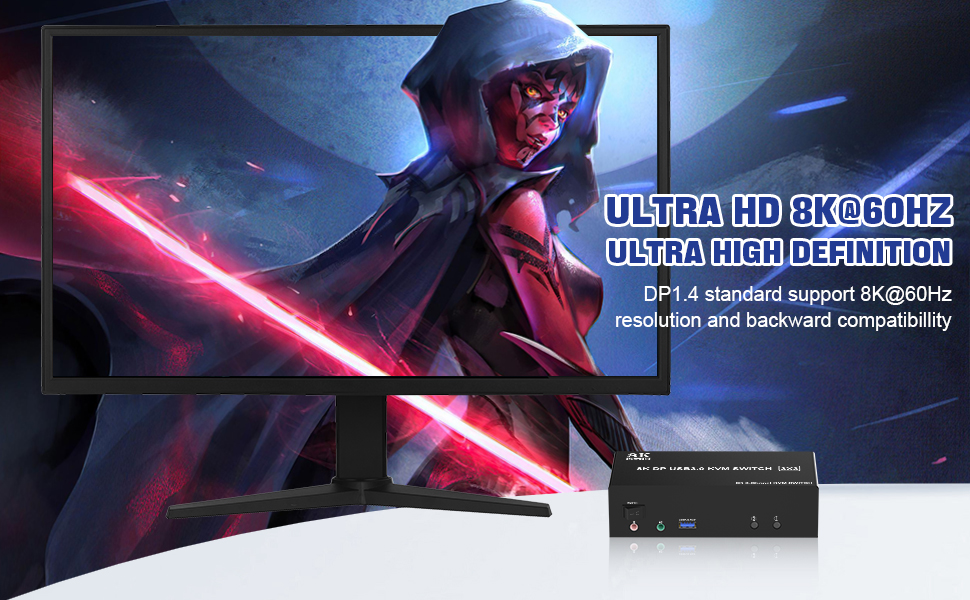
8K/4K HD Resolution
- This KVM switch 3 monitor supporting high resolution max up to 8K@60Hz, and also supports 4K@60Hz or other lower resolution (Downward Compatible).
Note:
- Only when both your computer Graphics card, monitor and DP cable support 8K@60Hz then you can get 8K@60Hz effect, so if you want the max resolution you have to check your devices first.
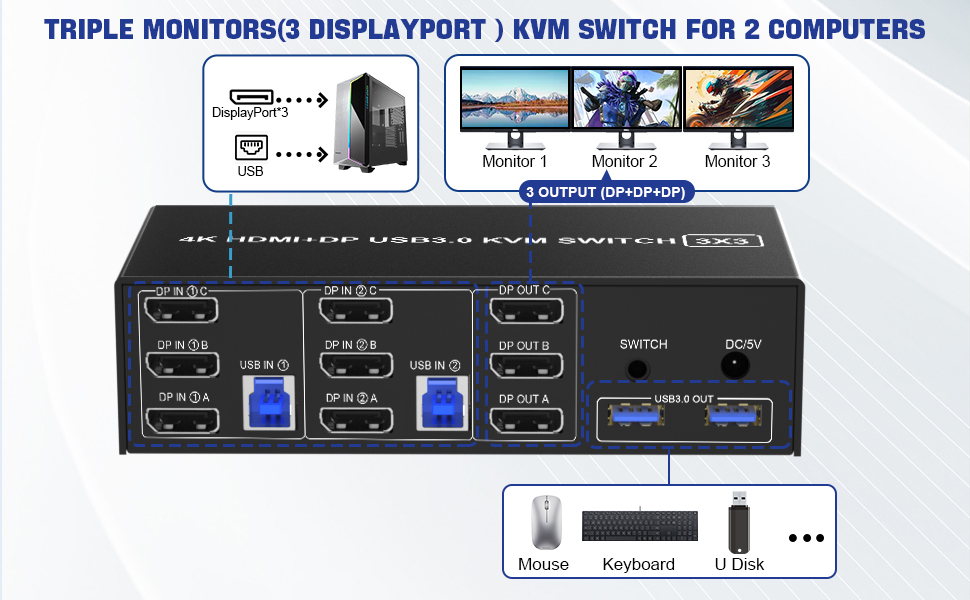
installation steps:
- 1. Insert the DC/5V adapter into the KVM ;
- 2. Plug the 3 DP cable into the KVM and monitor;(3 DP Output)
- 3. Plug the 3 DP cable and USB cable into the KVM and your computer/laptop (DP cables are not included)(Input)
- DP IN 1A + DP IN 1B + DP IN 1C + USB IN 1=PC1
- DP IN 2A + DP IN 2B + DP IN 2C + USB IN 2=PC2
- Please check whether DP IN 1A, DP IN 1B, DP IN 1C, and USB IN 1 corresponding, and whether DP IN 2A, DP IN 2B, DP IN 2C and USB IN 2 are corresponding. Mixed insertion is not supported.
- 4. Insert the mouse and keyboard into the KVM switch
- 5. If needed, you can connect a microphone and audio port
Note:
- 1. Most of the reasons why only one video output works is because of incorrect connection. Please make sure each PC has(3 DP cables+1 USB cable) connect to the KVM.
- 2. If the KVM switch does not work, you can turn off the switch on the panel and turn it on again after 2-3 seconds, and it will return to normal.
- 3.If the input USB 3.0 ports are not connected or connected incorrectly, the output USB device will not be recognized.
- 4. Note: DP cables are not included
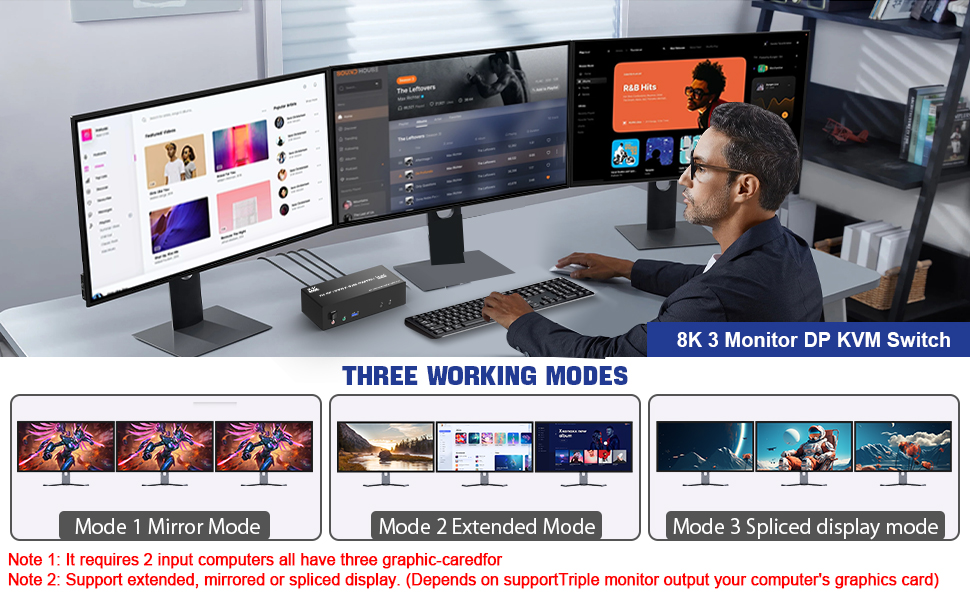
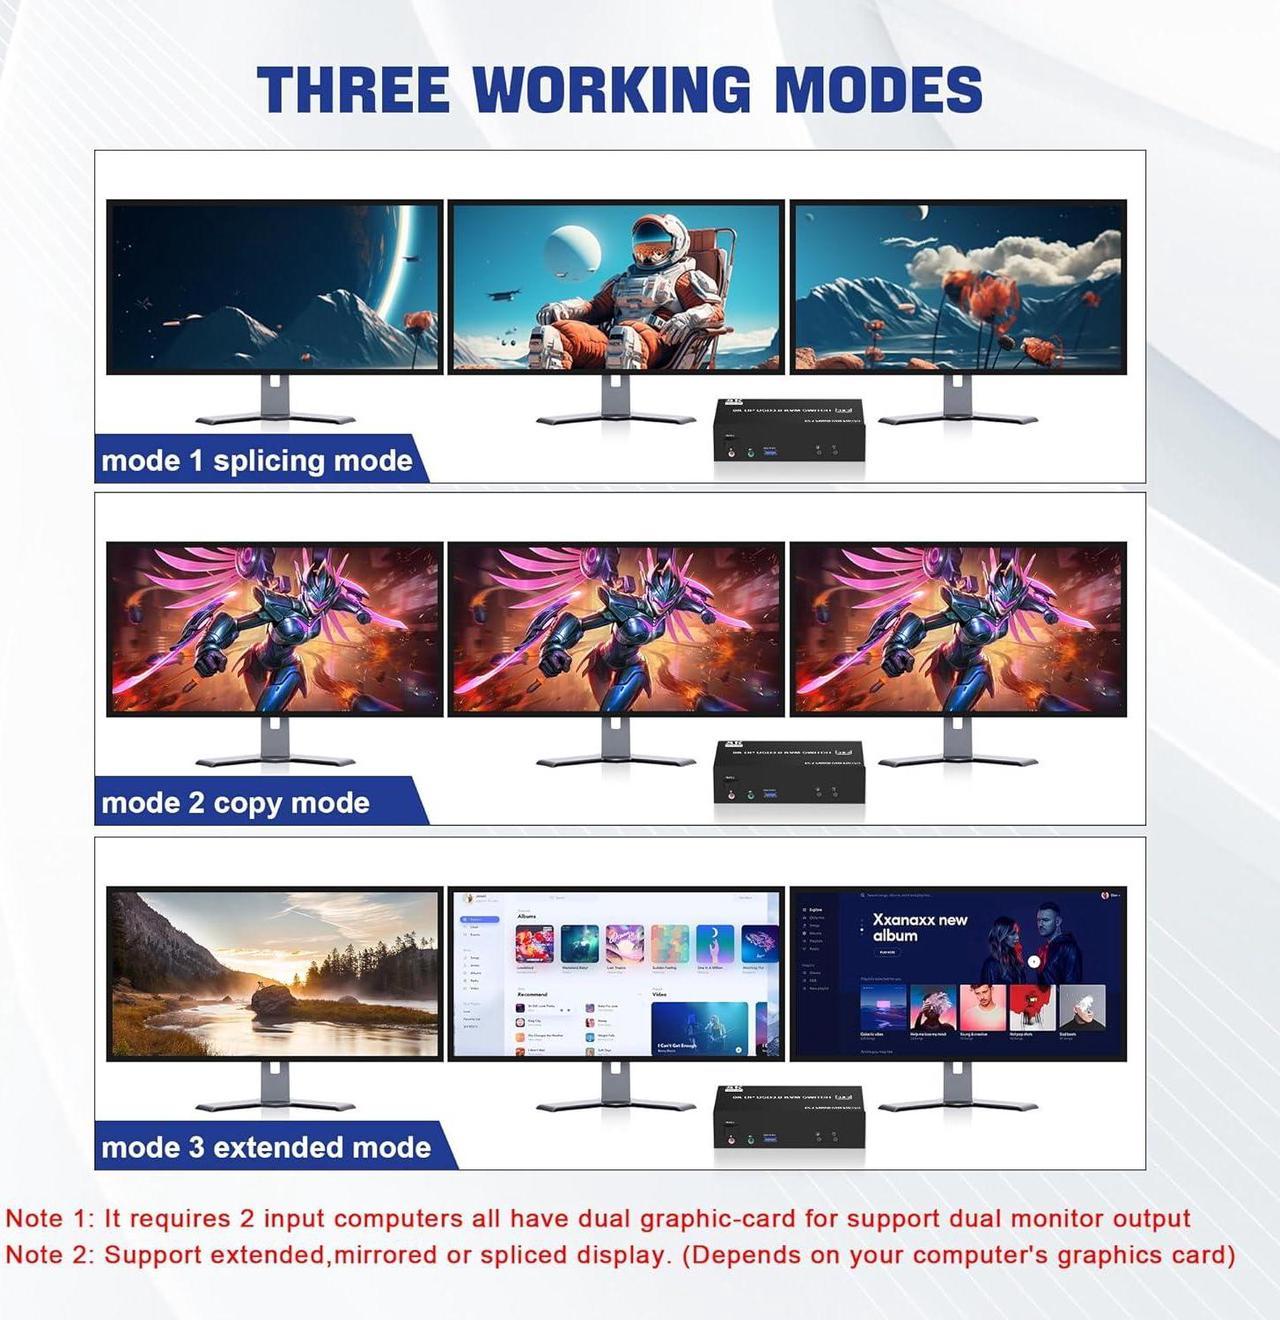
3 Display Modes
- Extended Display
- Mirrored Display
- Spliced Display
If you are a designer or illustrator, you can use this mode to see the effect while working.
- 1)Extended mode can output 3 different screens and mirror mode can output 3 identical screens. Note: If your graphics card has a splicing screen function, you can use the splicing screen mode.
- 2) The requirement for this KVM to achieve a 3-screen display is that each PC you connect to has the capability to support a 3 screen display. This has nothing to do with KVM.

Supports separate audio and microphone output
- Display port kvm switch comes with a 3.5mm Audio Jack port with a DAC chip inside, which can be inserted into a 3-segment 3.5mm earpiece device, and a 3.5mm microphone interface, which can be inserted into a 3-segment microphone.
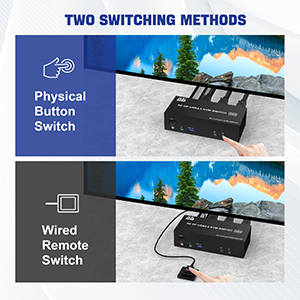
Switch by Panel button/desktop controller
- Quickly switch between the 2 computers with just one click of the switch button on the panel or use the wired remote controller (included in the package).
- Please note: This KVM does not support hotkey switching.
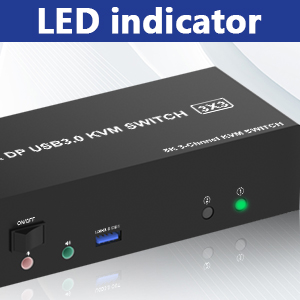
LED Indicator
- When switching to which PC, the LED will tell you whether PC1 or PC2 is active.
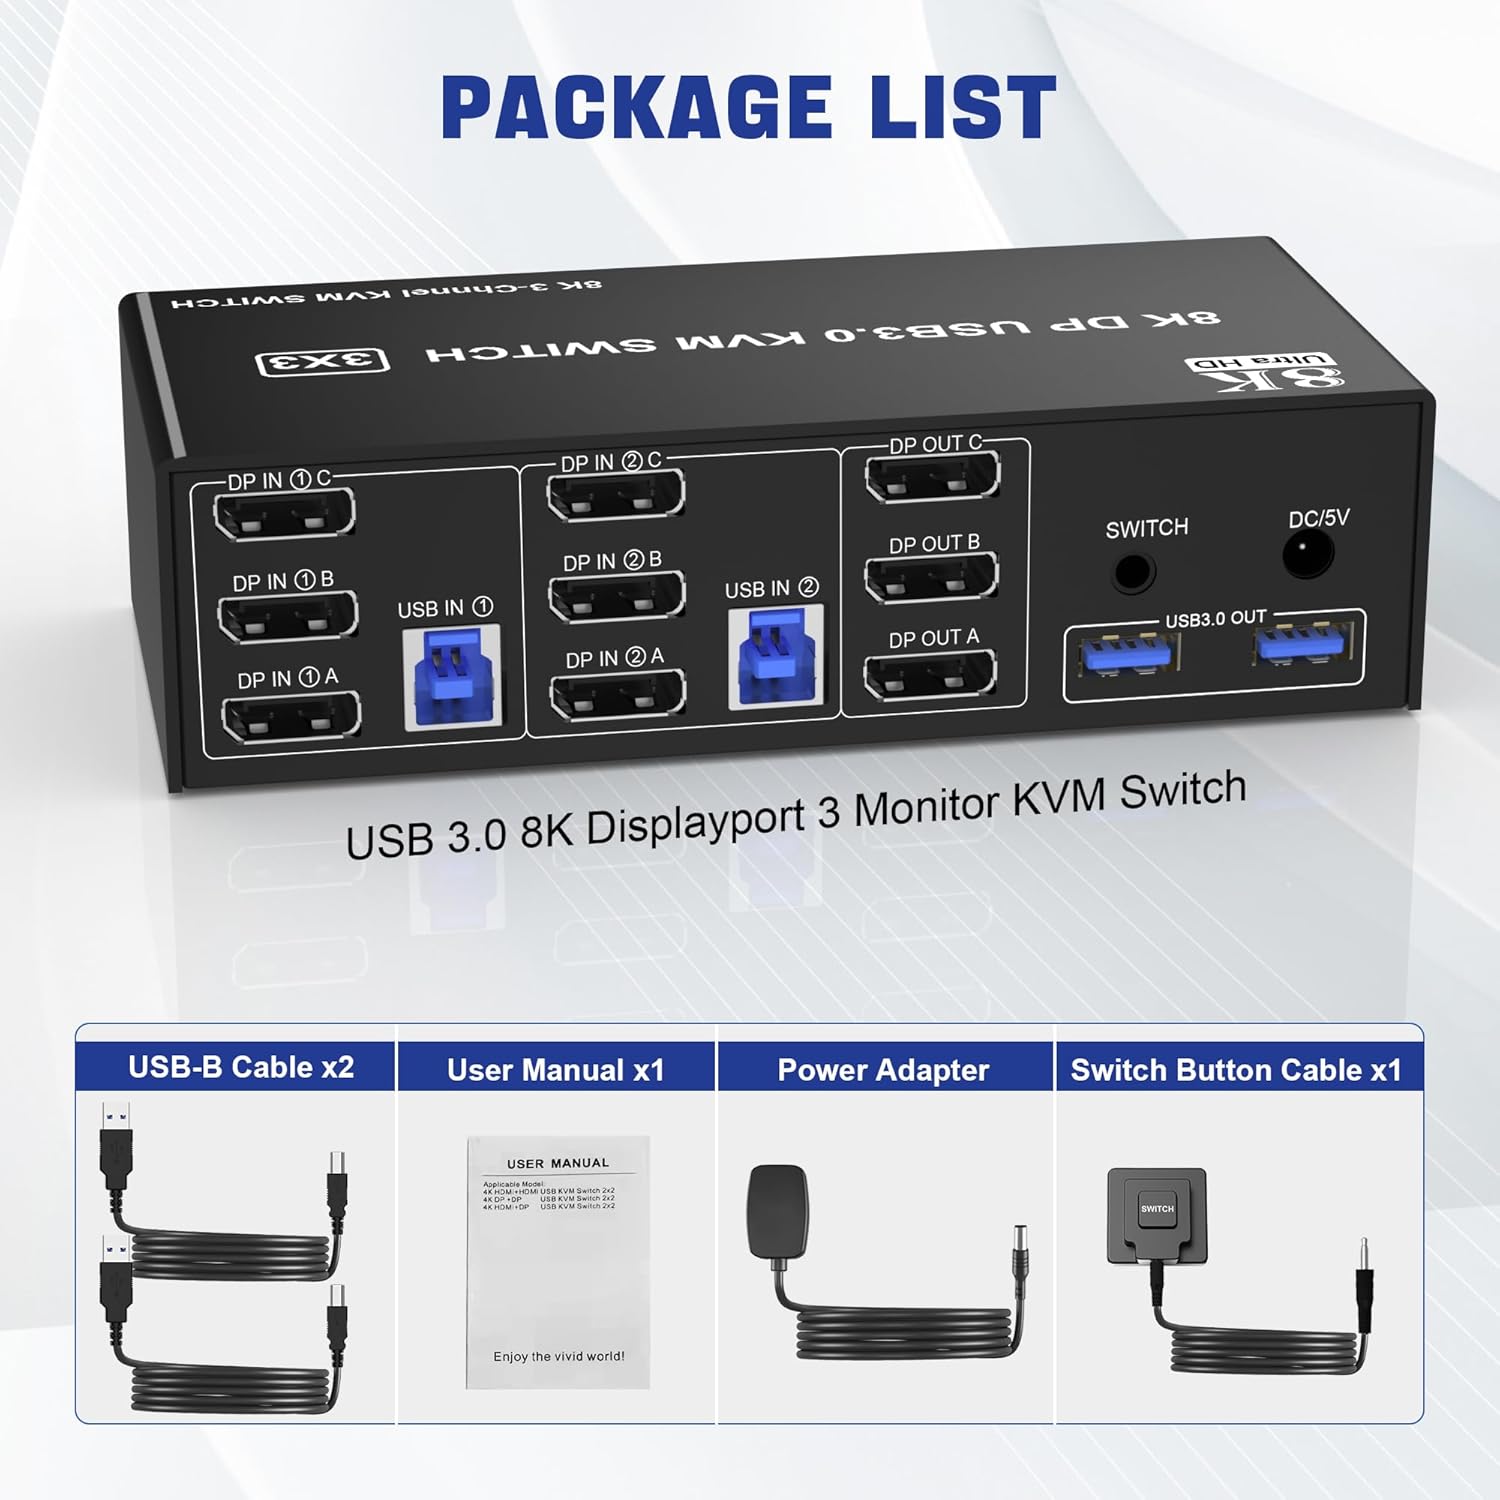
What You Get:
- 1x USB 3.0 DisplayPort Triple Monitor KVM Switch,
- 2x USB 3.0 Cables,
- 1x Power Adapter,
- 1x Wired Button Switch,
- 1x User's manual.
Important:
- After connecting the computers and the monitors through KVM, you need to set the screen output mode on the computer (press Windows+P) and select the output mode in the pop-up window on the screen. (Extended, mirrored or spliced display modes depend on your computer's graphics card).