


Take notes
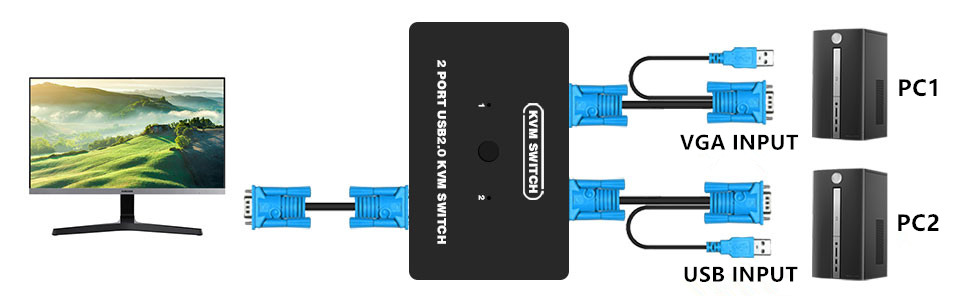
1. Connect the KVM cables to the computer ports of KVM switch. KVM Cable: Plug the HOST Port (VGA & USB connector) of KVM cable into the computer.
2. Plug the KVM Port (VGA connector only) of KVM cable into the KVM Switch. The HOST Port and KVM port can not be connected in reverse.
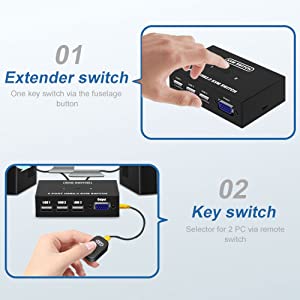
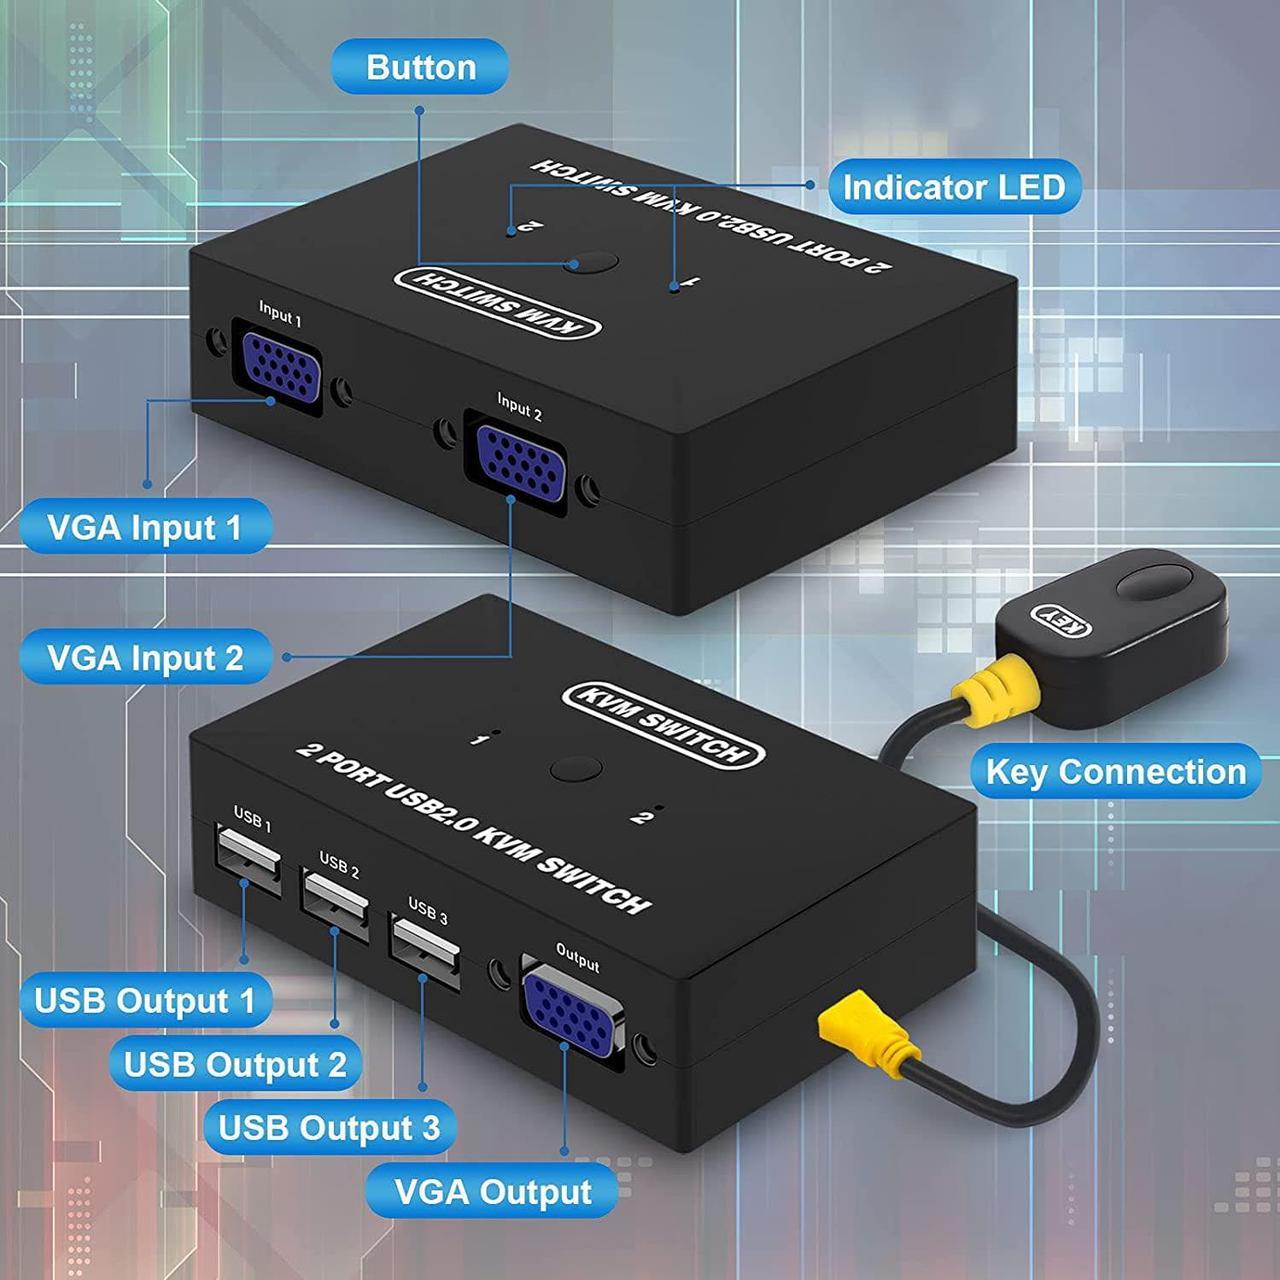
Panel Button
Simply presses the button on the panel to switch another PC.
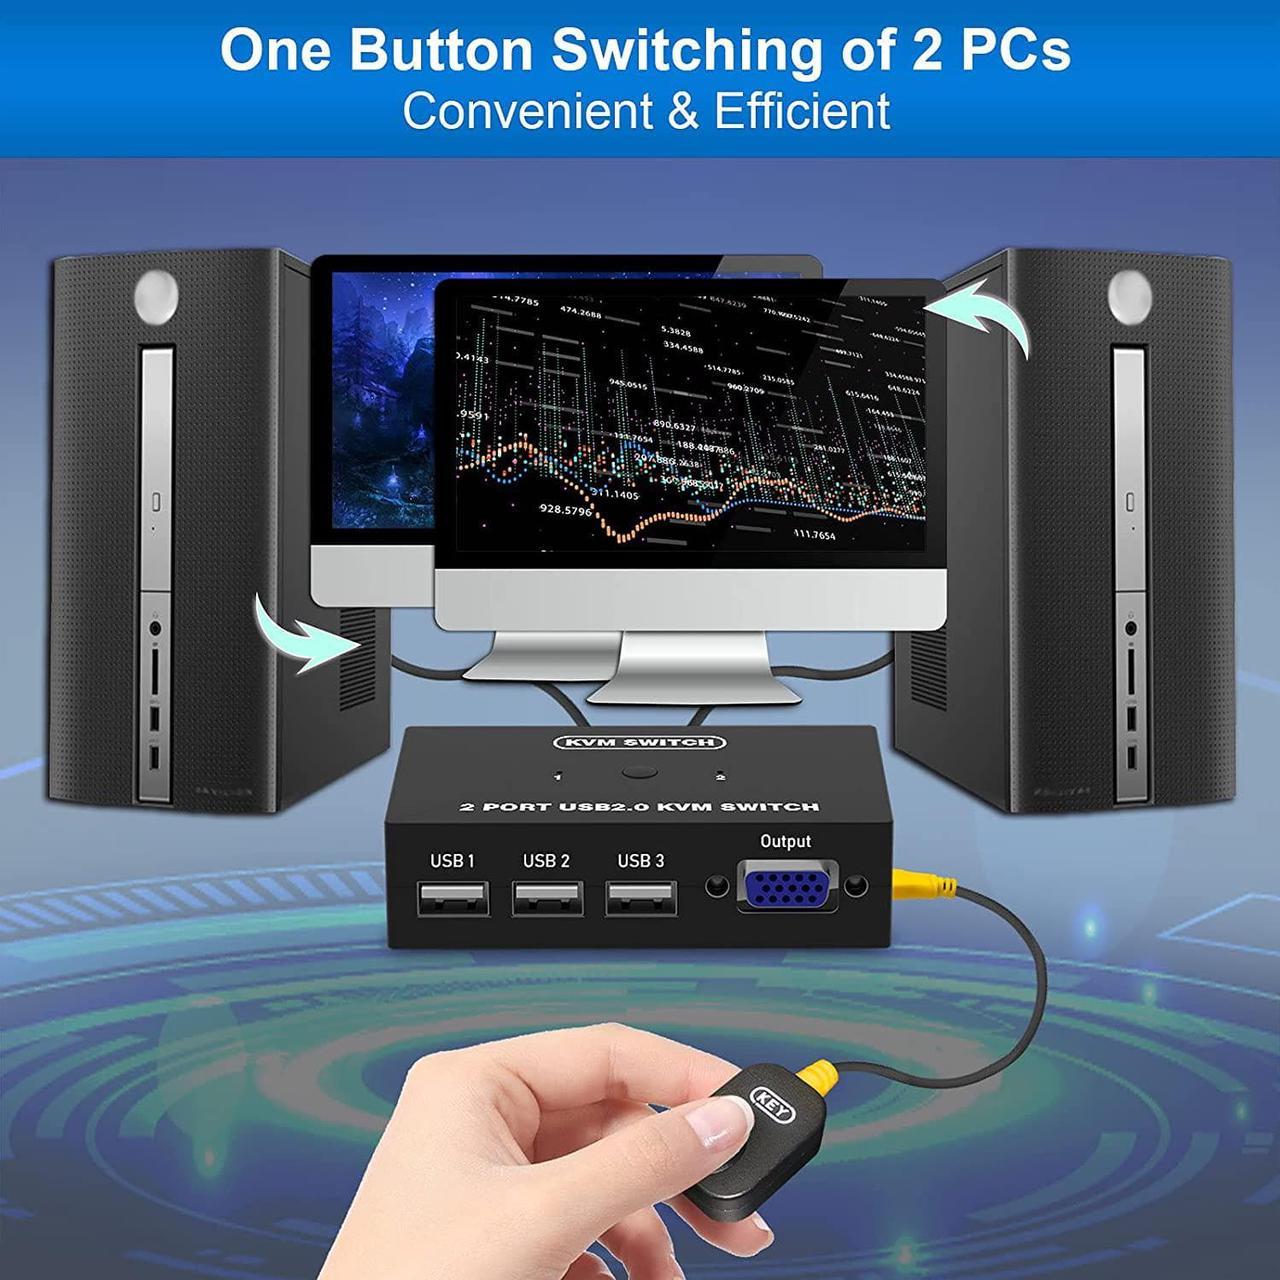
External Controller
Switch to another host by pressing the button on the external controller.
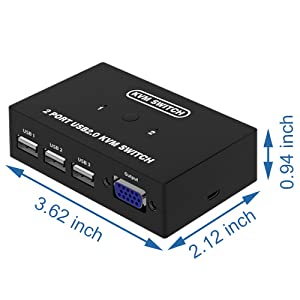
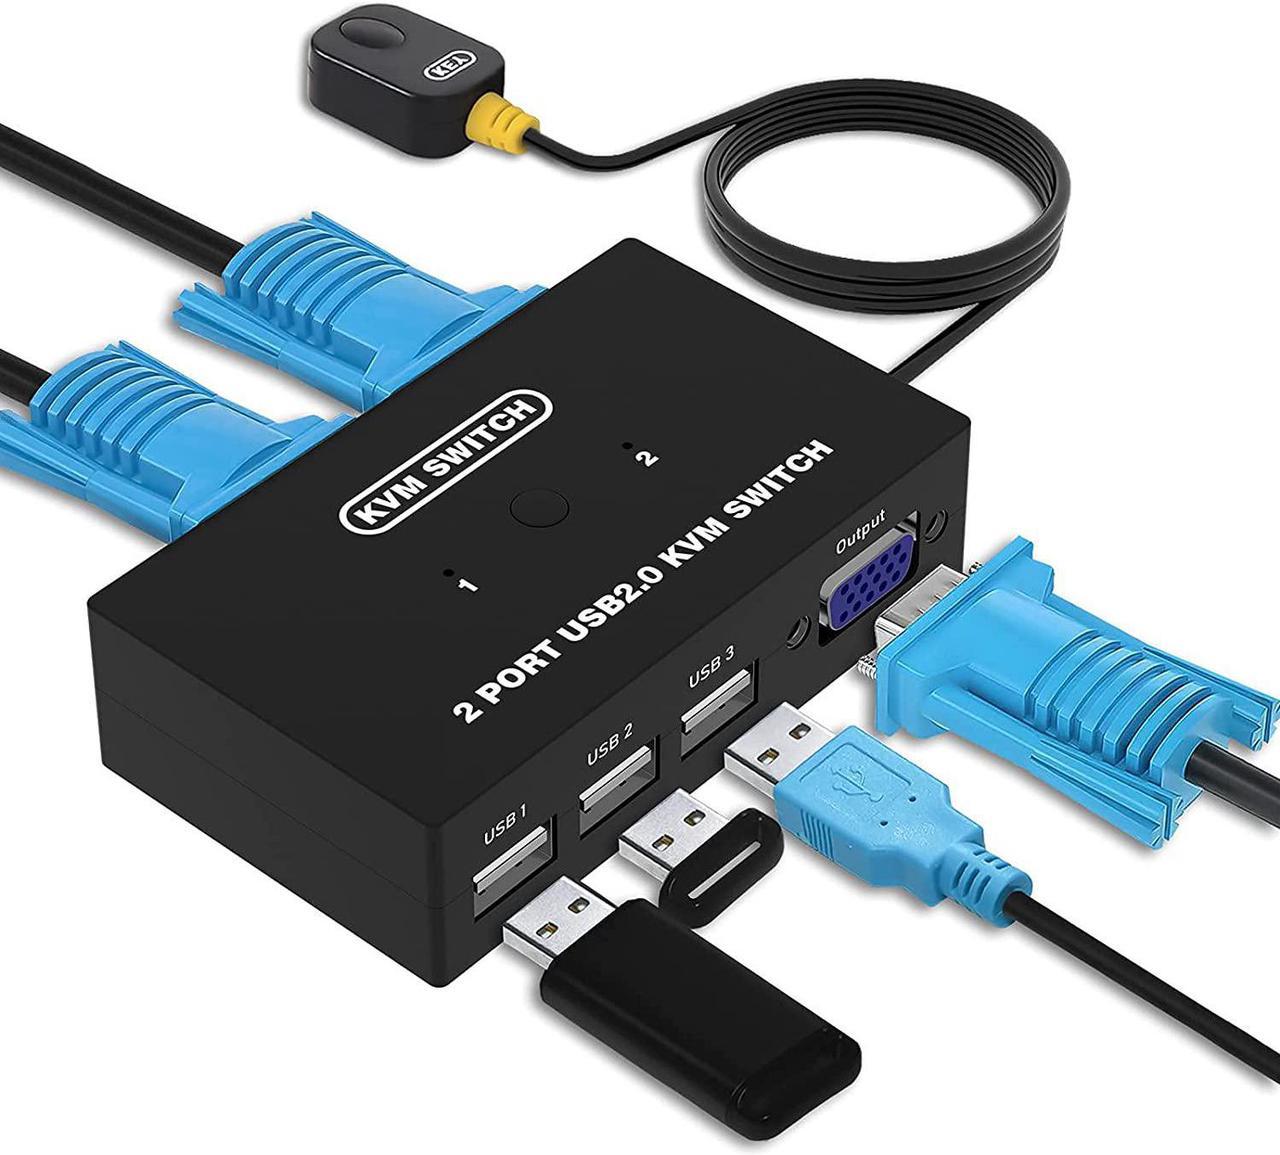
Interface protocols ------ USB 2.0
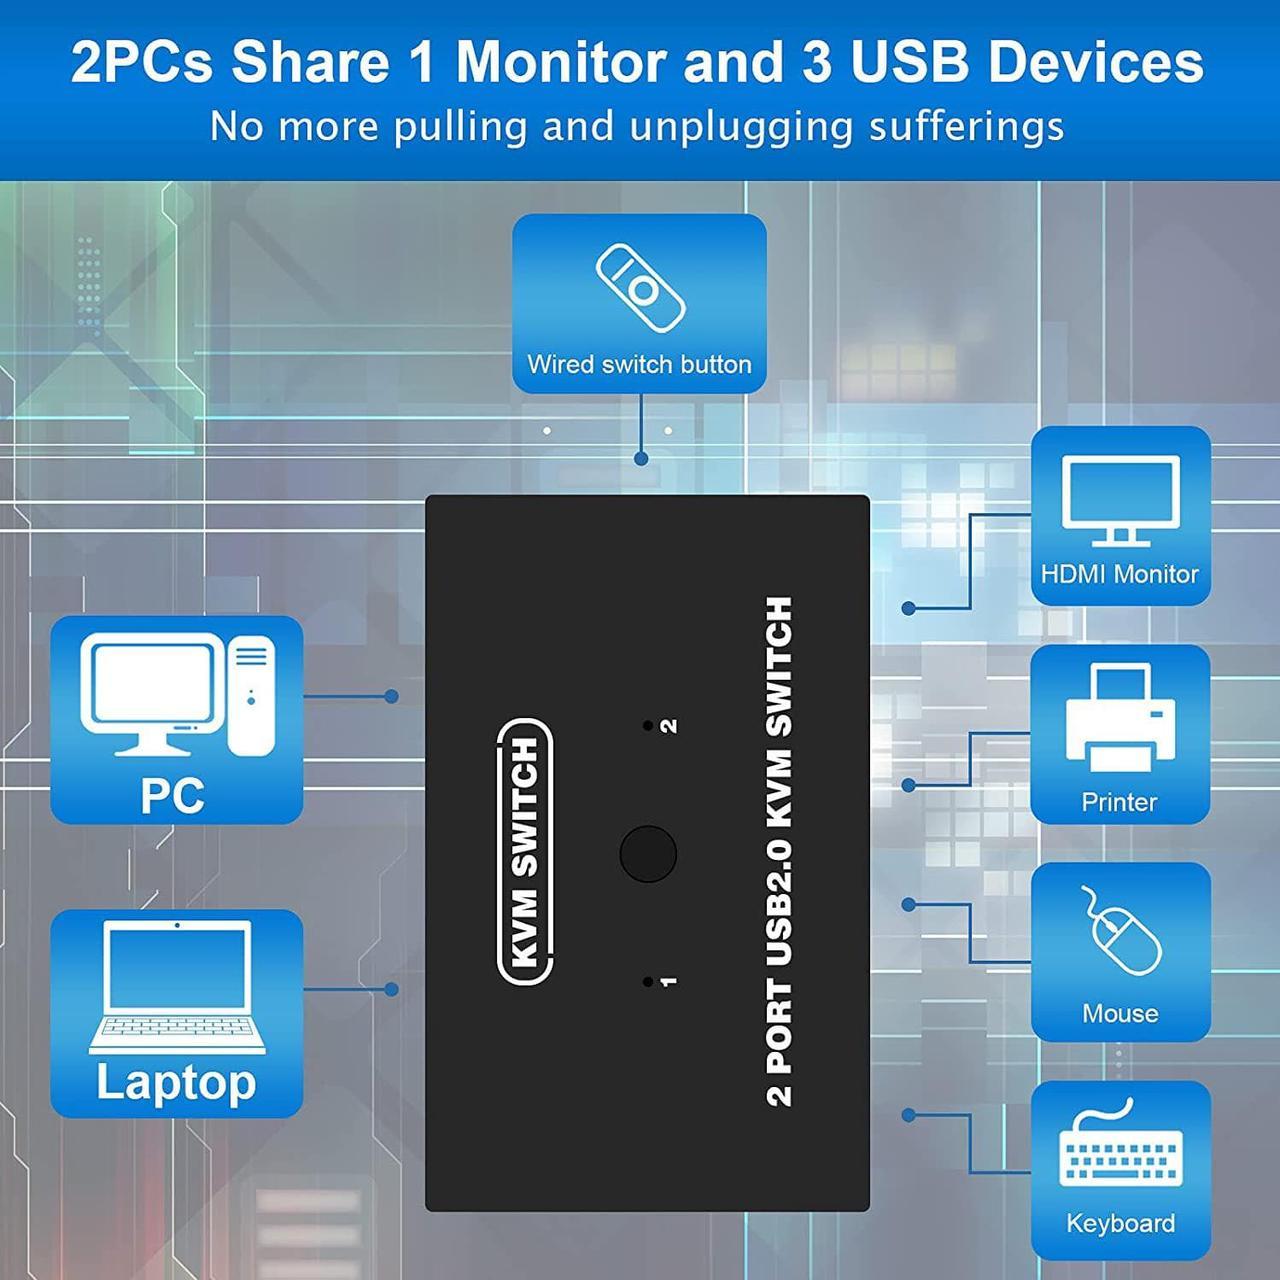
Input: 2 PC MAX (VGA + USB 2 in 1)
Output: VGA * 1 + USB * 3
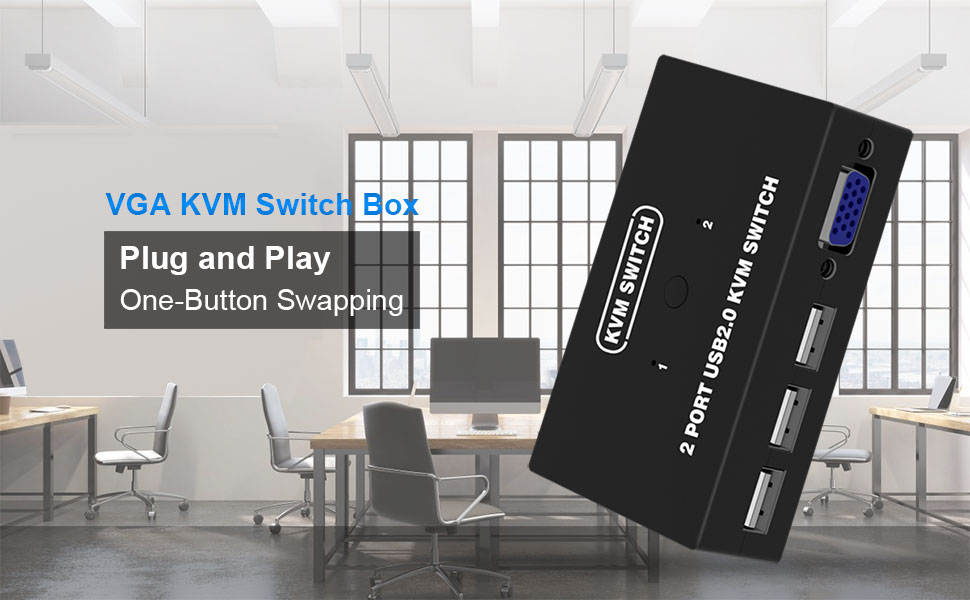
Switch mode: panel button, external controller
Resolution: 1920*1440
Support hot- plugging
Support System: Windows / Mac OS / Linux / Unix / Dos
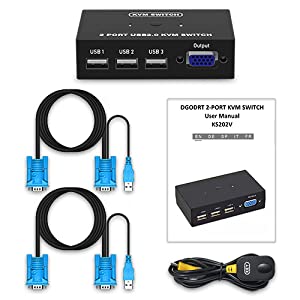
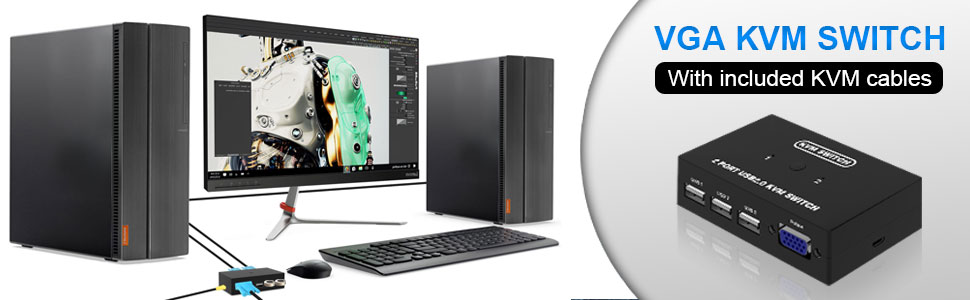
KVM switch * 1
KVM cable * 2
Wired switch button * 1
User Manual * 1