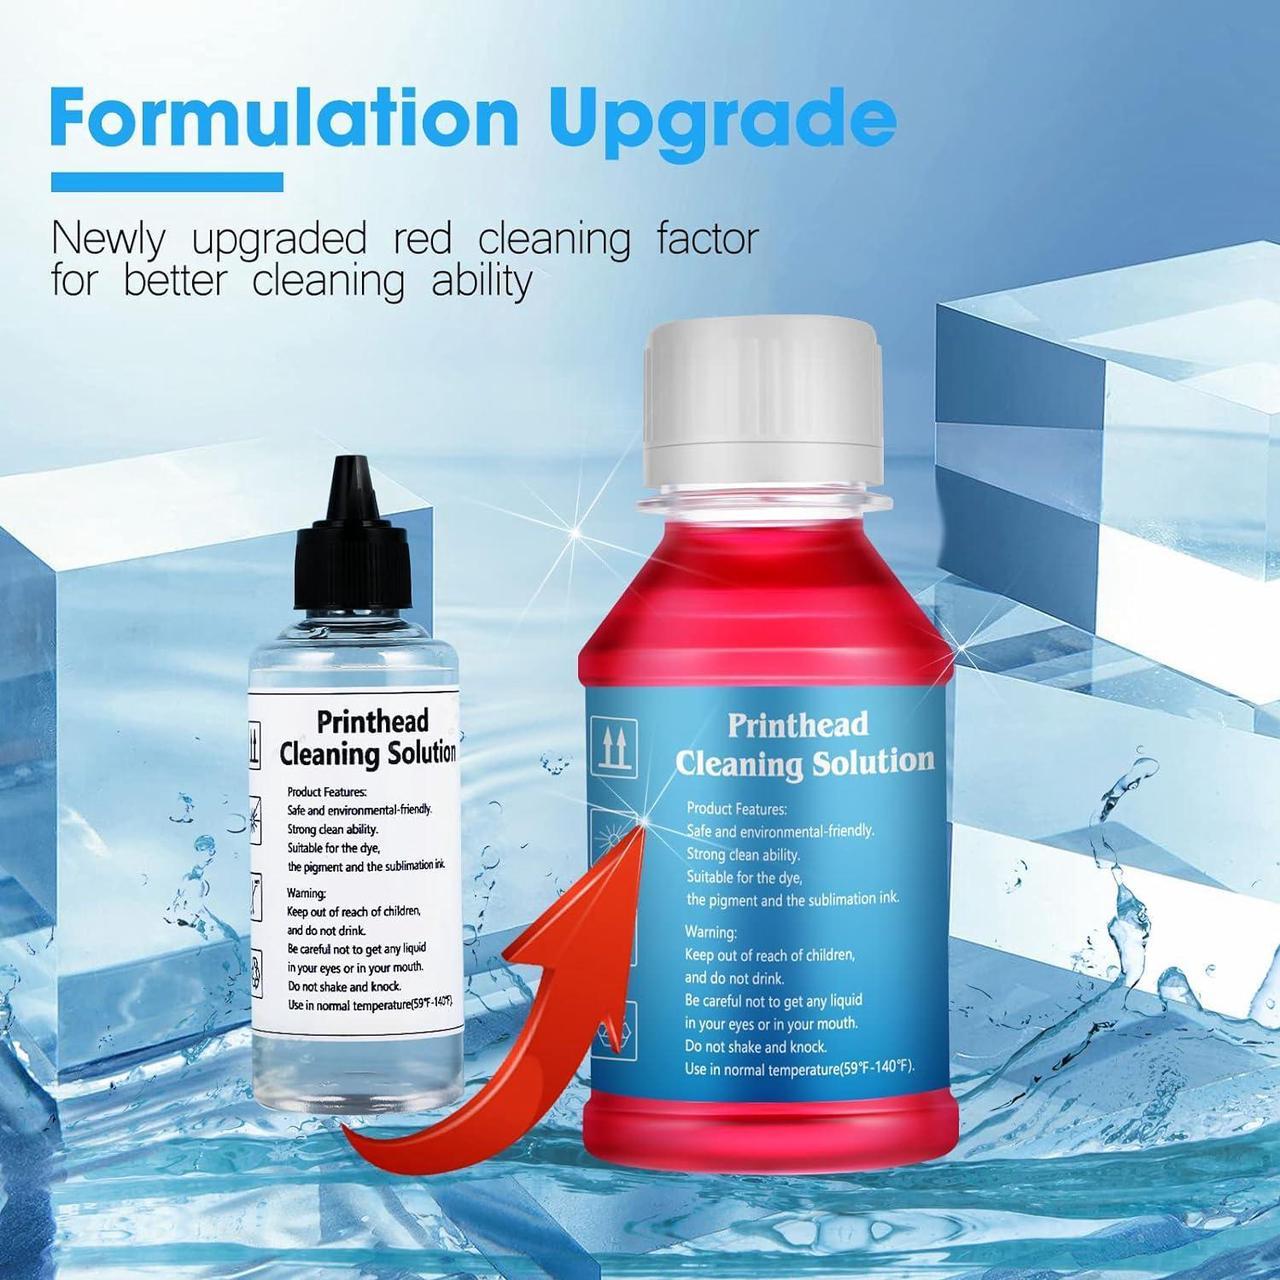
Directions:
1. Heat the cleaning fluid.
2. Print the "nozzle checking" test page to confirm the color to be cleaned.
3. Pick out the ink cartridge.
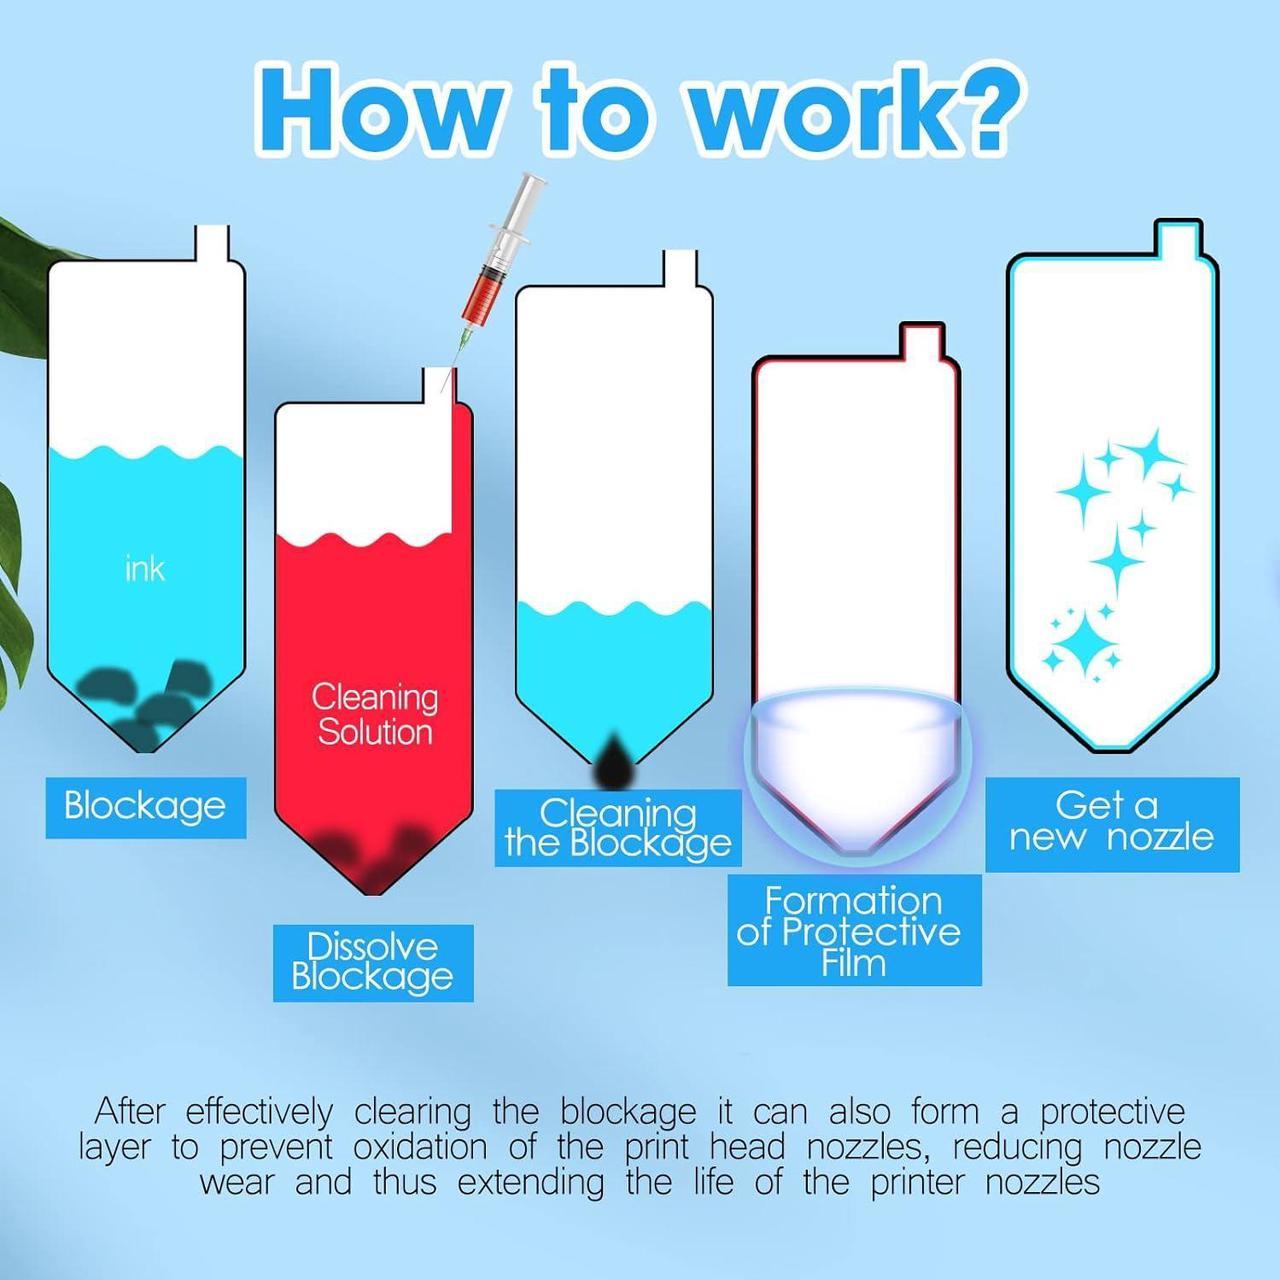
4. Inject the cleaning fluid into the print head that needs cleaning with a syringe.
5. Install the ink cartridges and run the "nozzle cleaning" function twice in printer driver.
Package content:
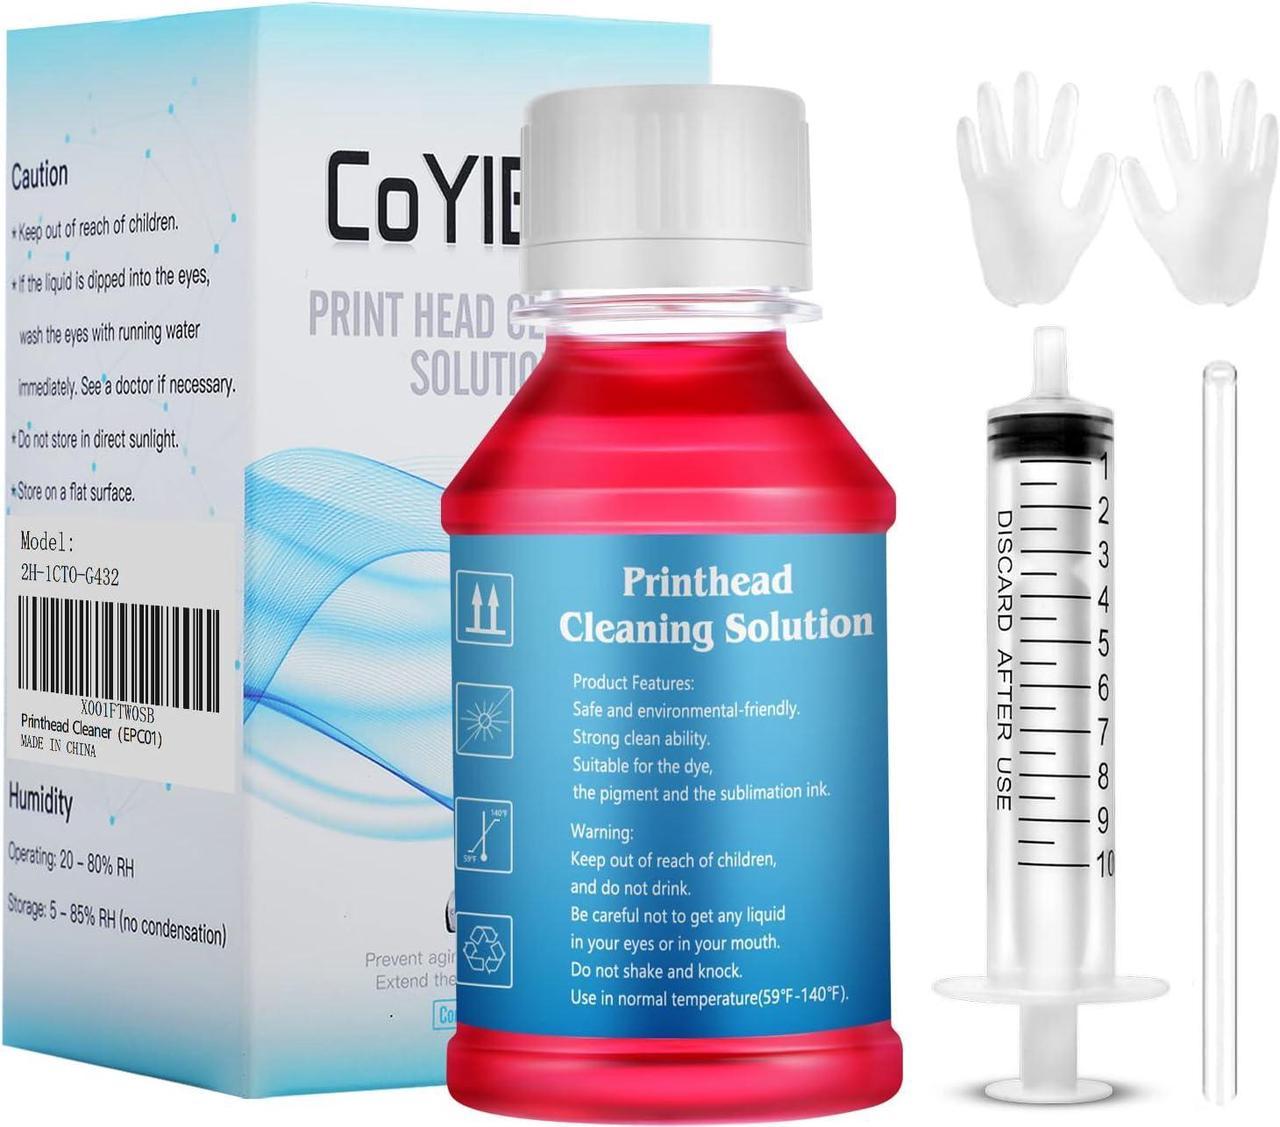
3.4 oz Print head Cleaning Fluid
1 × Syringe(10 ML)
1 × silicone tube
1 × instruction manual
Risk Warning:
1. After finishing cleaning with this fluid, you need to use the printer's cleaning program for printhead cleaning, which will consume a lot of ink. Please ensure enough ink in advance.
2. Since there are several causes for printer blockage. This cleaning fluid does not ensure that all blockages will be solved. Such as:
(1) The printhead blockage is very serious or there is insoluble substances in the nozzle, this cleaning fluid might not work.
(2) The printhead is aging, the blockage situation might get worse after cleaning.
3. Since you are not a professional, there is a risk of damaging the printer when repair it by yourself, such as: when you inject the fluidinto the printhead, if there is leakage or improper operation, it will cause a short-circuit, which will lead to the circuit board burned, even the printer damaged completely. Please take this product as last attempt. We will not be responsible for the loss or damage caused by cleaning, but we will do our best to solve your problems. If it doesn't work, please contact our seller and you will get a refund.
Although there are the above risks, most customers can clean the printhead successfully under our guidance. After reading this tip, you can decide whether this cleaning solution is worth trying according to your own situation. If you have any other questions, you can contact our seller, we will give you professional guidance.
1. First, you can print a nozzle check pattern to check for clogged nozzles. There are gaps in the black lines for example.
2. Use the microwave oven to heat the water in the glass to 130-140(not exceed 140, otherwise will be deformed), and then put the cleaning fluid bottle in the hot water to heat up.
3. Select "Replace Ink Cartridge" and wait for the carriage unit to move the location of the ink replacement, remove it and unplug the power cable directly, then push the carriage unit to the right side of the printer.
4. Get a kitchen towel or blotting paperstrong water absorption and 2-3 layers), cut into a 4 CM wide strip shape, and put it in the printer.
Step 1
Step 2
Step 3
Step 4
5. Push the carriage unit to the middle of the printer. Let it be above of the paper.
6. Insert the syringe into the silicone tube and inhale 4 ml of the heated cleaning fluid.
7. According to step 1, insert the silicone tube into the ink inlet of the color which needs to be cleaned, and push the handle slowly of the syringe to inject the cleaning liquid into the print head.
8. Leave the fluid inside for 1 hour to dissolve the blockage inside the print head. Repeat step 6 and 7, and cleaning again.
Step 5
Step 6
Step 7
Step 8
9. Repeat step 6 and 7, inject 4 ml cleaning fluid to rinse the print head again.
10. Clean up the residual cleaning fluid inside, and then push the carriage unit back to the right side of the printer, pick out the paper.
11. Connect the power cable, start the printer, and install the cartridges. Select in the printer driver to press "Maintenance" -> "Print Head Cleaning" to start the cleaning cycle, and then print the "Printer Test Page" to confirm if the print head works well.
12. If it still doesnt work, you can try it again. Extend the waiting time in Step 8, and if you still don't see any effect after cleaning the print head 2 times, it is recommended to try again after one day.
Step 9
Step 10
Step
