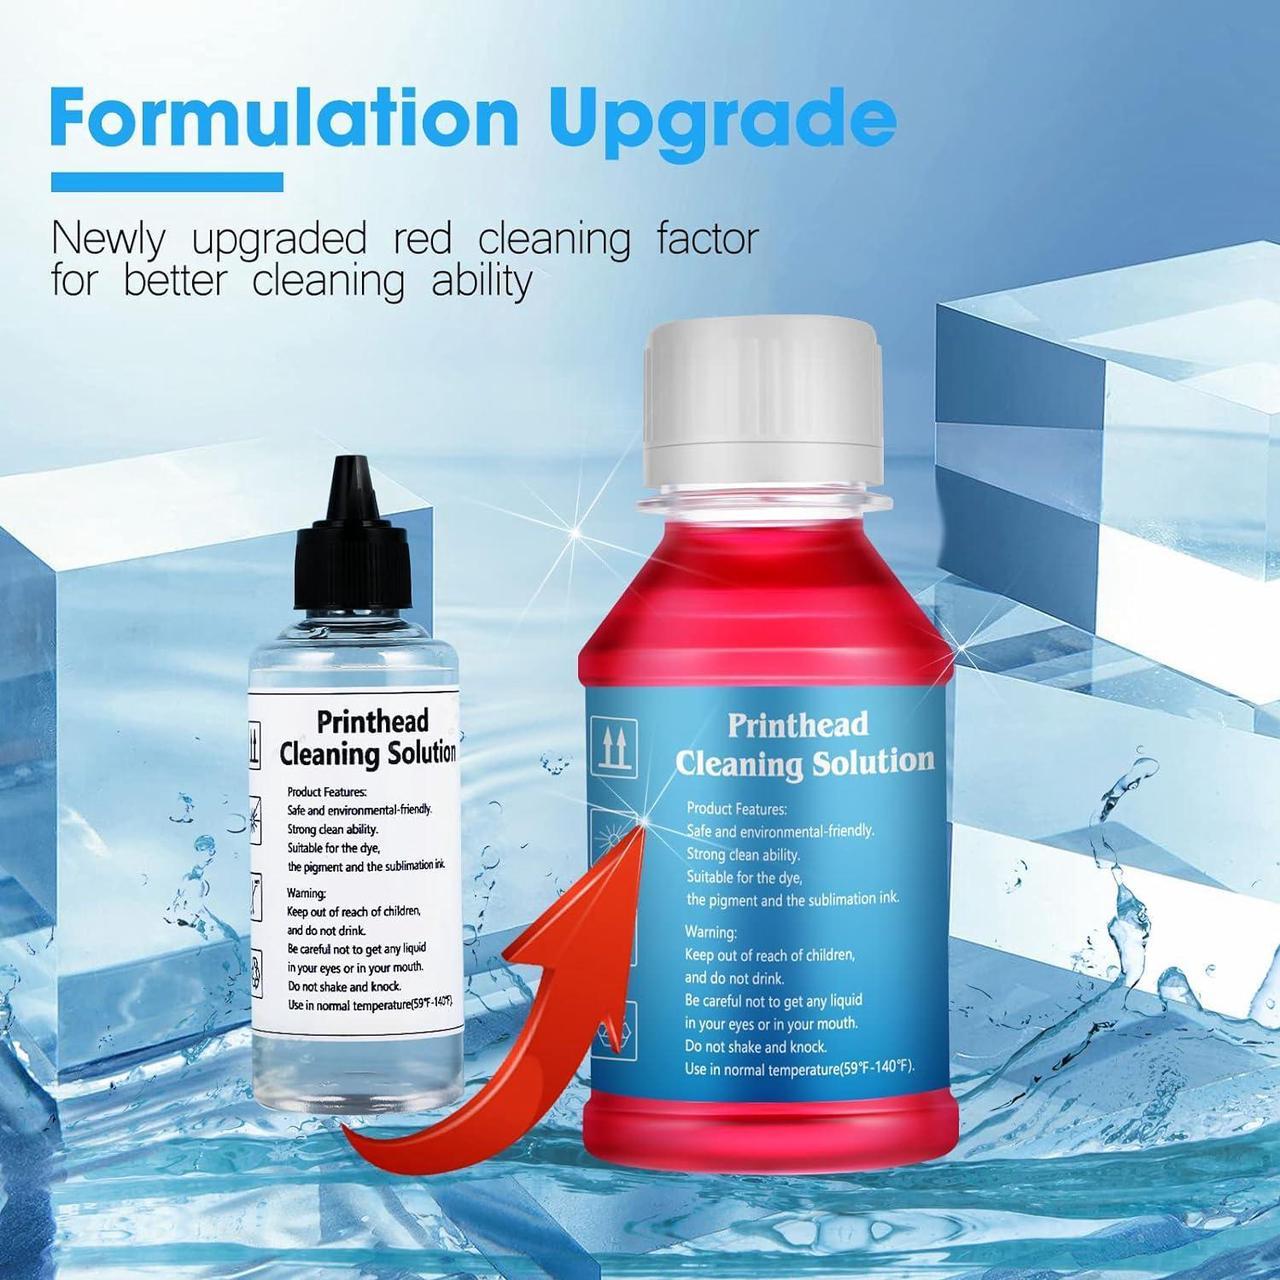
Directions:
1. Heat the cleaning fluid.
2. Print the "nozzle checking" test page to confirm the color to be cleaned.
3. Pick out the ink cartridge.
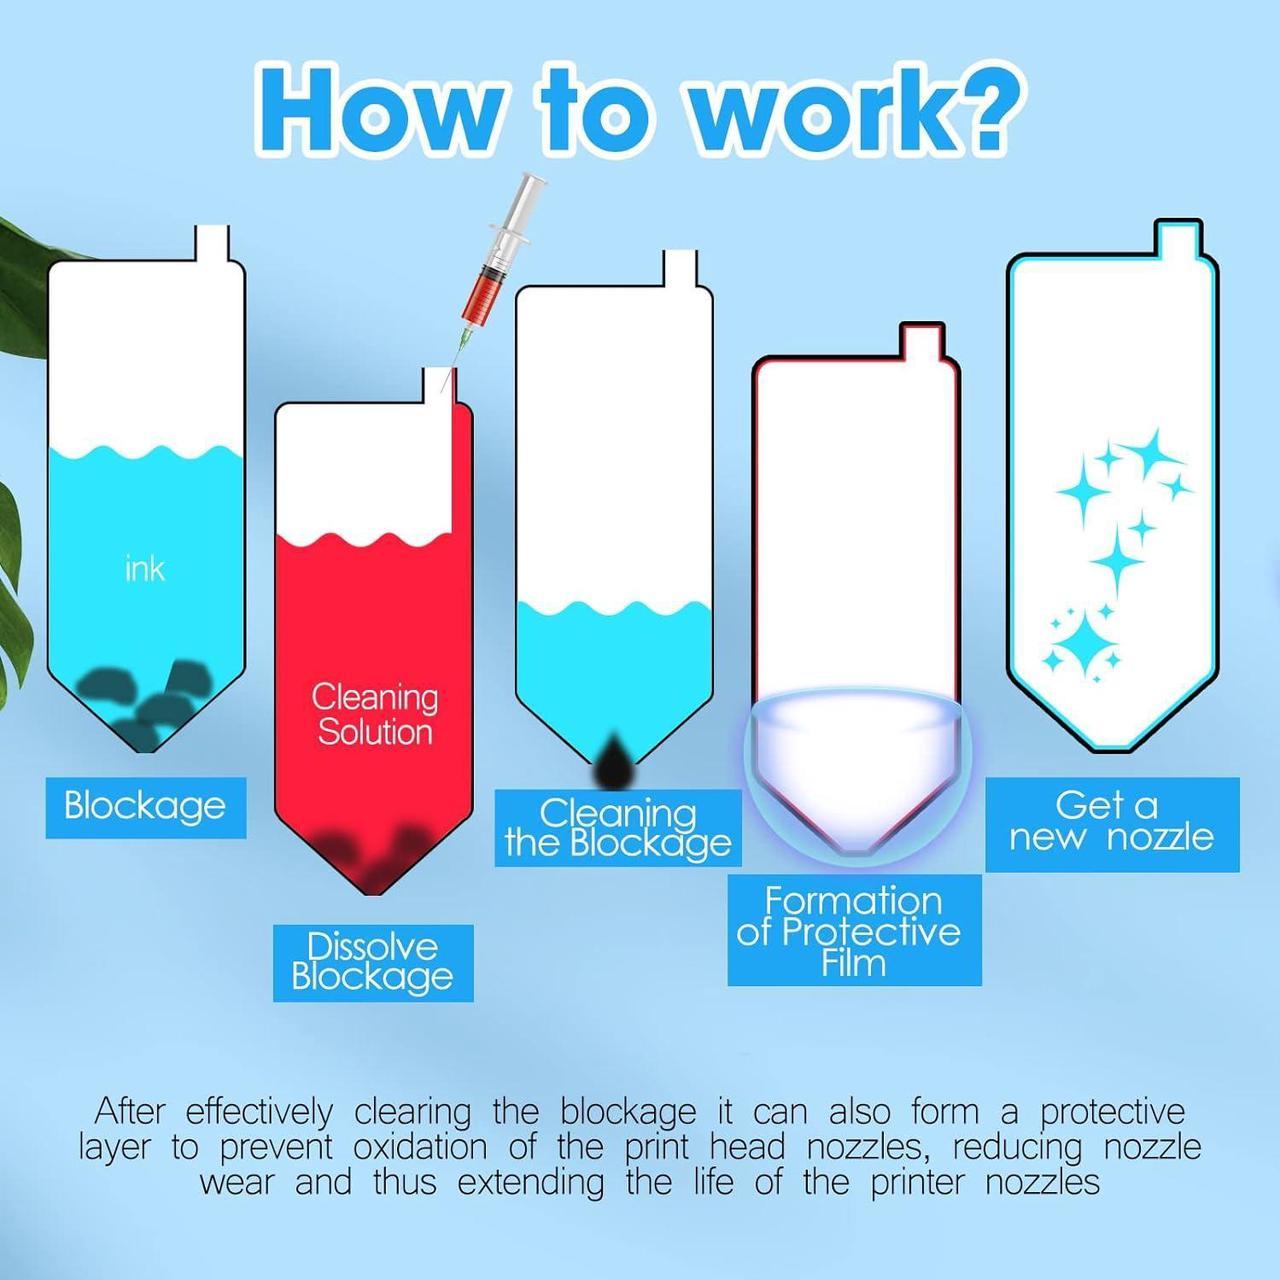
4. Inject the cleaning fluid into the print head that needs cleaning with a syringe, and wait for 10-12 hours,as shown in Figure 5.
5. Install the ink cartridges and run the "nozzle cleaning" function twice in printer driver.
After cleaning, if the clogging is more serious, maybe it's because the cleaning liquid hasnt been totally discharged and still stays inside the print head. Please follow the following steps:
1. If you have the refill ink for this printer, you can inhale ink 4ML with a syringe and inject it into the ink inlet of the print head, then install the cartridge and run the driver's "Print head cleaning" function 1 times.
2. If you do not have the refill ink for this printer, you can use an empty syringe (do not need to inhale anything) to connect with the ink inlet of the print head, repeatedly push and pull the plunger of the syringe to discharge the cleaning liquid. Then install the ink cartridge, and run the driver "print head cleaning" function 1 times.
3. If there is no improvement, you will need to wait 2 hours and try again to run the driver's "Print head cleaning" function 1 times. The above methods can be tried several times.
P.S.:More detail instructions and tools are included in the package.
Package content:
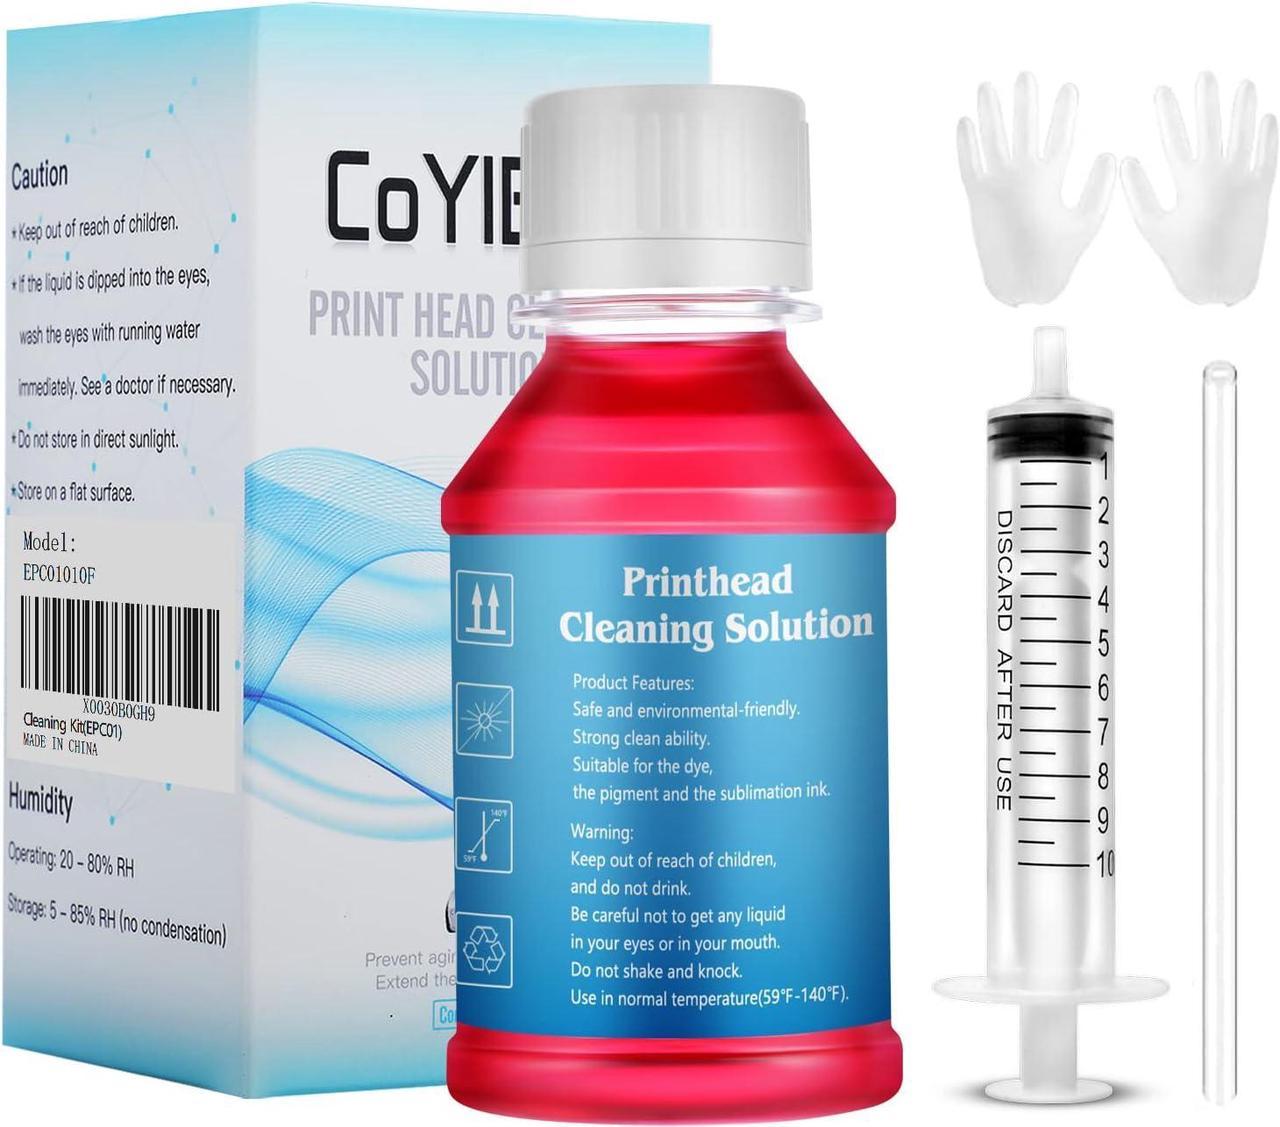
3.4 oz Printhead Cleaning Fluid
1×syringe(10ML)
1×silicone tube
1×instruction manual
Cautions:
It may not work for serious clogging or when there is insoluble material inside the nozzle. You need to replace a new print head to solve the problem.
We have added a video so that buyers can follow the video instruction. It is a complicated process of cleaning up nozzle clogging, which may take your time and use a lot of ink.
