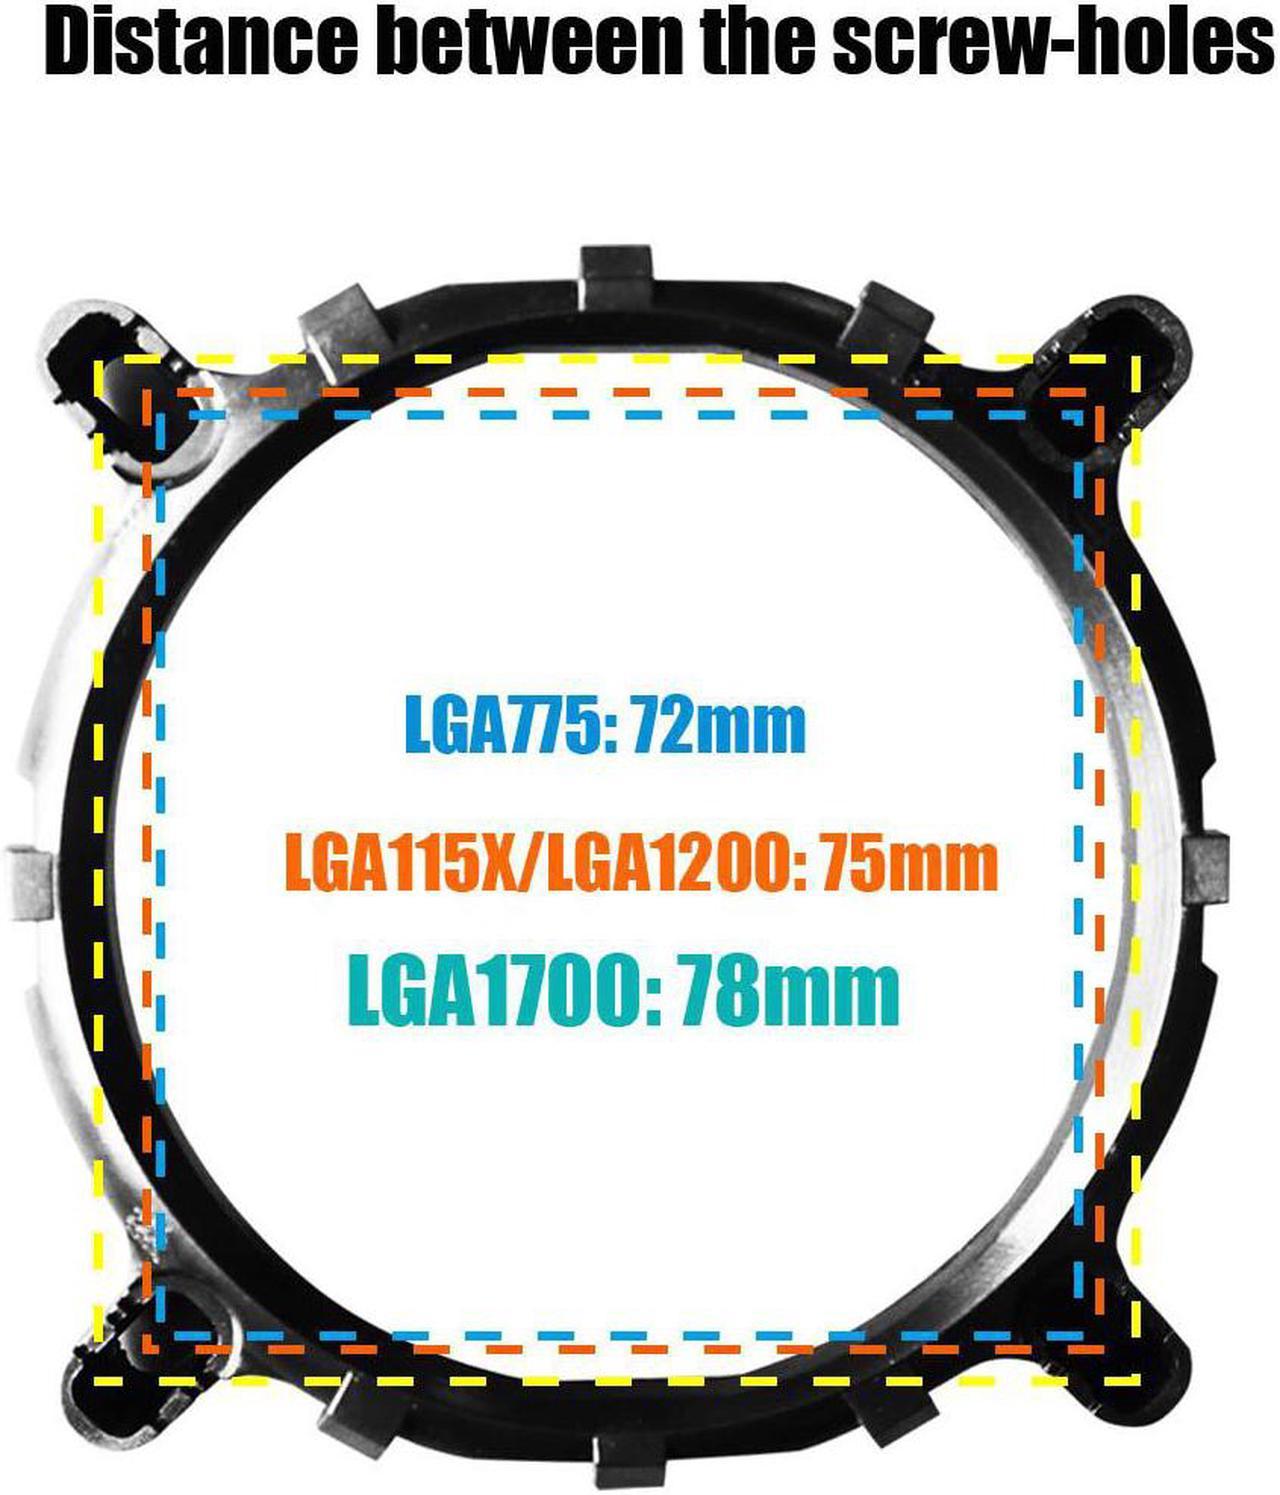

Distance of screw holes:
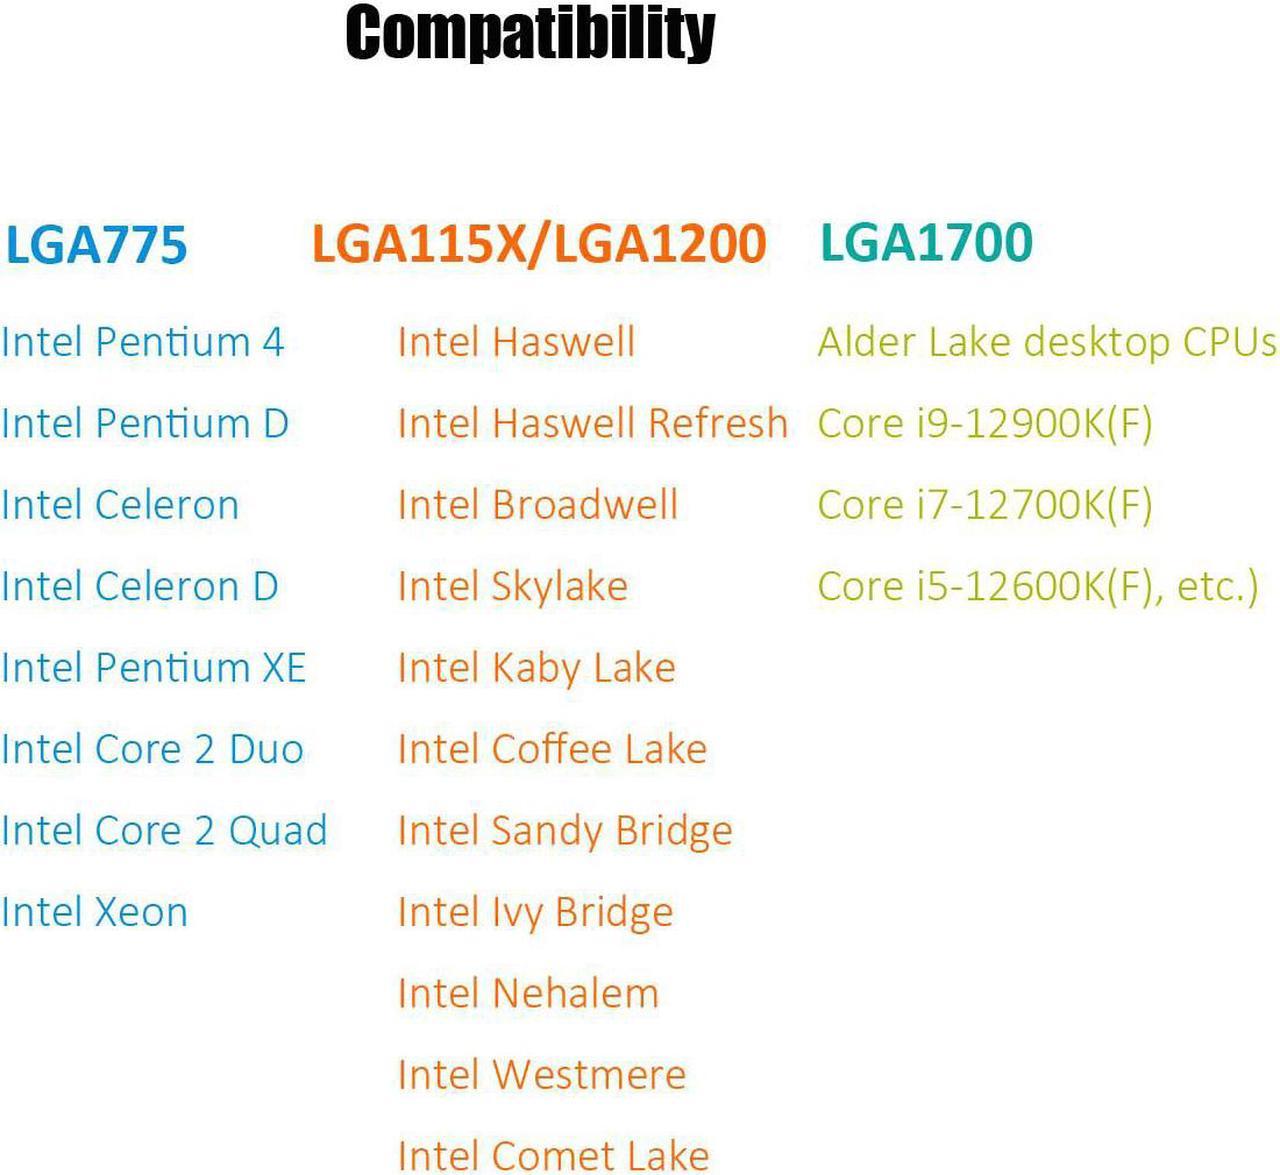
- 78x78mm for LGA1700 (Intel 12th Gen Alder Lake Desktop CPU Platform)
- 75x75mm for LGA1150/1151/1155/1156 and LGA1200
- 72x72mm for LGA775
Package Including:
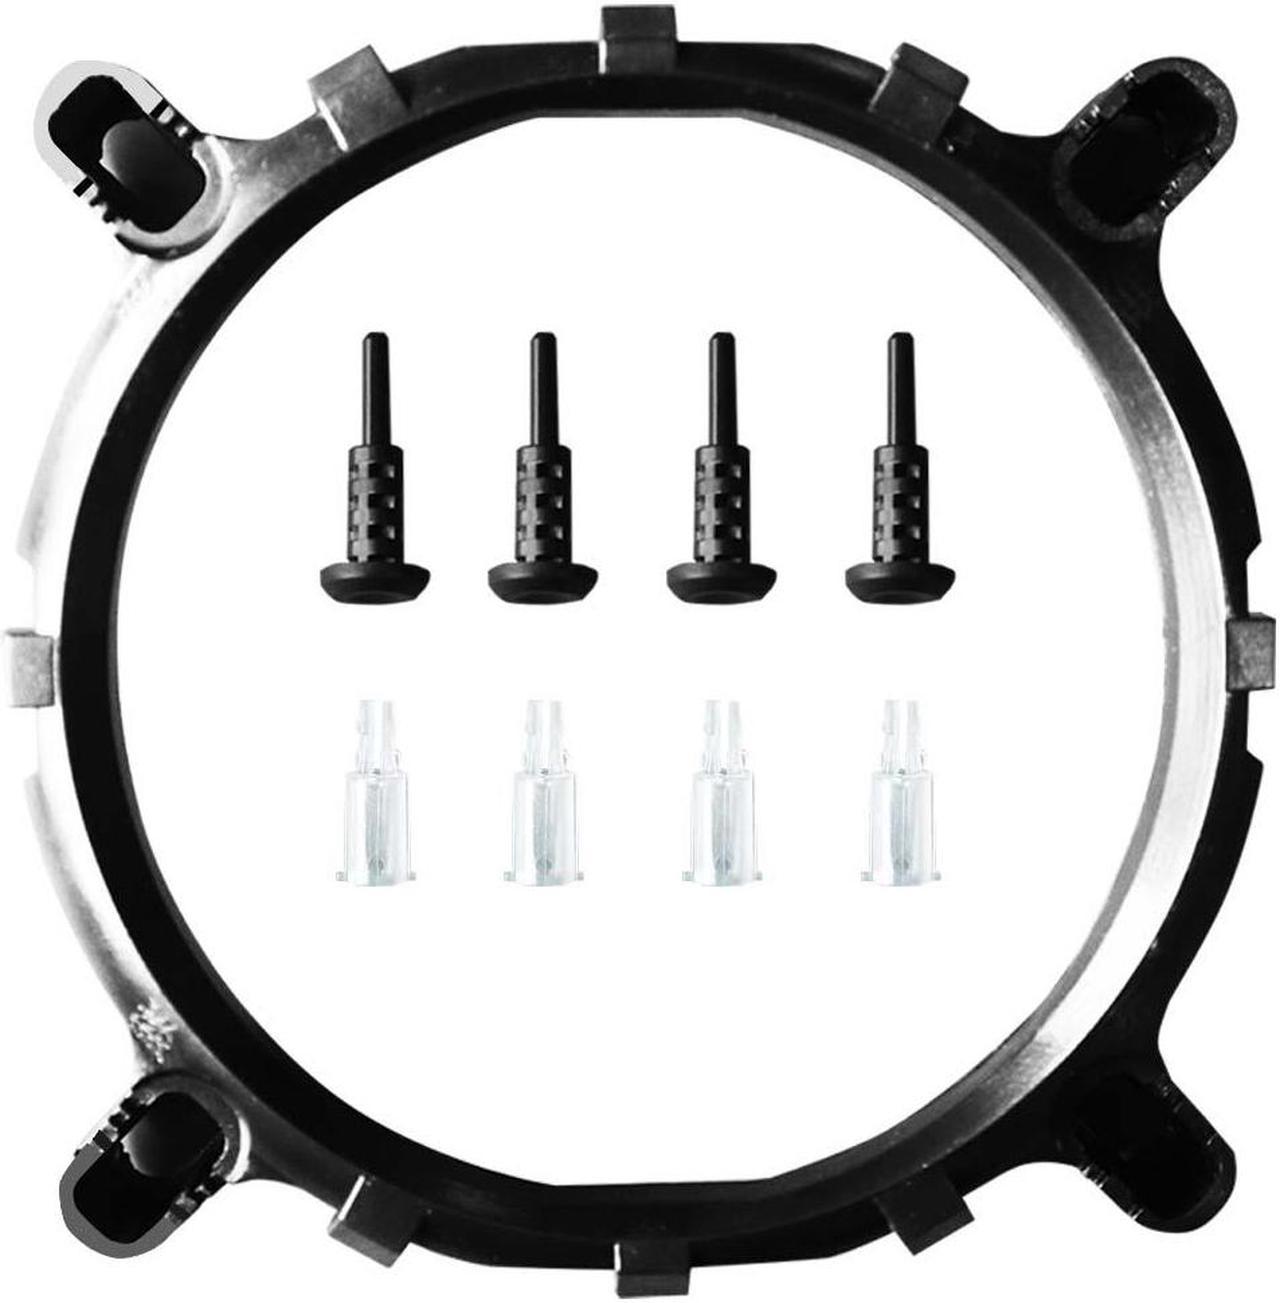
- 1 x Bracket;
- 4 x Hollow Transparent Pin
- 4 x Black Solid Cap Pin
- 1x Thermal Grease


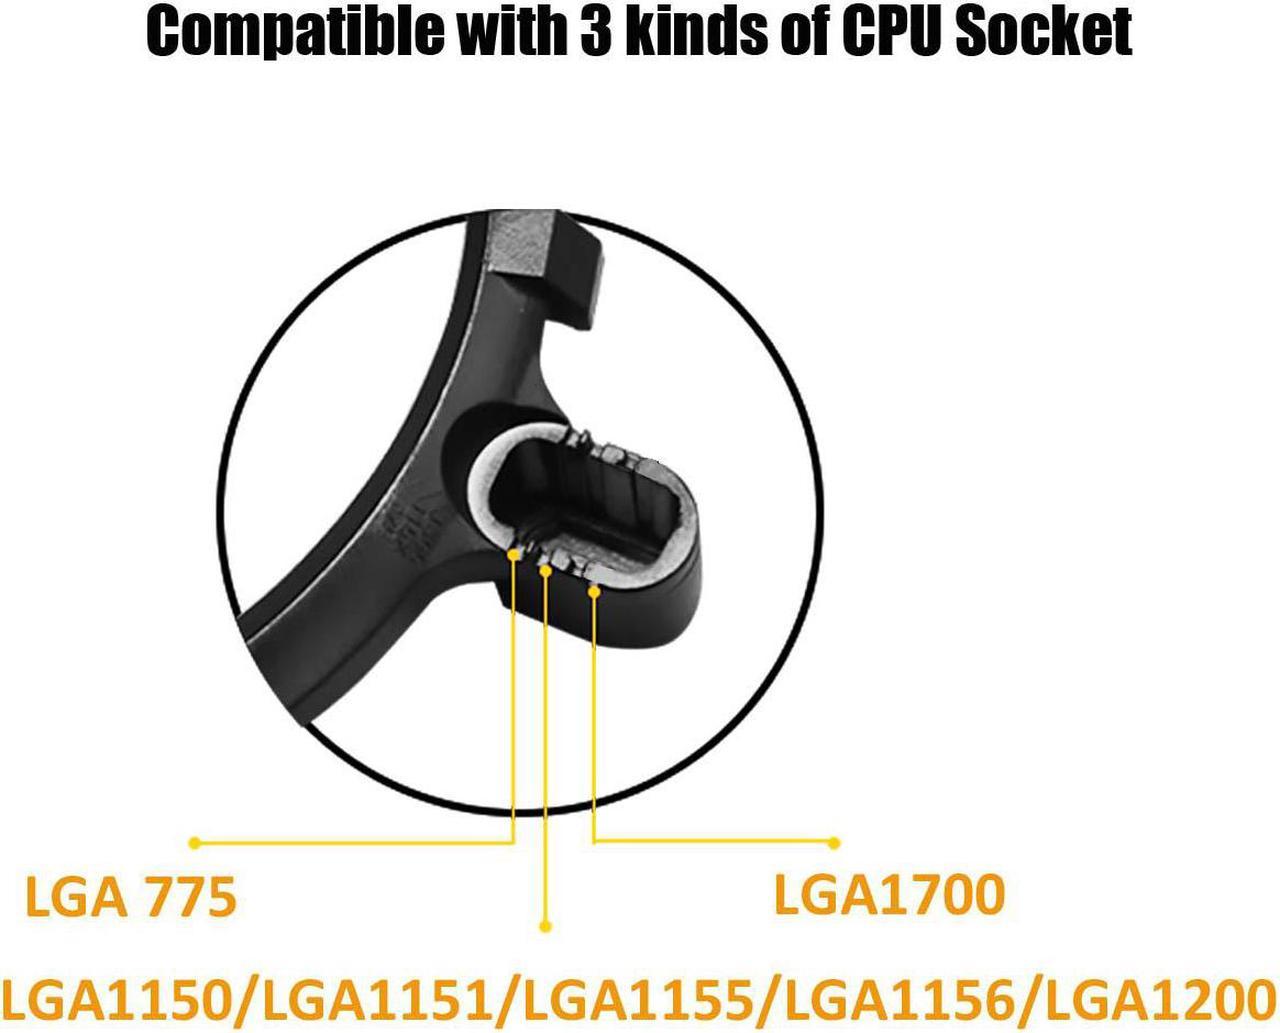
Put the four hollow transparent pins into the corresponding holes (775/115x/1700) on the bracket. For an example of LGA 1700, the pins should be in the 1700 position of bracket holes.

Align the hollow transparent pins with the four pinholes on the motherboard (see red dashed circles). Press down the bracket until you hear a "click" sound.

Once you have pushed down all four hollow transparent pins, take a look at the bottom of the motherboard. If you have installed the bracket correctly, the four hollow transparent pins should protrude fully as shown in the image.

Then put the 4 black solid cap pins poke through those hollow transparent pins. The bracket will attach to the motherboard firmly. To remove the bracket, you need to move the black solid cap pins first, then the bracket can be pulled out from the motherboard.

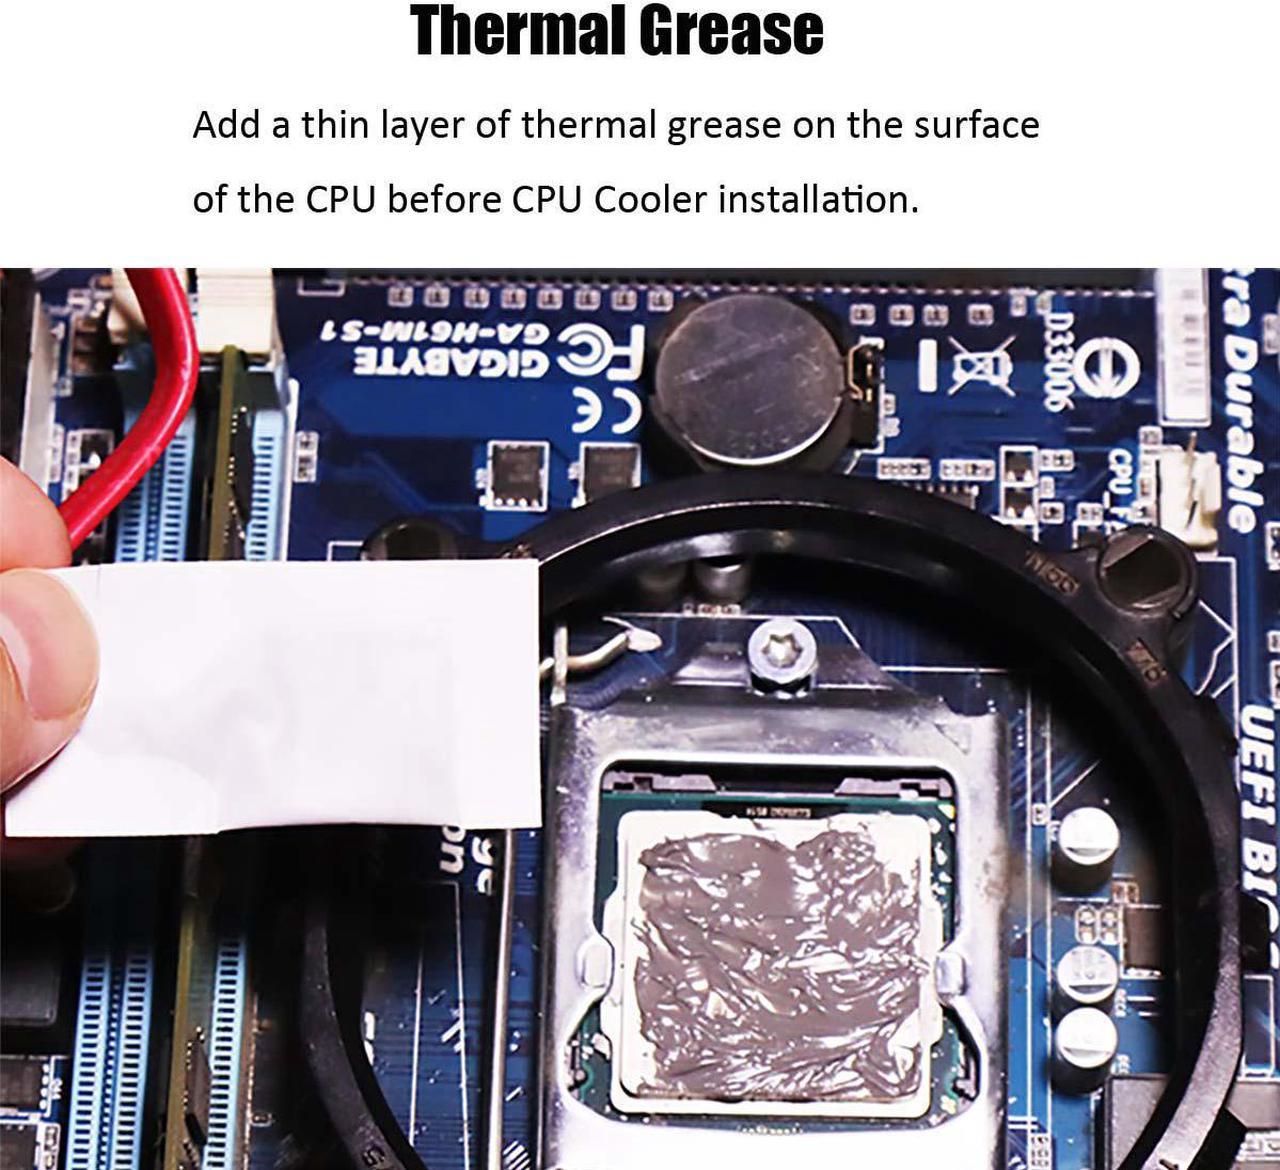
Before installing the CPU cooler, apply a thin layer of thermal grease on the surface of the CPU.

Then hook the CPU cooler clip to the mounting lug on one side of the bracket. On the other side, push straight down on the CPU cooler clip to hook it to the mounting lug on the bracket. Finally, attach the power connector of the CPU cooler to the CPU fan header (CPU_FAN) on the motherboard.


