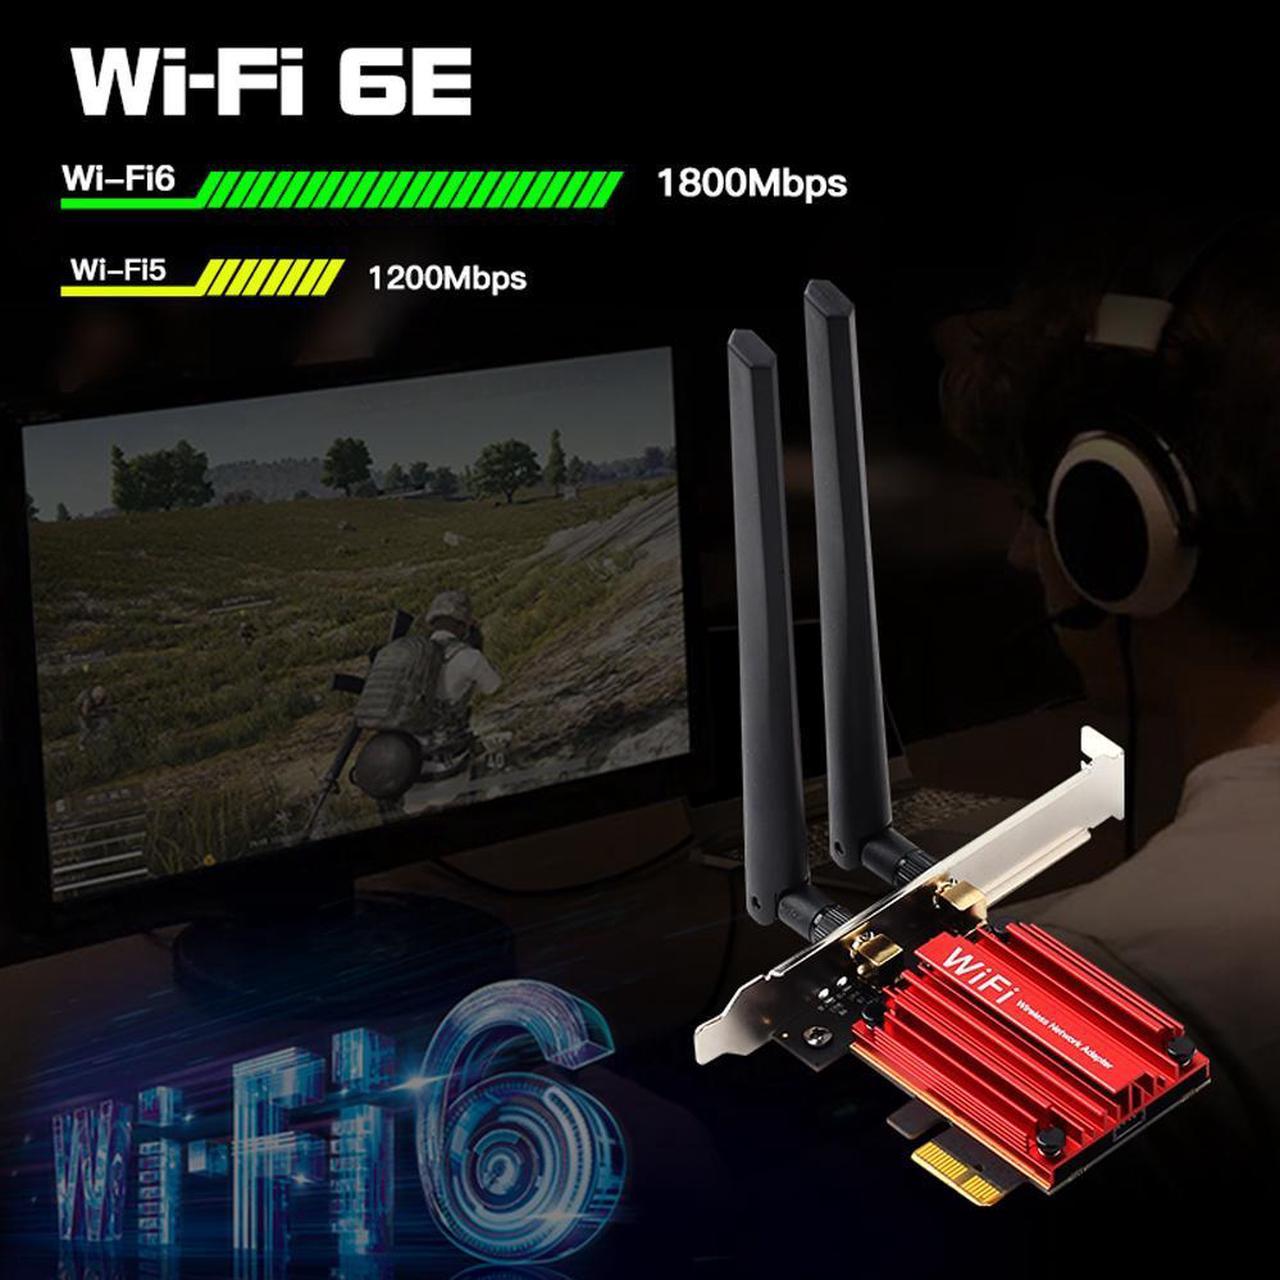

IEEE 802.11 AX Dual Band Adapter:The next and fastest generation of Wi-Fi, backward compatible with IEEE 802.11ac / a / b / g / n and Dual Band connectivity (2.4GHz or 5GHz)
to support all your devices and your best upgradable wireless network adapter for desktop.
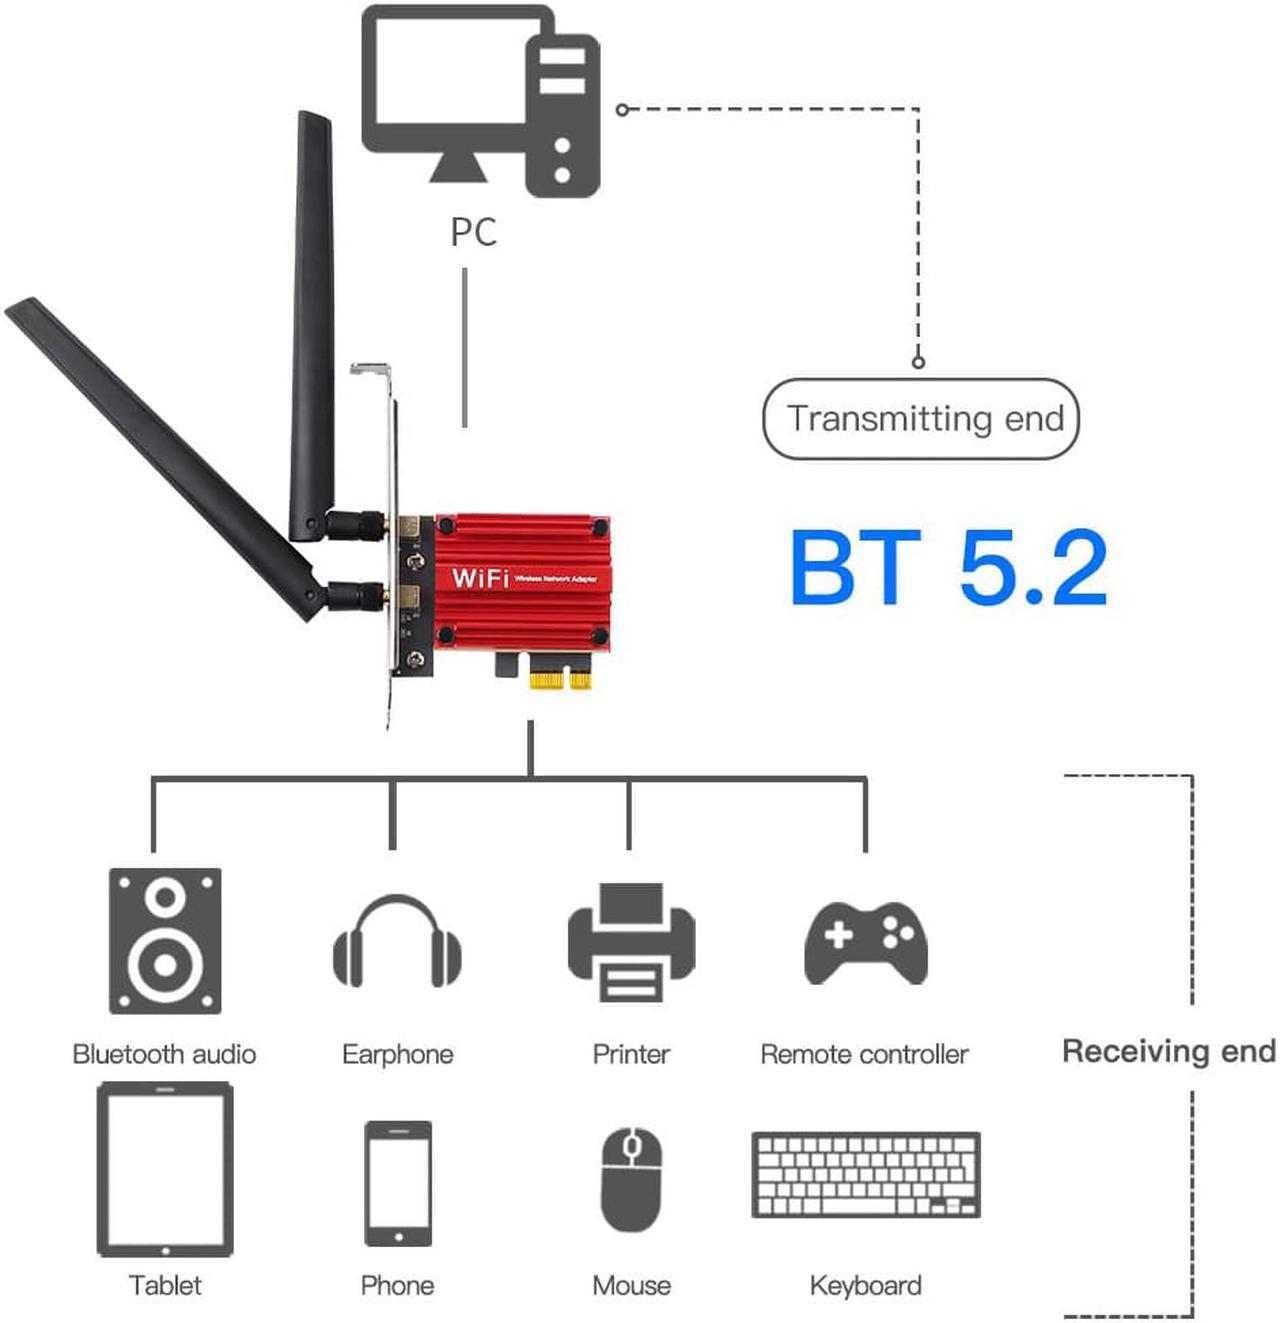
Bluetooth 5.2 technology:Equipped with advanced technology and compatible with 99% Bluetooth capacity devices,Wireless connect mouse,keyboard,earphone,speaker.ect.
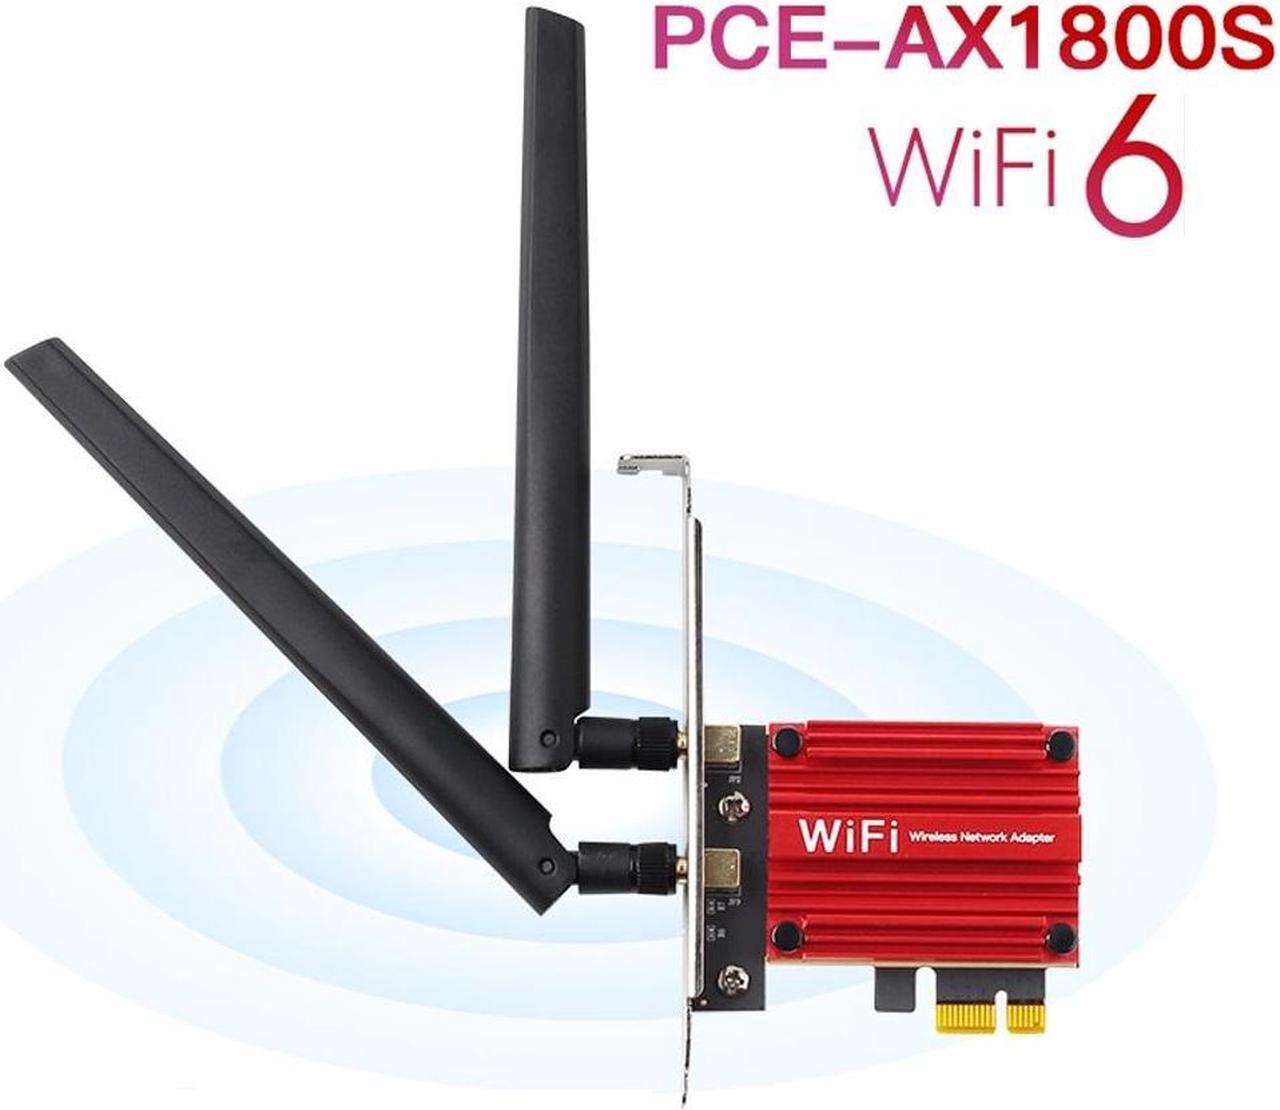
Model: PCE-AX1800S
Chipest: 802.11ax Wi-Fi 6 MT7921K chipset
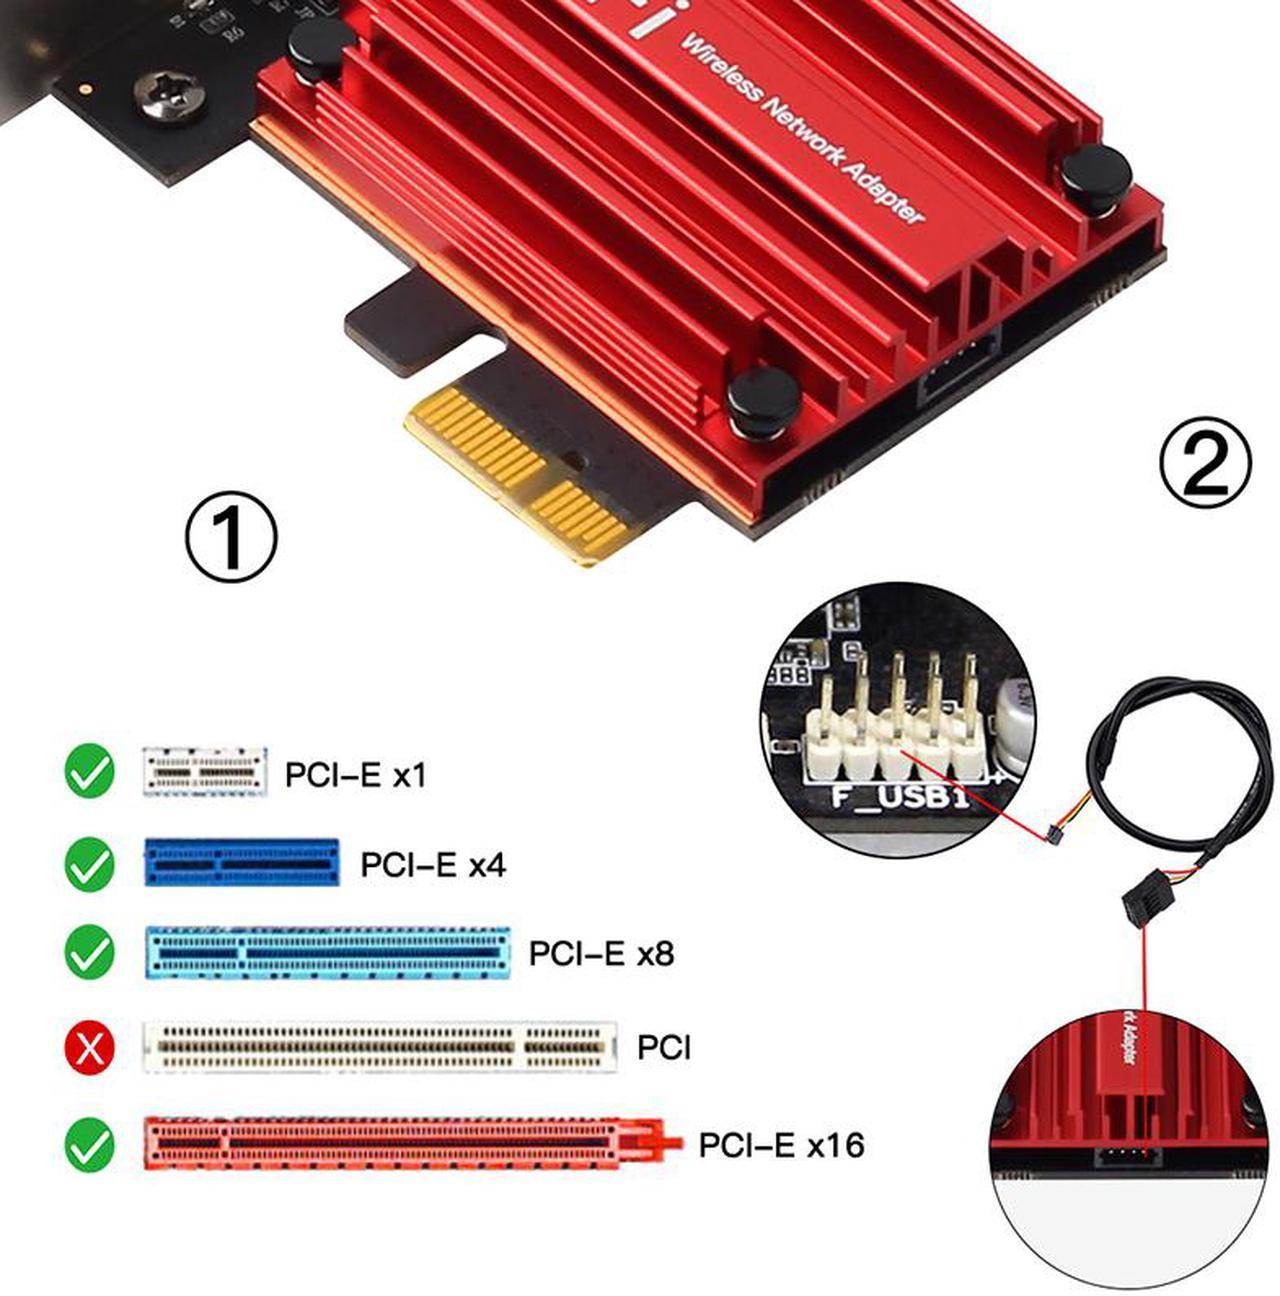
Interface:PCIE X1 X4 X8 X16
Frequency Band: 2.4G/5GHz
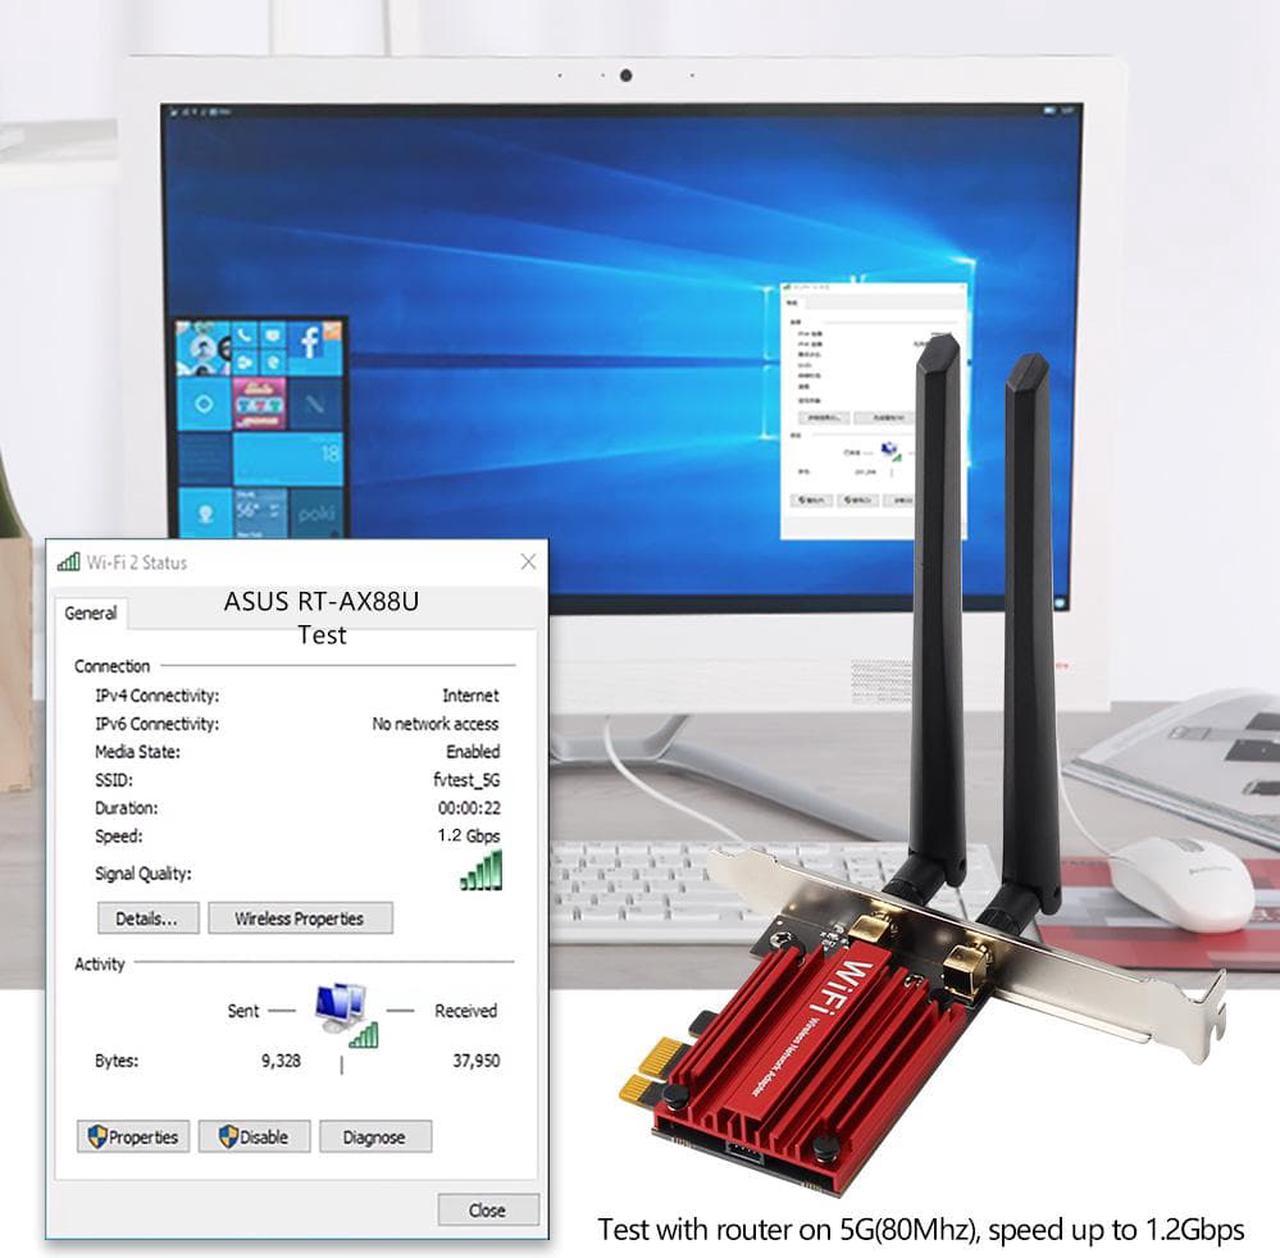
Max Speed: 1200Mbps on 5Ghz
574Mbps on 2.4Ghz
Network Standard: 802.11ax;802.11ac/a/b/g/n
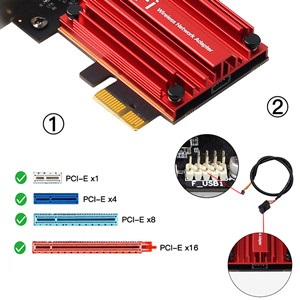
1.Designed for PCIE X1 Interface,compatible with All PCIE slot Include PCIE X1, X4, X8, X16 Slot.
2.The black USB Bluetooth cable must connect from the PCI-E adapter board to motherboard(9 pin interface) in order to use Bluetooth.
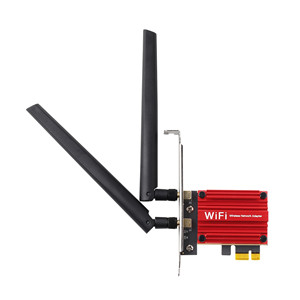
Two powerful signal-boosting high-gain antennas greatly increase your existing WiFi reception, perfect for Online 4K Video,Gaming Online, High Quality Music with this PCI-Express Adapter.
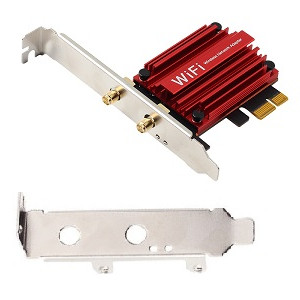
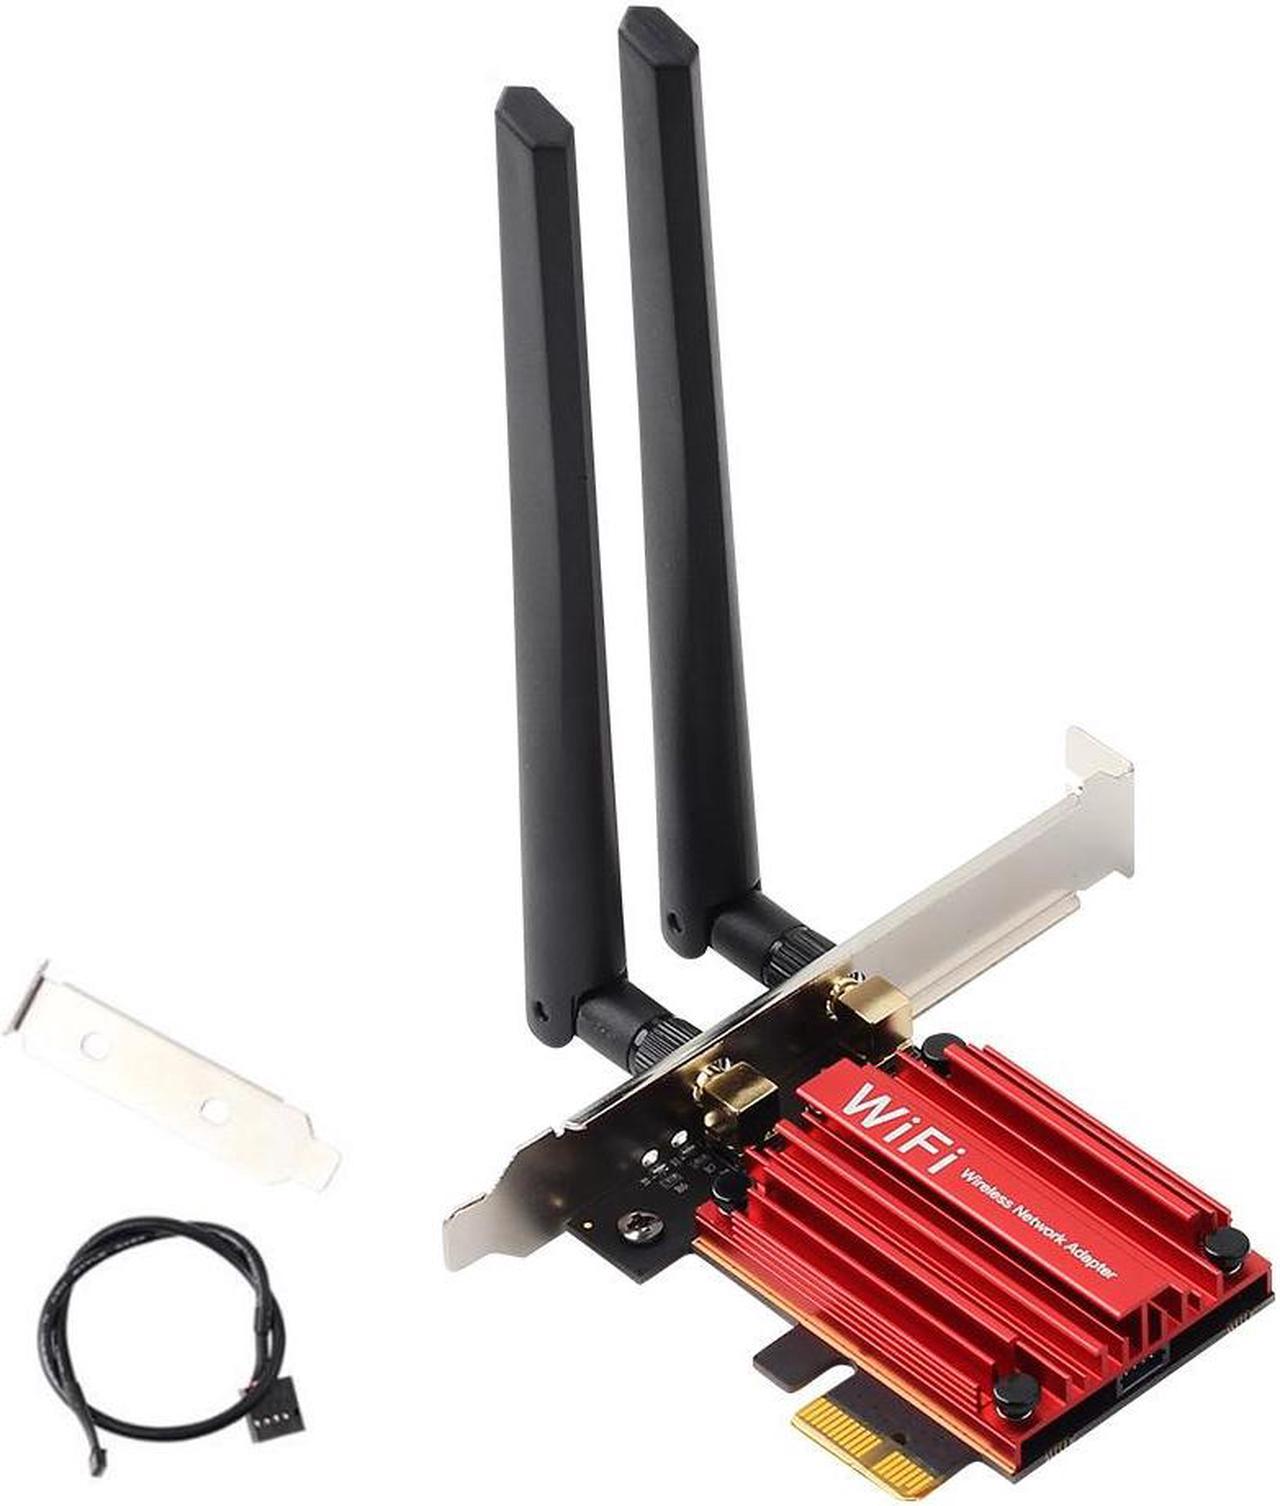
Mounted with Full Size Bracket, supports standard size desktop computers.
Packed with Low Profile Bracket,will works on Slim size PCs
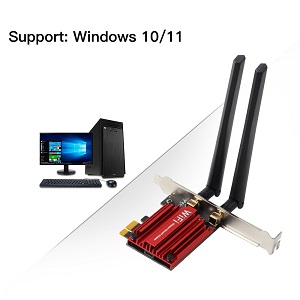
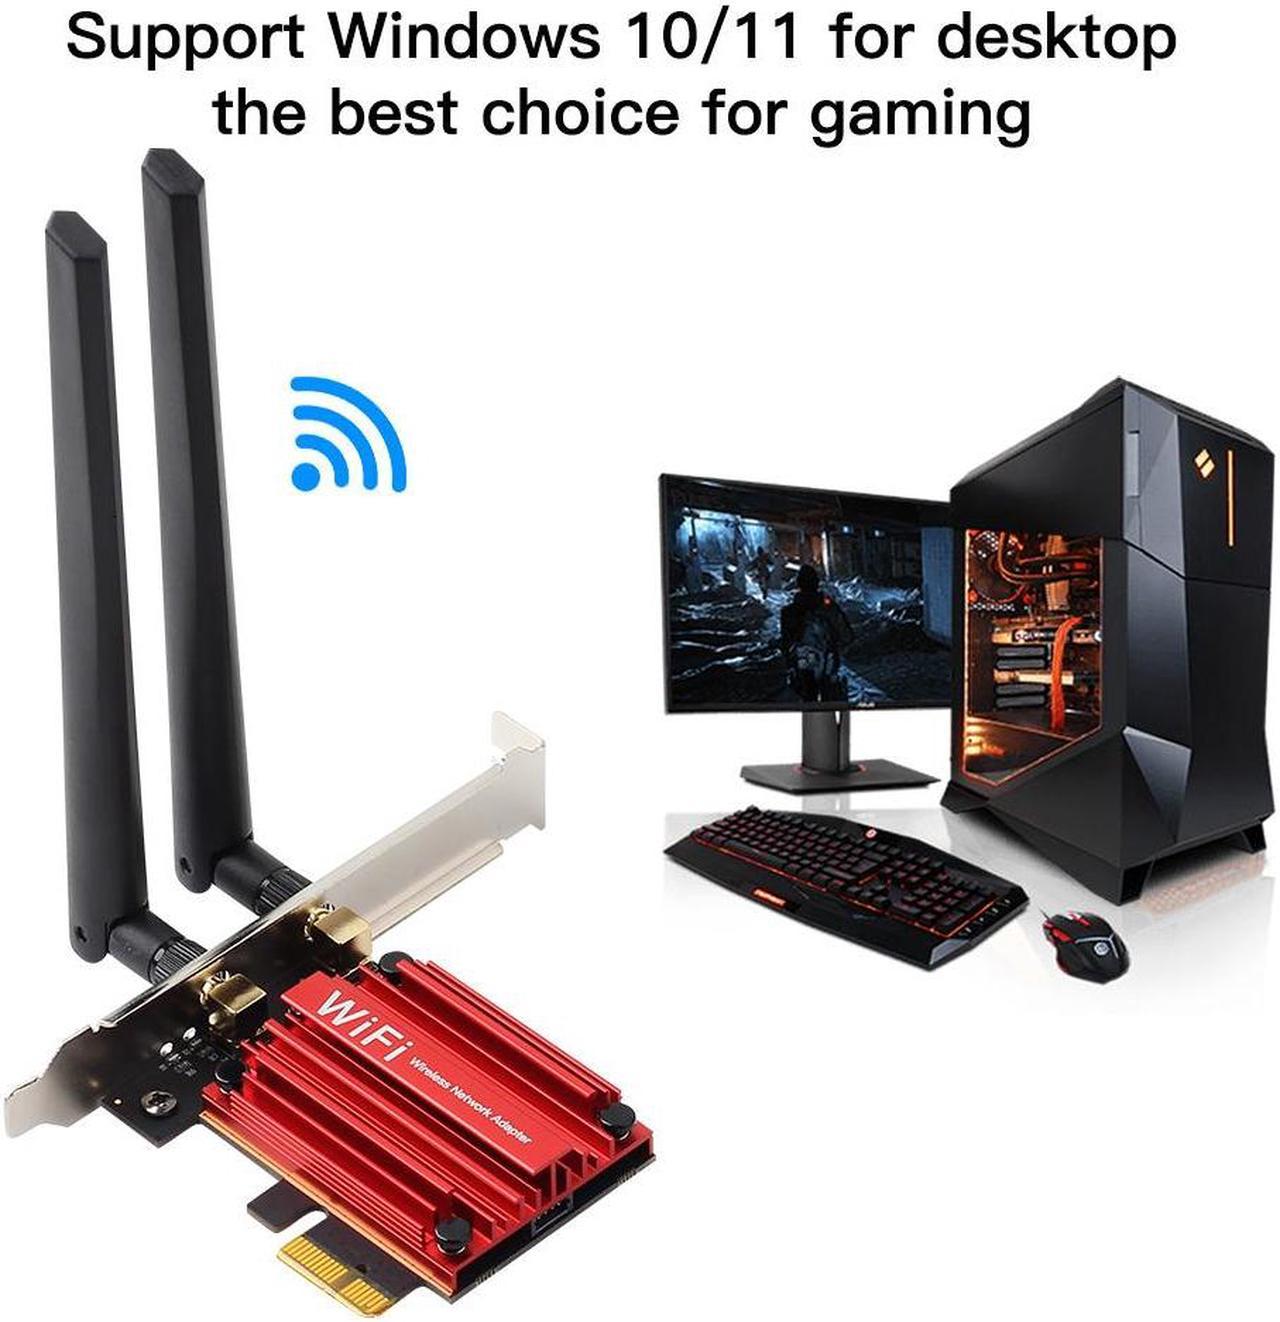
Only work with Windows 10 /11 64 bit.PCE-AX1800S PCIe adapter features a 5 GHz band with speeds up to 1200 Mbps, perfect for smooth gaming, streaming, and downloading large files.

How to install PCIE Wi-Fi card for Desktop
Remove the back plate of the chassis corresponding to the PCI-E slot.
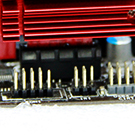
The PCI-E slots should look similar to the ones shown in the above photo, and should align with removable metal plates on the rear of the PC.To install the wireless networking card, hold it by its face plate, making sure that the chips are facing the bottom of the case.
Push the card straight into the PCI-E slot. Once you've aligned the wireless networking card with the slot, simply push the card straight into the slot until its seated and the face plate is up against the hole at the back of the PC.

Connect the 9-pin port of the Bluetooth cable to the motherboard port, and connect the 4-pin port of the Bluetooth cable to the Bluetooth port of the network card.
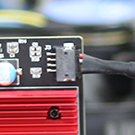
Secure the card to the case with a screw. Using the screw that was unscrewed earlier when removing the metal plate, screw the wireless networking card into place in the case.
Remove yellow caps and attach antennas. Simply pull off the yellow caps on the back of the wireless networking card and screw on the two supplied antennas.
Finally,download latest Wifi Card drivers to enjoying wifi Speed.


