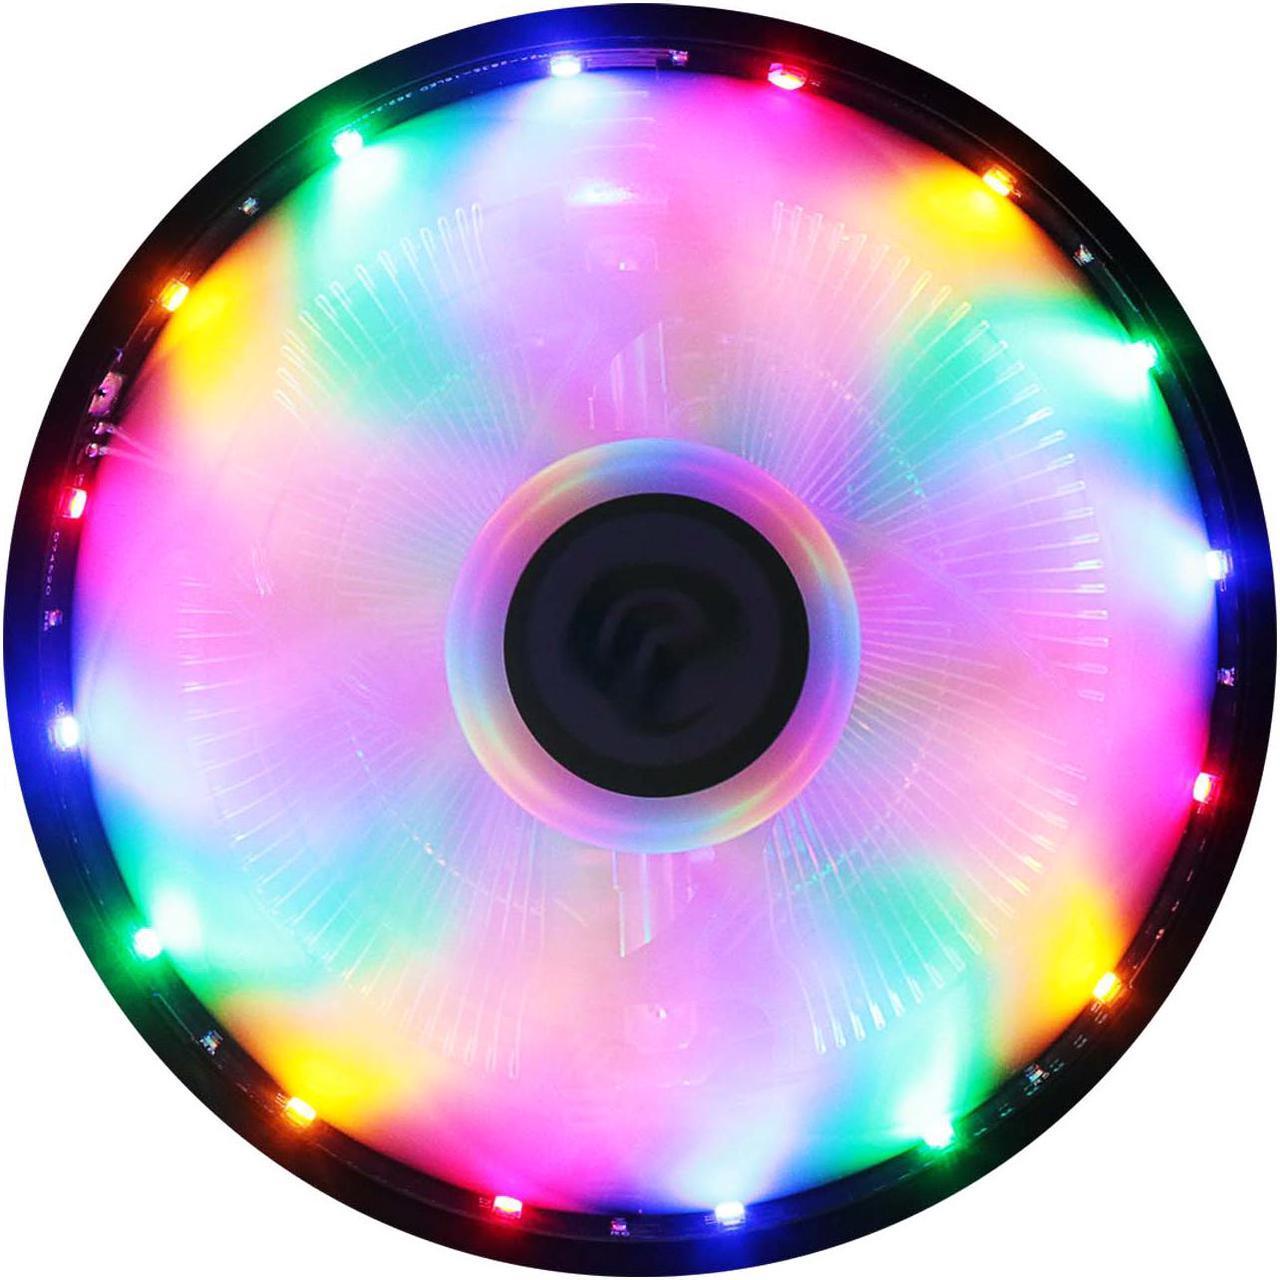

Aluminum Fin Air CPU Cooler
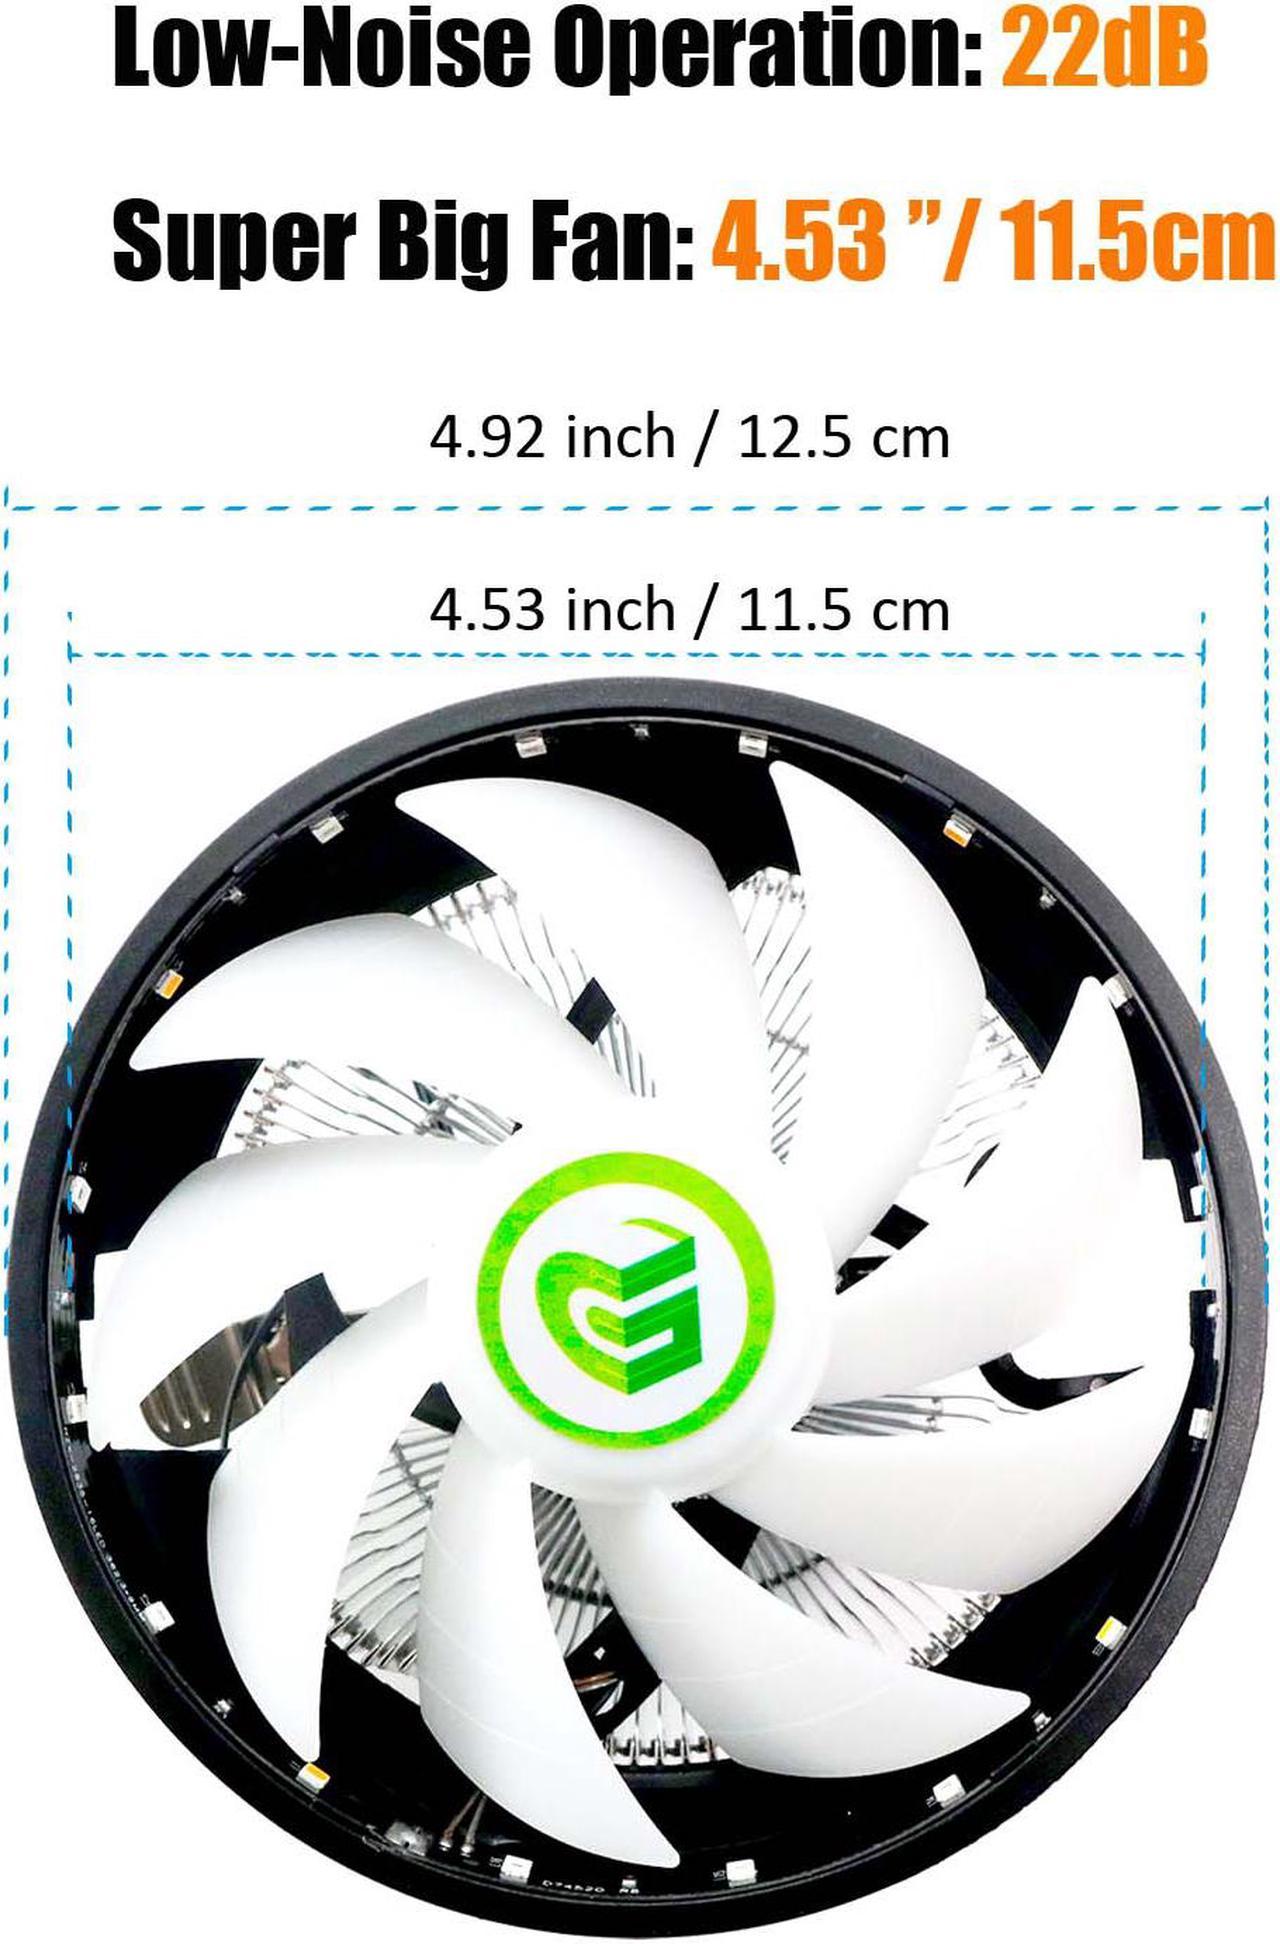
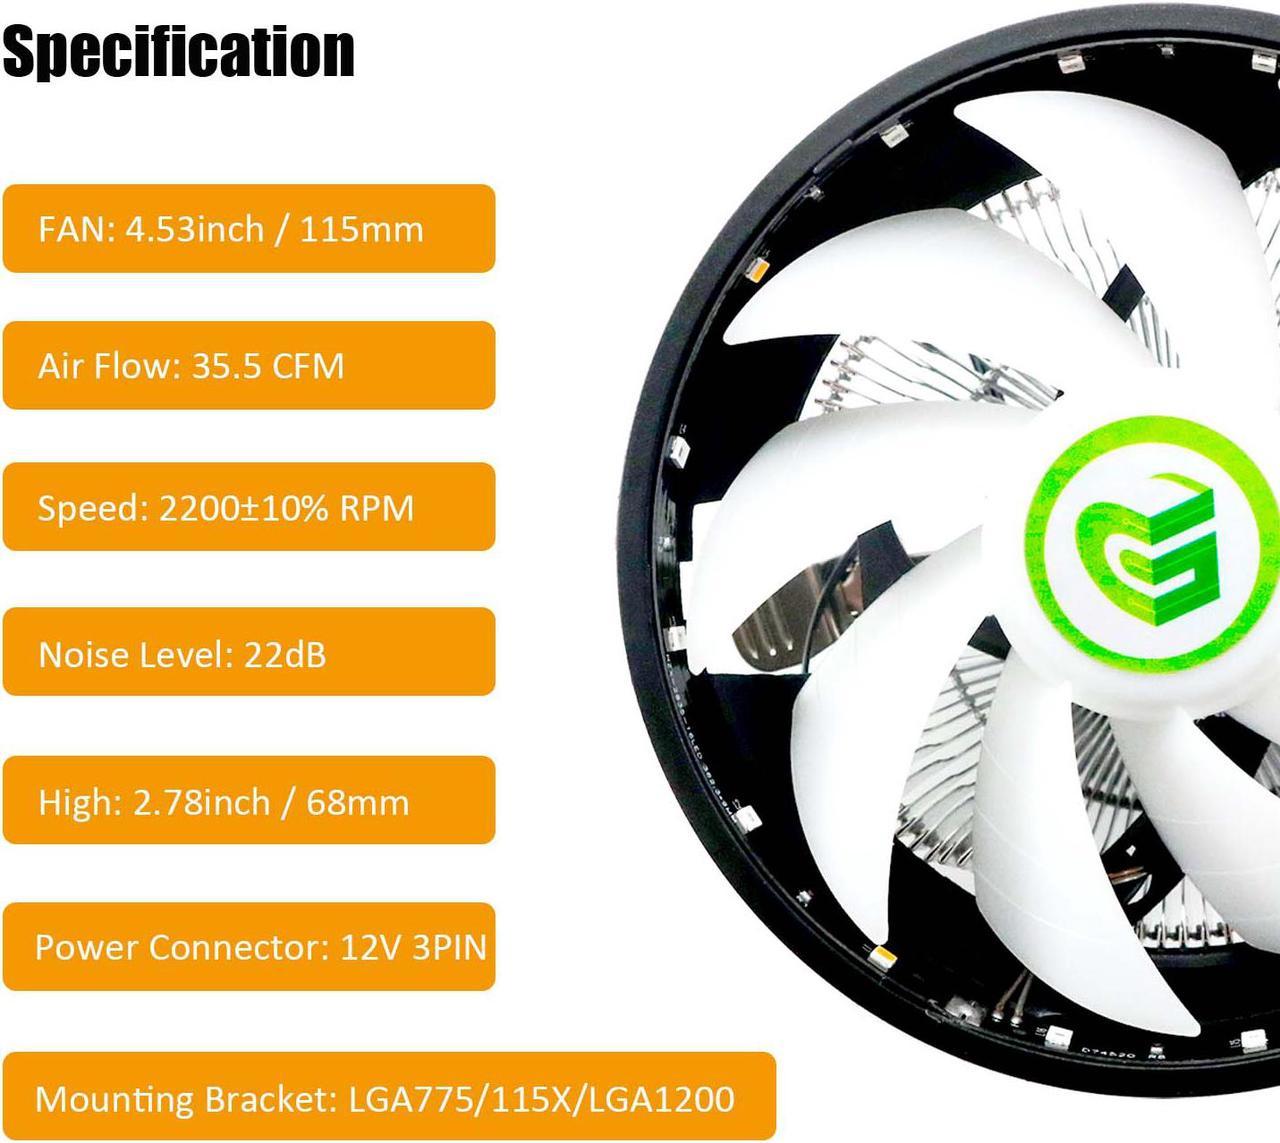
- 115x115mm Upward Placement FAN
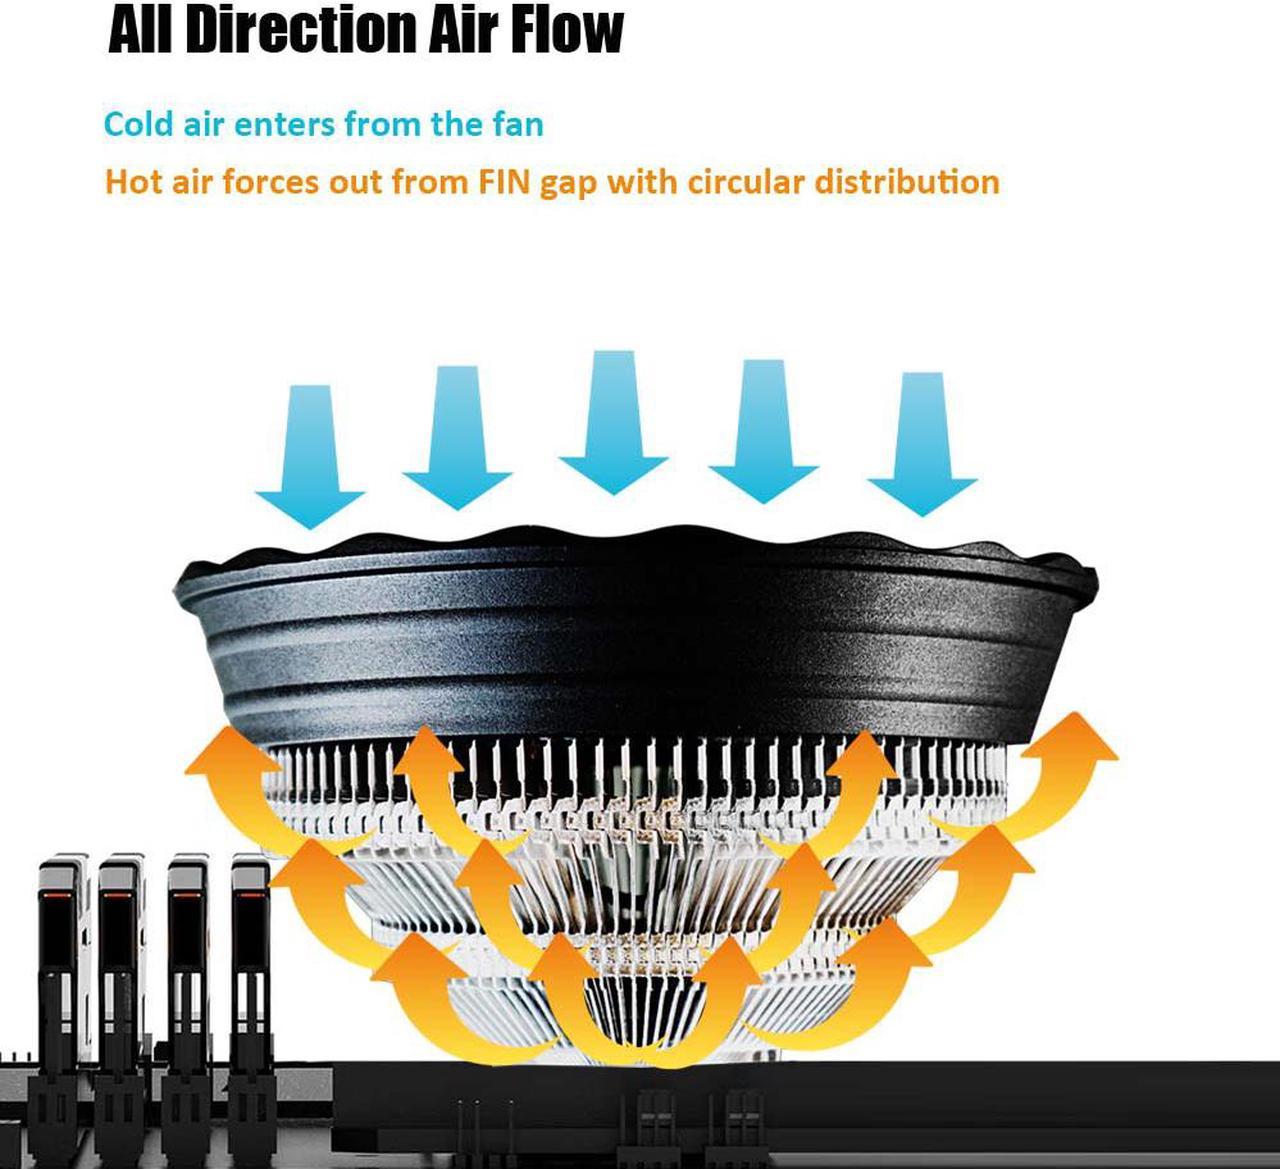
- 92 aluminum fins in circle arrangement for better heat dissipation
- TDP 95W
- 2200 ± 10% RPM speed,
- 35.5 CFM air flow,
- 22dB low-noise,
- 9-bladed design
- RGB LED
- Power Supply: 12V 3PIN

Included Accessories
- Mounting Bracket for Intel CPU LGA 1200/156/1155/1151/1150/775
- Thermal Conductive Silicone Grease
INSTALLATION

Step 1
- Put the four hollow transparent pins into the corresponding holes (775/115x) on the bracket.
- For an example of LGA 1151, the pins should be in the 115X position of bracket holes.

Step 2
- Align the hollow transparent pins with the four pinholes on the motherboard (see red dashed circles).
- Press down the bracket until you hear a "click" sound.

Step 3
Once you have pushed down all four hollow transparent pins, take a look at the bottom of the motherboard. If you have installed the bracket correctly, the four hollow transparent pins should protrude fully as shown in the image.

Step 4
- Then put the 4 black solid cap pins poke through those hollow transparent pins. The bracket will attach to the motherboard firmly.
- To remove the bracket, you need to move the black solid cap pins first, then the bracket can be pulled out from the motherboard.

Step 5
Before installing the CPU cooler, apply a thin layer of thermal grease on the surface of the CPU.

Step 6
Then hook the short CPU cooler clip to the mounting lug on one side of the bracket.

Step 7
On the other side, push straight down on the long CPU cooler clip to hook it to the mounting lug on the bracket.

Step 8
Finally, attach the 3 PIN power connector of the CPU cooler to the CPU fan header (CPU_FAN) on the motherboard.


