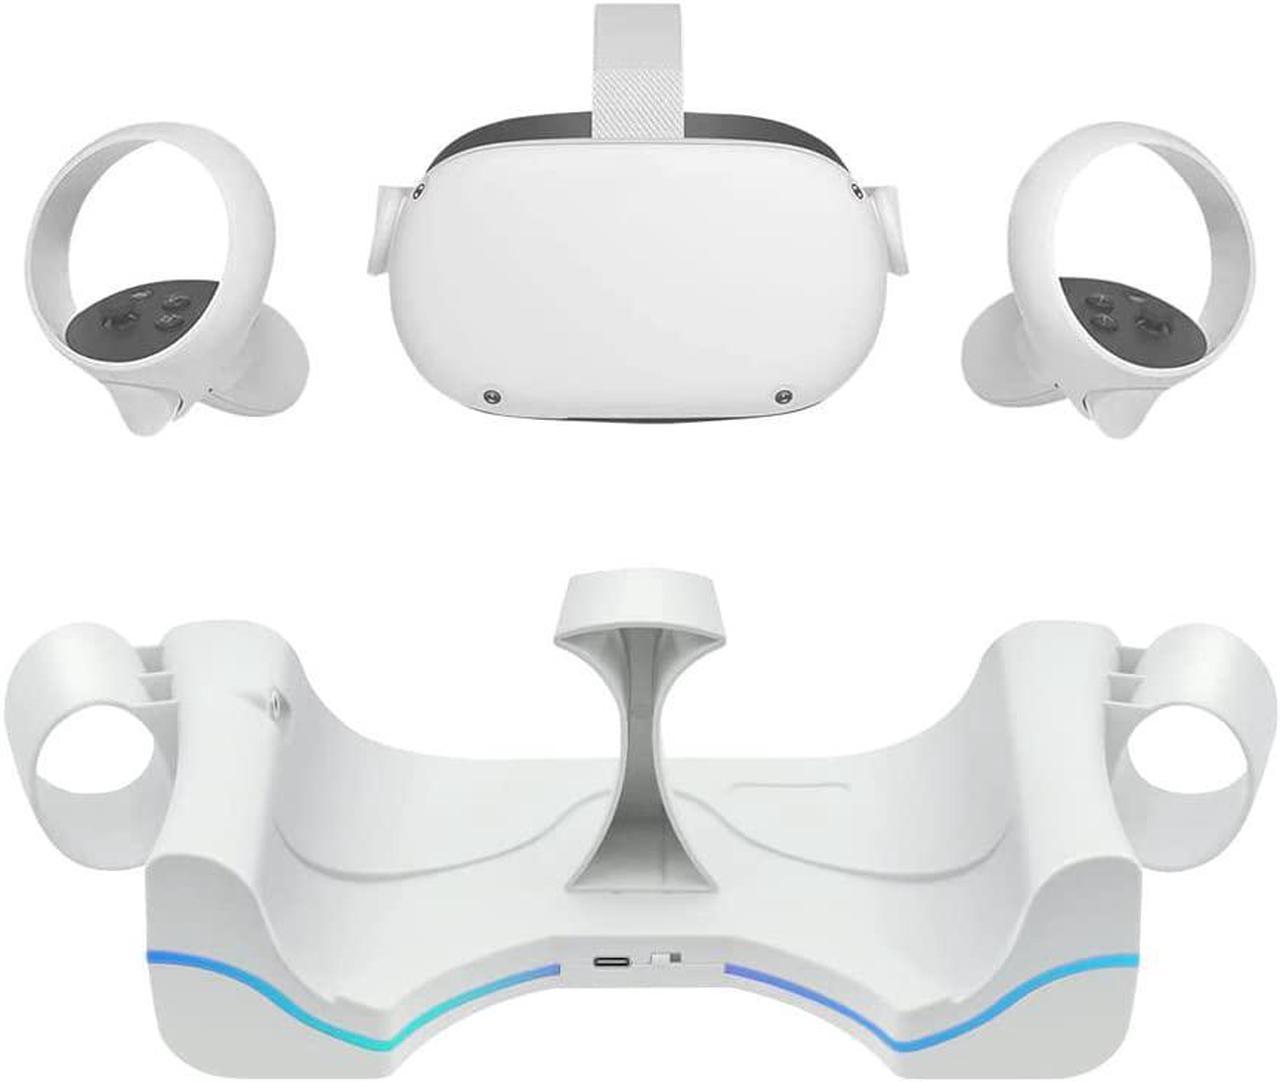
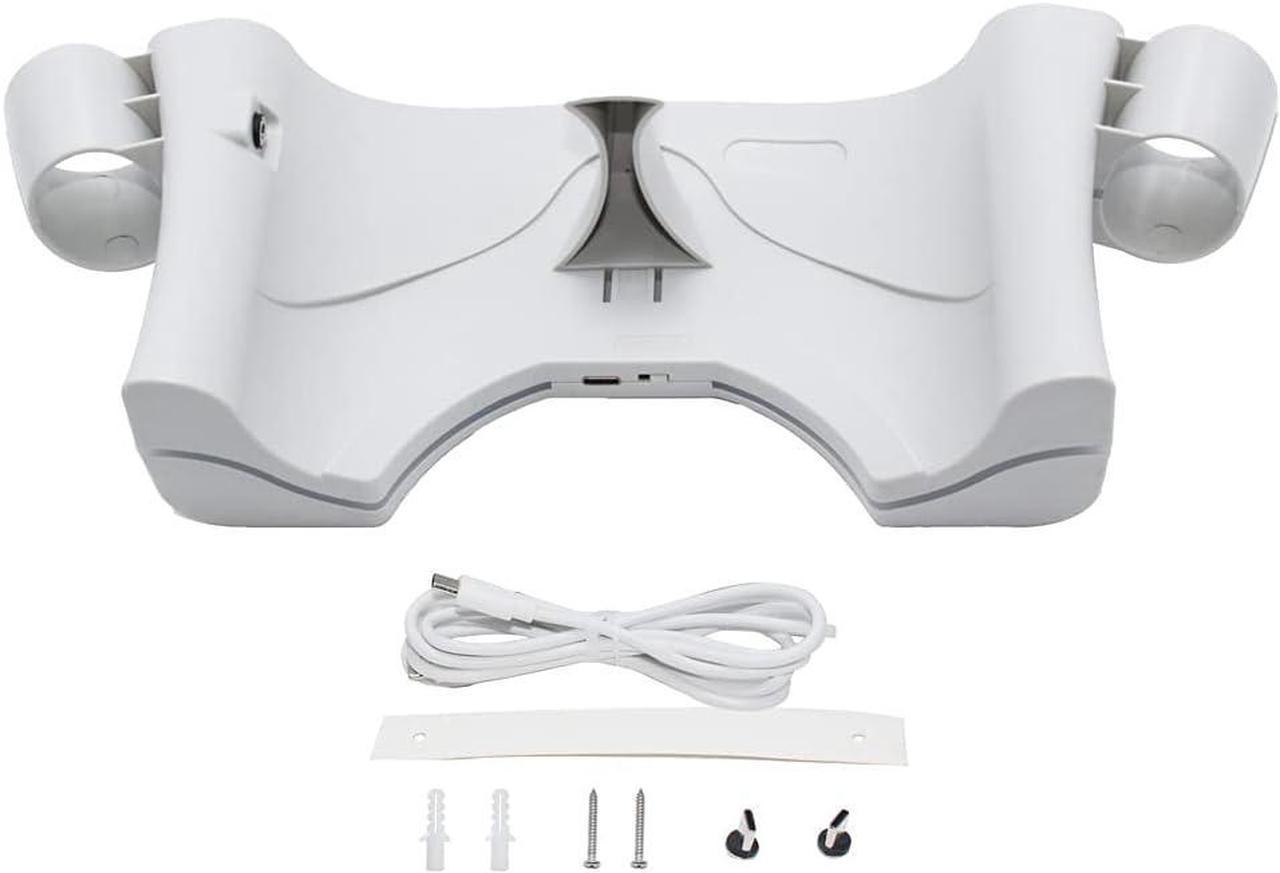
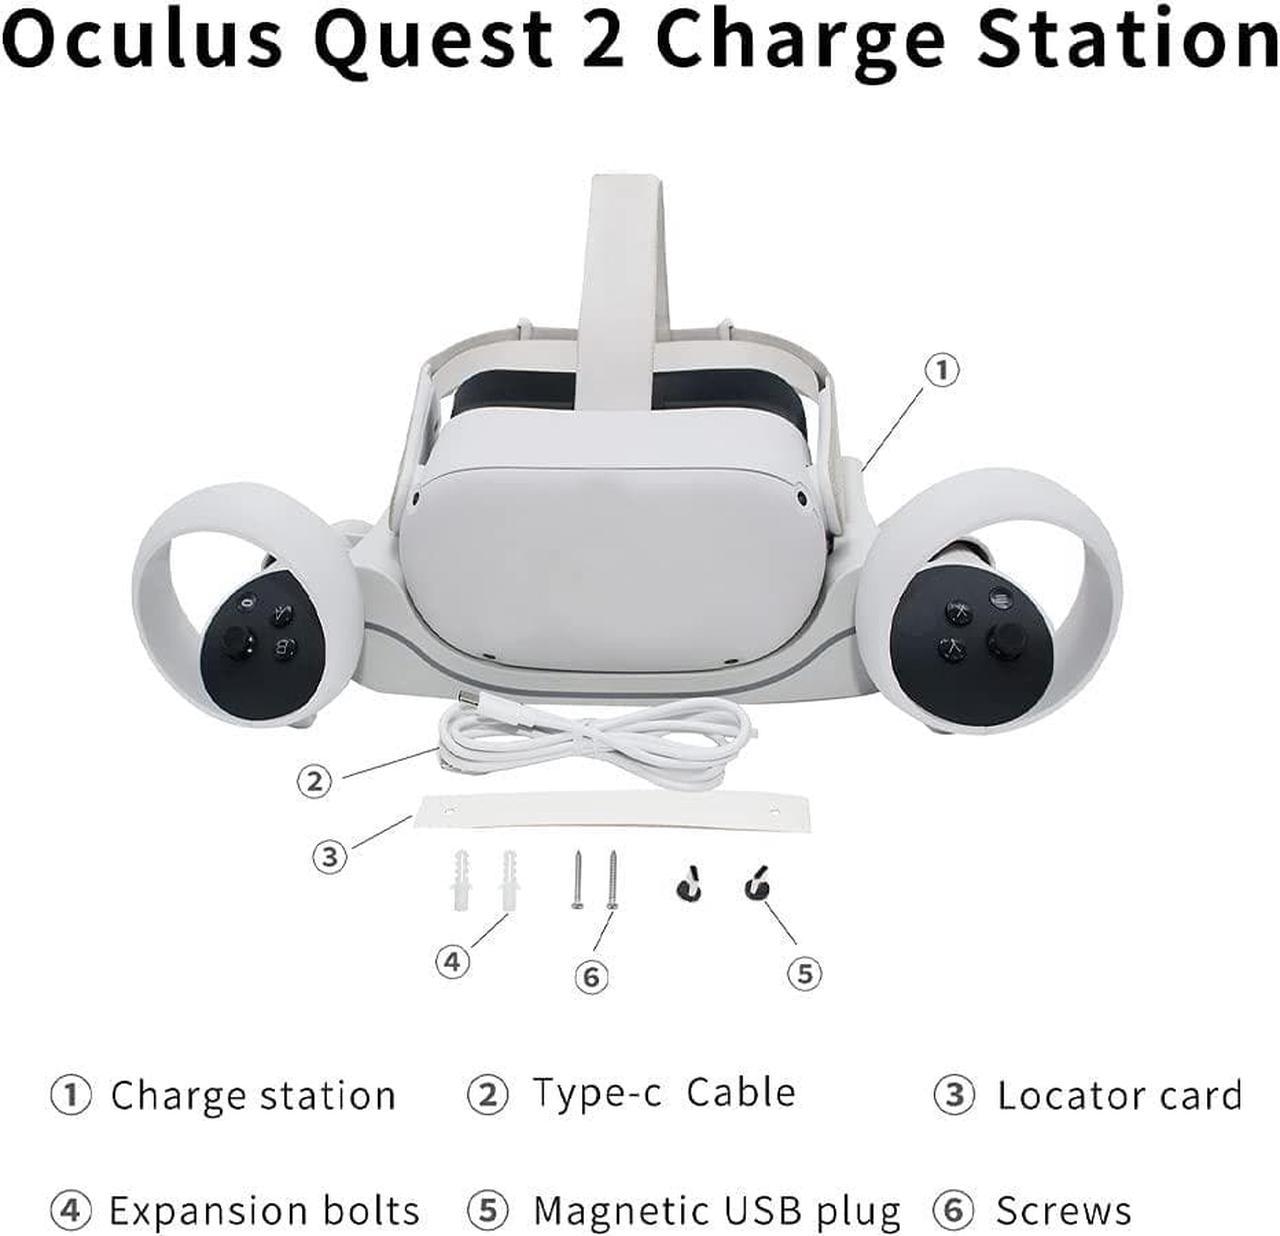
1. Charging Station
2. Type C cable
3. Locator Card
4. Expansion bolts
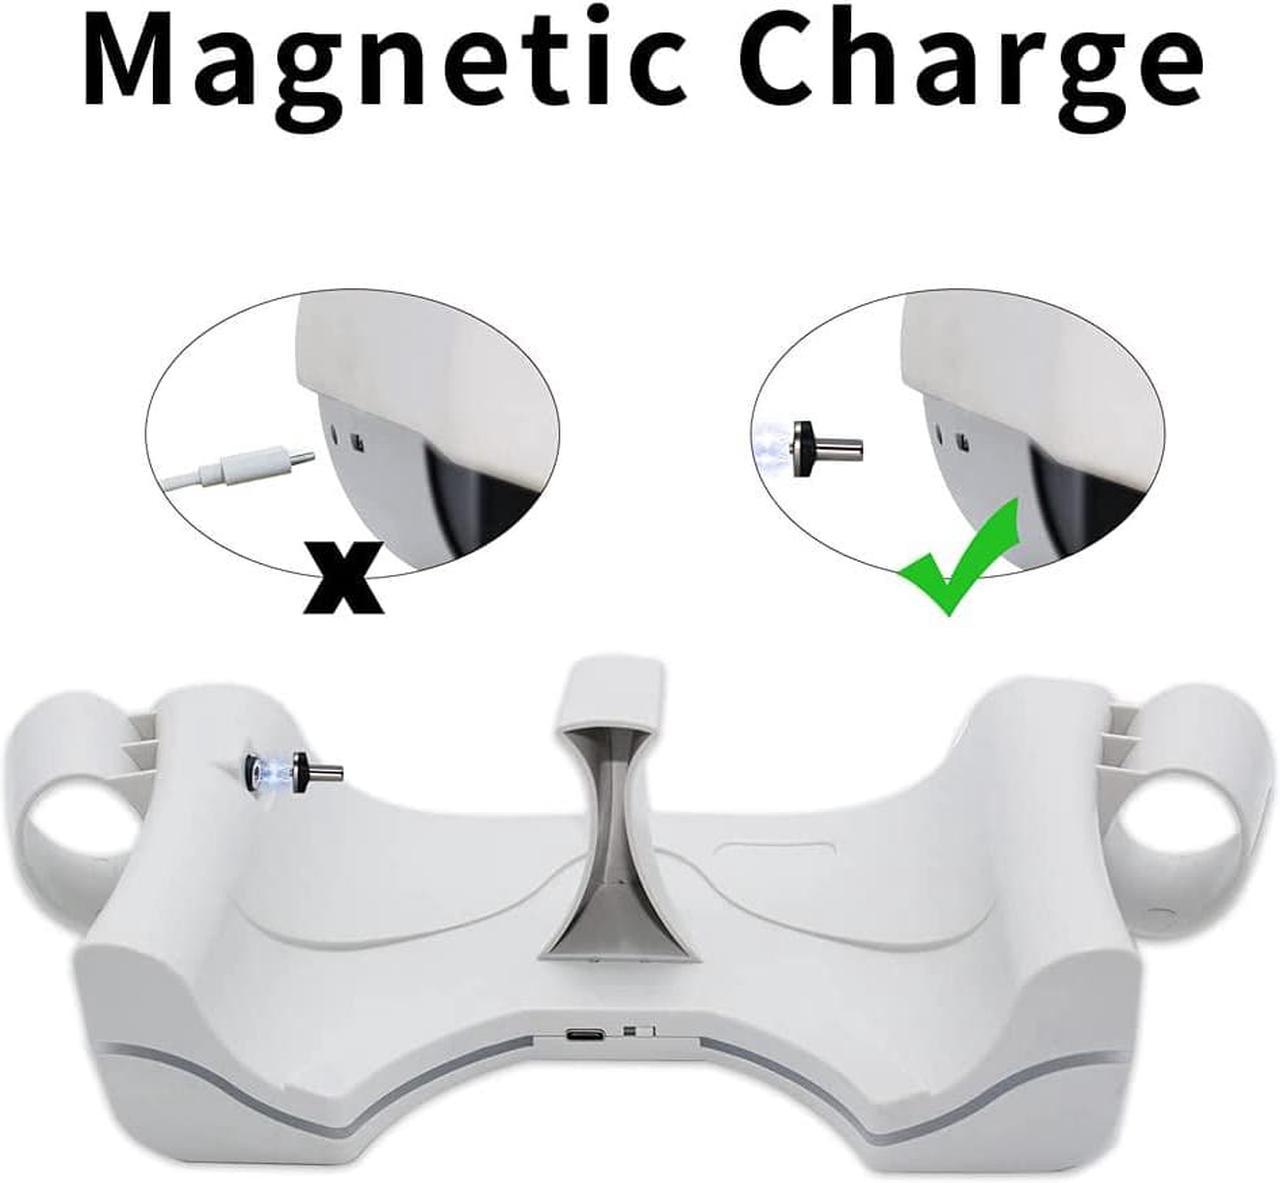
5. Magnetic USB Plug
6. Screws
Size: 30 * 11.5 * 8.5cm;
Net weight: 270g.
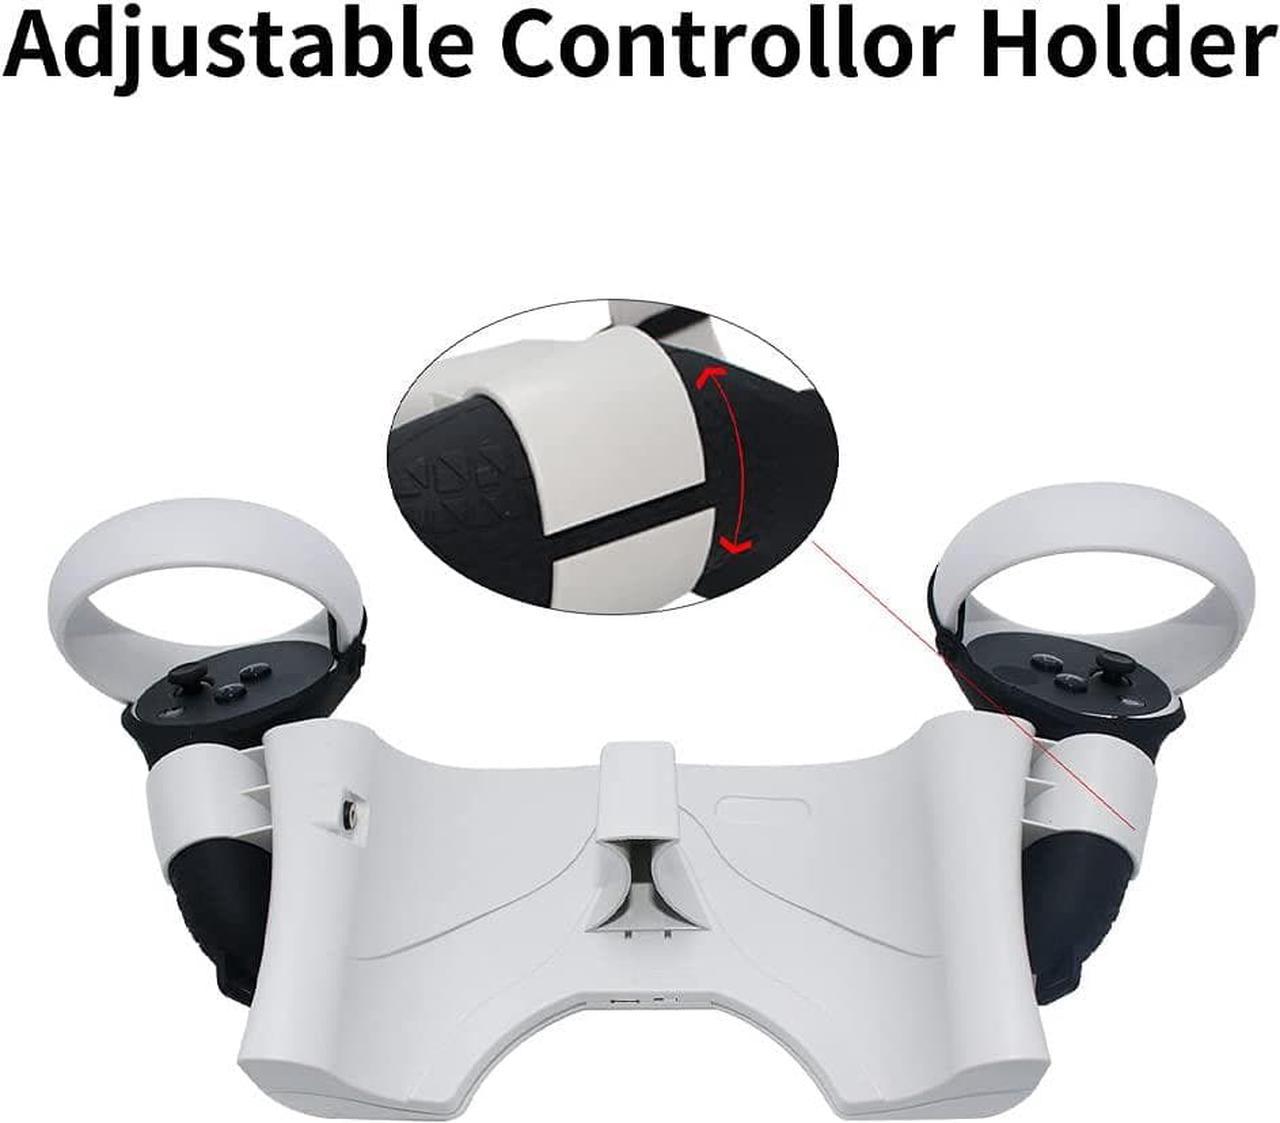
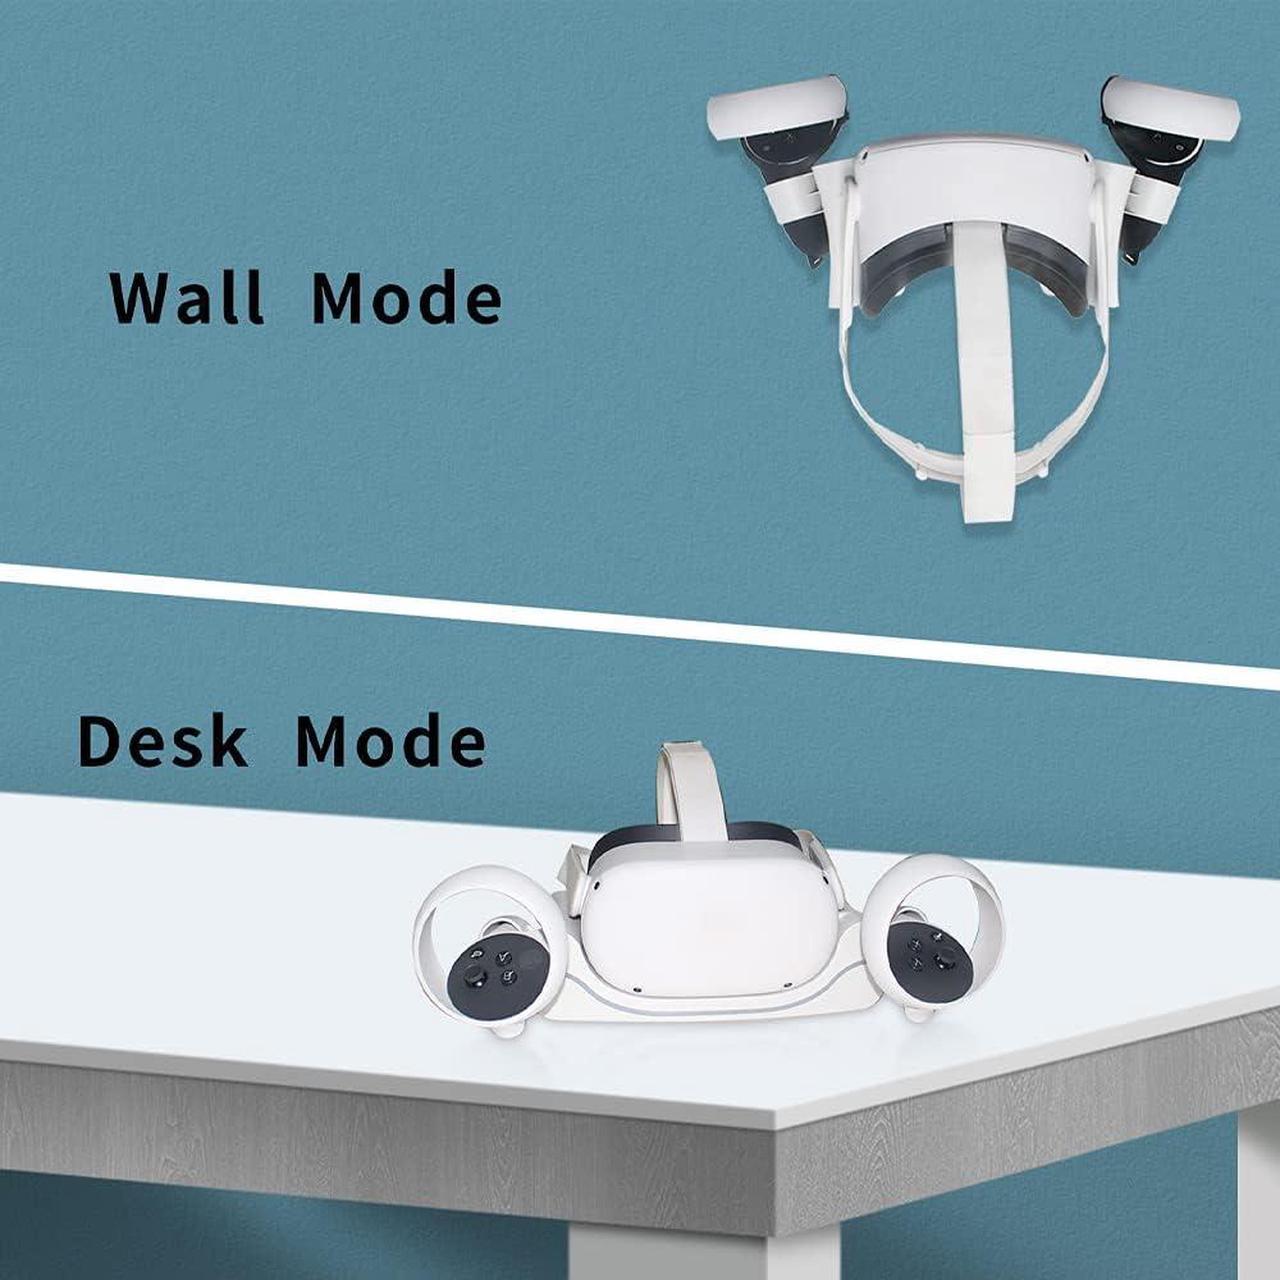
Desk Mode: 1.Insert the magnetic USB connector into the helmet charging port. 2.Fix the phone holder. 3.Insert the Type-C cable into the charging port of the product and turn the switch to ON. 4.Place the helmet on the charging stand. 5.Wait 2-3 seconds until the red LED light on the right side of the helmet lights up. If it fails, reposition the helmet. 6.Insert the handles into the hole.Wall Mode: 1.Mark the position of the screw hole on the wall with a positioning card. 2. Insert the anchor nail and screw it into the wall, keep the screw 5mm away from the wall. 3. Hang the charging stand on the screws. 4. Insert the USB-C data cable into the charging port of the device and turn the switch to ON. 5. Place the helmet on the charging stand. 6. Wait 2 or 3 seconds until the red LED light on the right side of the helmet lights up. If it fails, please reposition the helmet. 7. Insert the handle into the hole.
4.0 out of 5 starsCharging Station for Oculus Quest 2 VR Headset Accessories Wall Mount Charging Stand for Oculus Quest 2
Share:
Found a lower price? Let us know. Although we can't match every price reported, we'll use your feedback to ensure that our prices remain competitive.
